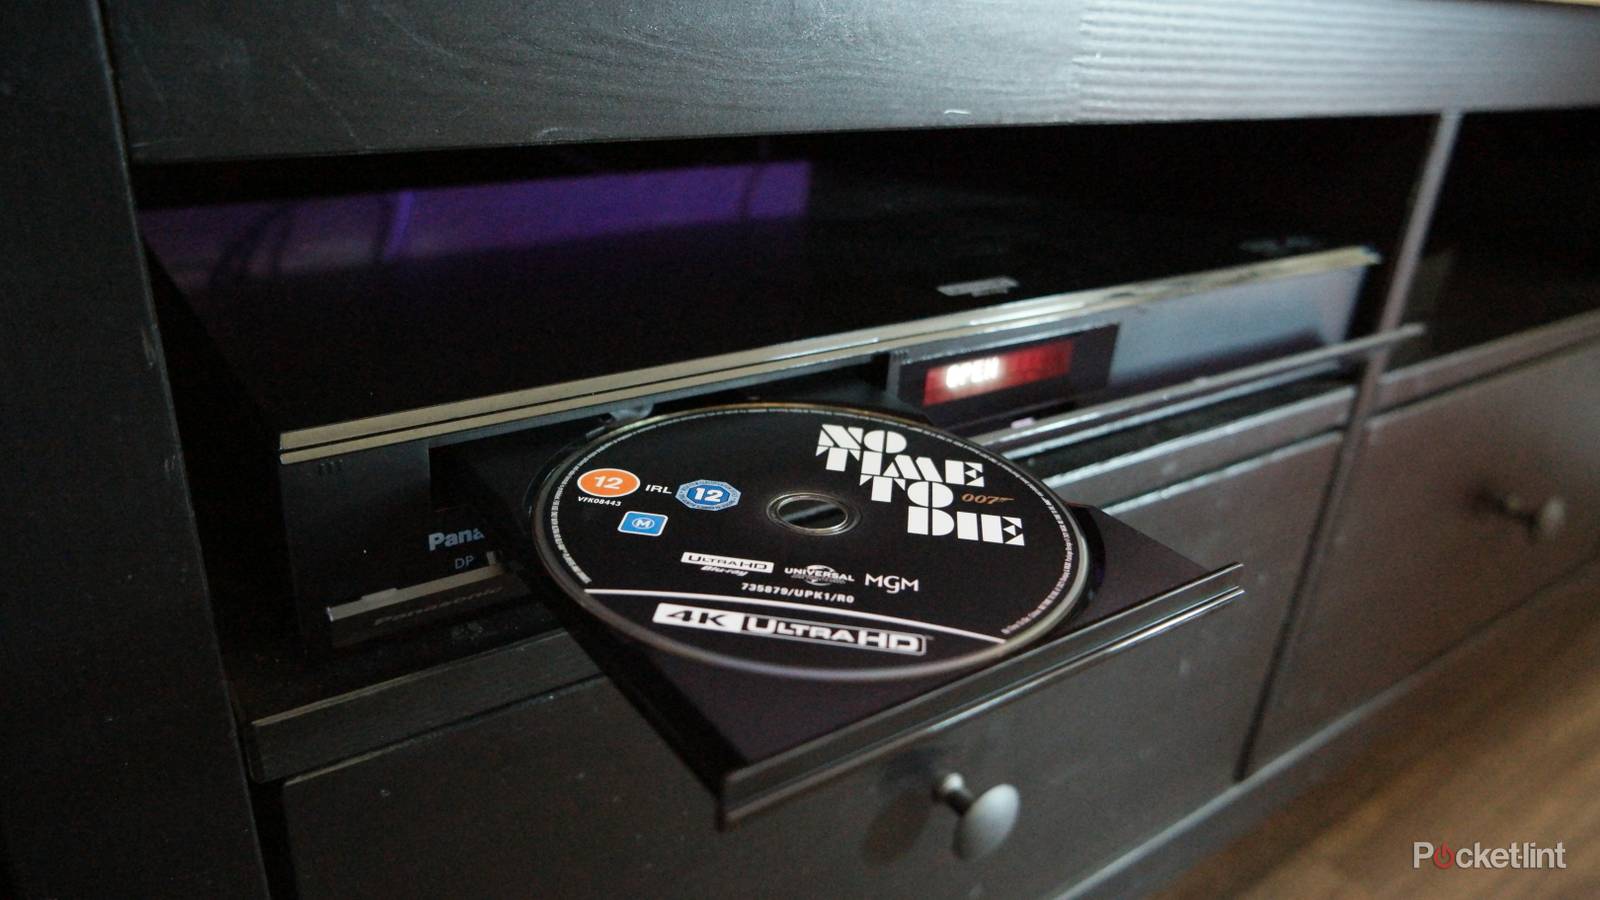
The Blu-ray market has seen a resurgence lately, which is impressive for a format dating back 20 years, and faced with what are undeniably more convenient options. If you don’t care about 4K or HDR, you can spend $10 or less on a streaming service and get dozens of movies and shows each month, all of which will play instantly. Just a single Blu-ray is liable to cost more and take time to ship. When you leave home, you’re probably not going to be watching a Blu-ray movie in a plane or train seat.
In a way, it’s an act of rebellion. People are sick of paying subscription fees for everything, and streaming services are prone to losing your favorite titles based on licensing deals. Some titles never make it online in the first place. For cinephiles, Blu-ray may also offer better bitrates, including lossless Dolby Atmos.
If you’re thinking about dipping your toes into Blu-ray, there are a few things you need to do to maximize the experience. In some circumstances, this is going to involve spending beyond the player and your first few discs.
Choosing the right Blu-ray player
Expect to pay big for the best

If your only concern is physical ownership, I’ve got some great news for you. You can buy a basic 1080p player for $100 or less, and you may not even feel like you’re missing that much. You’ll still get Dolby Digital and/or DTS, and your TV can upscale to 4K resolution. That won’t be as sharp as native 4K, but on anything short of a giant screen, you may not notice the gap.
If you want a genuine edge over streaming, that’s where things get pricey. You’ll have to spend a lot more not just for 4K, but for the full assortment of formats you’re liable to encounter. One of the current gold standards, the Panasonic DP-UB820, costs about $570 — money that might alternately pay for a PlayStation 5, a Steam Deck, or a sizable number of Blu-ray discs.
Beyond native 4K, what you’re mostly looking for at the high end is support for Dolby Vision, HDR10+, and Dolby Atmos. Some discs do support DTS:X audio, but that format isn’t nearly as popular as Atmos, so it shouldn’t be a priority. Note also that I said HDR10+ and not HDR10 — while the latter is fine, HDR10+ is a dynamic standard that can adjust scene-by-scene or even frame-by-frame, just like Dolby Vision. That can make a world of difference. If you own a Samsung TV, Vision isn’t an option.
High-end players may also have multiple HDMI outputs, and advanced onboard upscaling technology. You probably don’t need these unless you’ve got serious home theater ambitions.
Getting your TV’s picture just right
Ports matter more than you think

If it’s at all possible, your player should be connected via HDMI 2.1. While no Blu-ray player can take advantage of that standard’s higher refresh rates, there are several other upgrades over HDMI 2.0 that make a difference, above all eARC support. If both your player and your speakers are connected via eARC (more on that later), you can get lossless Dolby Atmos or DTS:X. I do think lossless is overrated — you may not even be able to tell the difference versus high-grade compressed audio — but access to that option is one of reasons to try Blu-ray, as I said before.
Thanks to something called QMS (Quick Media Switching), HDMI 2.1 also lets you avoid a black screen whenever your player needs to switch refresh rates. You might also benefit from ALLM, which can disengage Game Mode (if necessary) so you get image processing. PCs and consoles don’t really need post-processing, since they already have powerful GPUs.
As for your TV’s software settings, make sure the appropriate HDMI input is set to an “enhanced” mode that supports both 4K and HDR. Your TV’s color depth, meanwhile, should be set to 10-bit, which is required for HDR. You can if you like pick options like 12-bit color or 4:4:4 chroma subsampling, but no Blu-ray player is going to be able to exploit them.
The picture mode I’d recommend is Filmmaker Mode. That name might sound pretentious, but it just sets a specific white point and eliminates most post-processing, bringing you as close as possible to a director’s intent. If you find the mode too dim or desaturated, you can manually customize picture settings, or switch to almost any other preset that isn’t Dynamic, Vivid, or energy-saving. Dynamic and Vivid often kill detail by pushing image processing to the extreme. If Dolby Vision is active, you may be able to fix dark images by switching to that format’s Bright or Custom variants.
Whatever you do, remember to either disable motion smoothing completely, or scale it back to a setting specifically intended for movies. While high levels are fine for sports, all smoothing involves inserting artificially-generated frames. For movies or shows shot at the standard 24 frames per second, this can result in the “soap opera effect,” in which even the most expensive productions will look like they were shot on cheap TV studio cameras from the ’90s. A little blur or judder is preferable, trust me.
Choosing and setting up speakers
Simplicity is a virtue

When it comes to picking speakers, you have to be discerning if you want a cinematic experience. It might be tempting to pick one of the cheapest Atmos-capable bundles you’ll find on Amazon, but be careful — these may be lacking in power or other key features. In fact, don’t assume you need spatial audio at all. While it’s a neat effect, your first priorities should be clarity and bass response across all volume levels. I’d much rather have a crisp, punchy 2.0 soundbar that costs a bit more than cheap discrete speakers that can’t keep up with loud action or quiet dialogue.
If you do want Atmos, what I’d recommend for most people is an HDMI 2.1/eARC soundbar with at least two upfiring drivers to simulate vertical effects. Yes, a system with discrete speakers technically offers more precise object positioning, but an all-in-one product like the Sonos Beam or Bose Smart Soundbar will still sound excellent to most people while being much simpler to install. In an apartment, anything more might not just be overkill, but increase the risk of noise complaints, and create more of a hassle when you need to move out.
Be aware of your TV’s passthrough/bitstream options. Your TV may not play well with Atmos, and probably won’t support DTS at all. Passthrough allows raw audio data to be sent through for decoding by speakers or a receiver, which will probably do a better job even if your TV checks all the support boxes.
Speaker of receivers, the more complicated your setup, the more likely you are to need one, mainly if you want individual speakers for each channel instead of putting a soundbar at the core. In that situation you’ll want to connect the Blu-ray player to the receiver for audio decoding, and use video passthrough to get images on your TV. As I suggested a moment ago, I feel like this is often more trouble than it’s worth. The one exception is if you’re taking the home theater concept literally — a receiver is essentially unavoidable if you want a system with ceiling satellites.


5/5