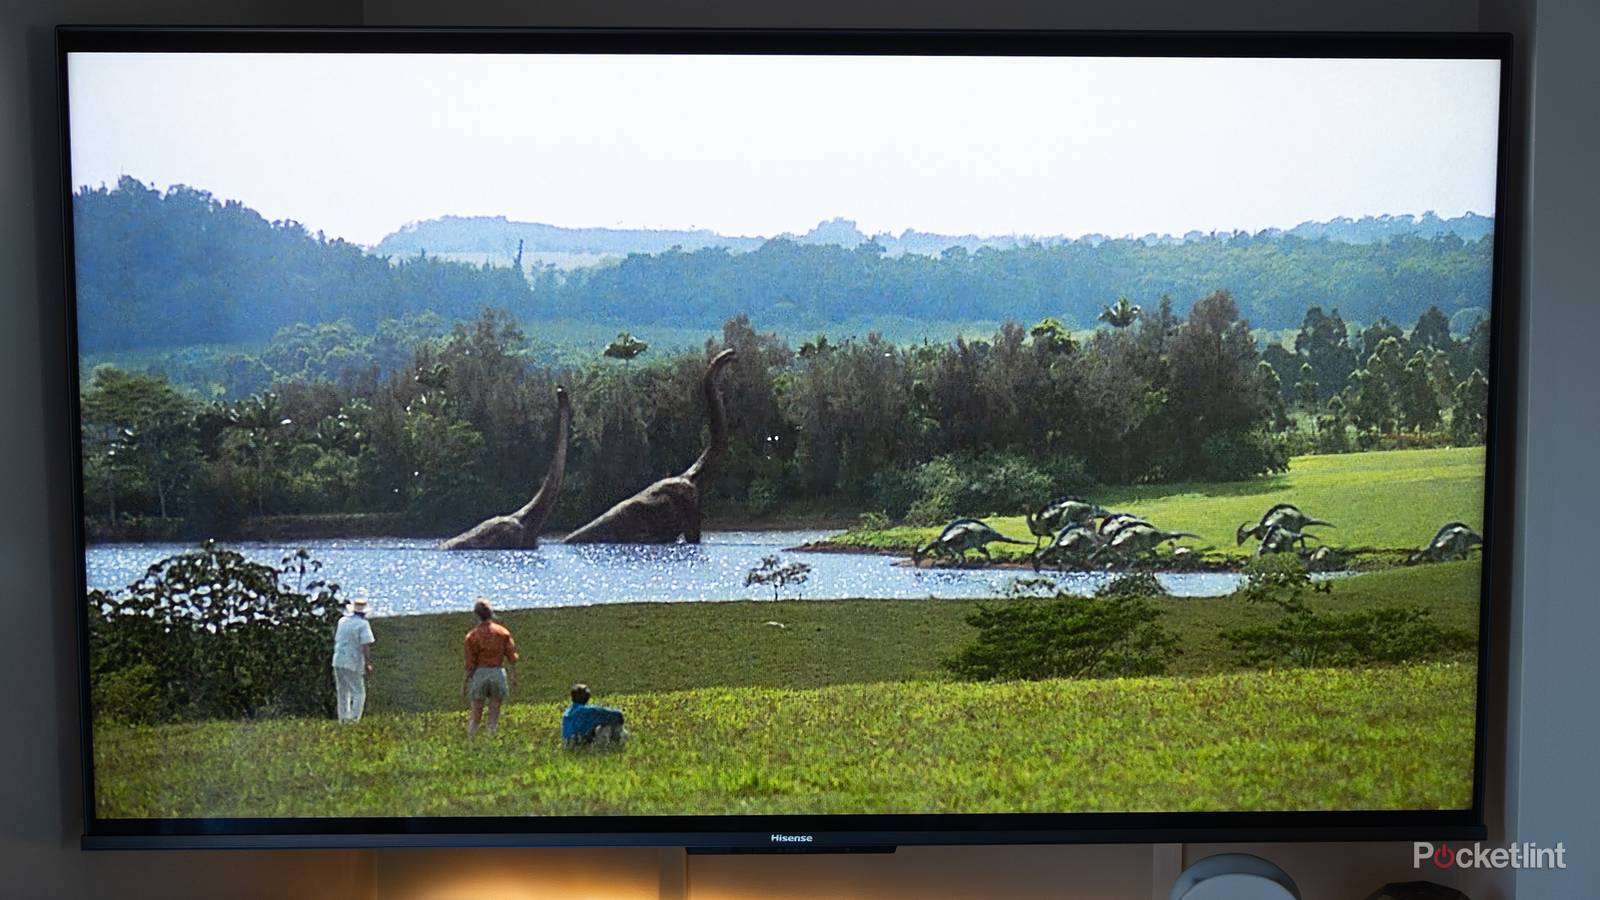
You wouldn’t know it from browsing shelves, but Hisense is a relative newcomer to selling TVs in North America. It didn’t come to the US until 2013, and for a while, it still felt like a budget brand. Today, Hisense is ubiquitous in the country, and you can buy some genuinely high-end products, such as laser projectors and RGB mini-LED TVs.
I own a Hisense TV myself, a U68KM mini-LED. I’m pretty familiar with the company’s take on Google TV, which represents most of its lineup. It does support other platforms, namely Roku, Fire TV, and Vidaa — but there are fewer available models for those, and really, its best products are all on the Google side. I’m sticking to that for the sake of this guide.
Switching to Filmmaker Mode (or Theater Day/Night)
Get the true picture

You should never stick with a TV’s default picture mode. I forget exactly what my U68KM was set to, but most TVs are primed with extreme modes that might catch your eye in a store, but kill the detail you want for daily viewing. They may sometimes include features like motion smoothing and noise reduction, both of which are usually terribly implemented, taking the experience from bad to worse. Quentin Tarantino will personally break down your door if you use those options.
These days, I prefer Filmmaker Mode. This eliminates all post-processing and sets a D65 white point, the goal being to recreate a director’s intent as best as possible. Some people feel it’s too dim or desaturated, but you’re not stuck with it as-is — you can manually adjust factors like brightness and saturation to compensate. Filmmaker is merely a good baseline, and a shortcut to eliminating all the junk.
Alternately, you might consider Hisense’s Theater Day and Theater Night modes (sometimes labeled Cinema Day and Cinema Night). These are relatively subdued. Of the two, I prefer Theater Night, which adds a pleasant warmth. Note that you should always switch to Game Mode if you’re connecting a PC or console, as post-processing will not only be redundant, but a source of input lag.
Disabling all energy-saving features
The most pointless TV technology?

Normally, I love the idea of features that both save me money and reduce environmental impact. It’s why I insist on smart thermostats. On a TV, however, energy-saving modes are utterly pointless. These cap overall brightness, along with features like HDR performance and high refresh rates, sabotaging the very thing you buy a new TV for: image quality. It’s akin to buying a Porsche and doing nothing more than driving to work or soccer practice.
With Hisense TVs, picking a better picture mode is only the start. You should also locate and disable any energy-saving options in the General, Picture, and/or System menus. One example is auto-brightness, a.k.a. Intelligent Scene or Automatic Light Sensor. It’s great in theory, but in practice, it’s likely to keep things dimmer than they ought to be. Calibrate brigthness manually. You should also keep backlight performance as high as possible, including both local dimming and peak brightness.
If your TV supports Dolby Vision IQ, make sure that’s on. It’s not actually an energy-saving measure — it’s geared to genuinely enhance HDR under different lighting conditions.
Setting all HDMI inputs to Enhanced
Don’t cripple your console or Blu-ray player

Something that genuinely baffles me is Hisense’s Standard setting for HDMI inputs. The name is a contradiction — what it actually does is maximize compatibility at the expense of performance. With any TV brand, I’ve never once encountered an issue where plugging a device into the correct input still triggered a compatibility error.
If you haven’t already, you need to immediately head over to Settings -> Channels & Inputs and switch every HDMI connection over to Enhanced. Depending on your TV, there may be different flavors of Enhanced, for instance geared toward Dolby Vision, VRR, or simply the highest possible refresh rate. If you’re forced to choose, pick Vision for something like a Blu-ray player, and VRR/refresh rate for PCs and consoles.
If you leave things on Standard, you may get acceptable audio and video quality — but you could, for instance, find 4K video limited to a 60Hz refresh rate without VRR, no matter if your TV supports 120Hz or higher. That will affect motion smoothing, and above all gaming. The framerates of 3D games can vary wildly, and if there’s a mismatch with panel refresh, you’ll run into artifacts like stuttering or screen tearing. This is also why you should always plug a PC or console into an HDMI 2.1 or 2.2 port, not 2.0.

- 4K Capability
-
Yes
- Brand
-
Valve
- Game support
-
Steam
- Storage
-
512GB, 2TB