


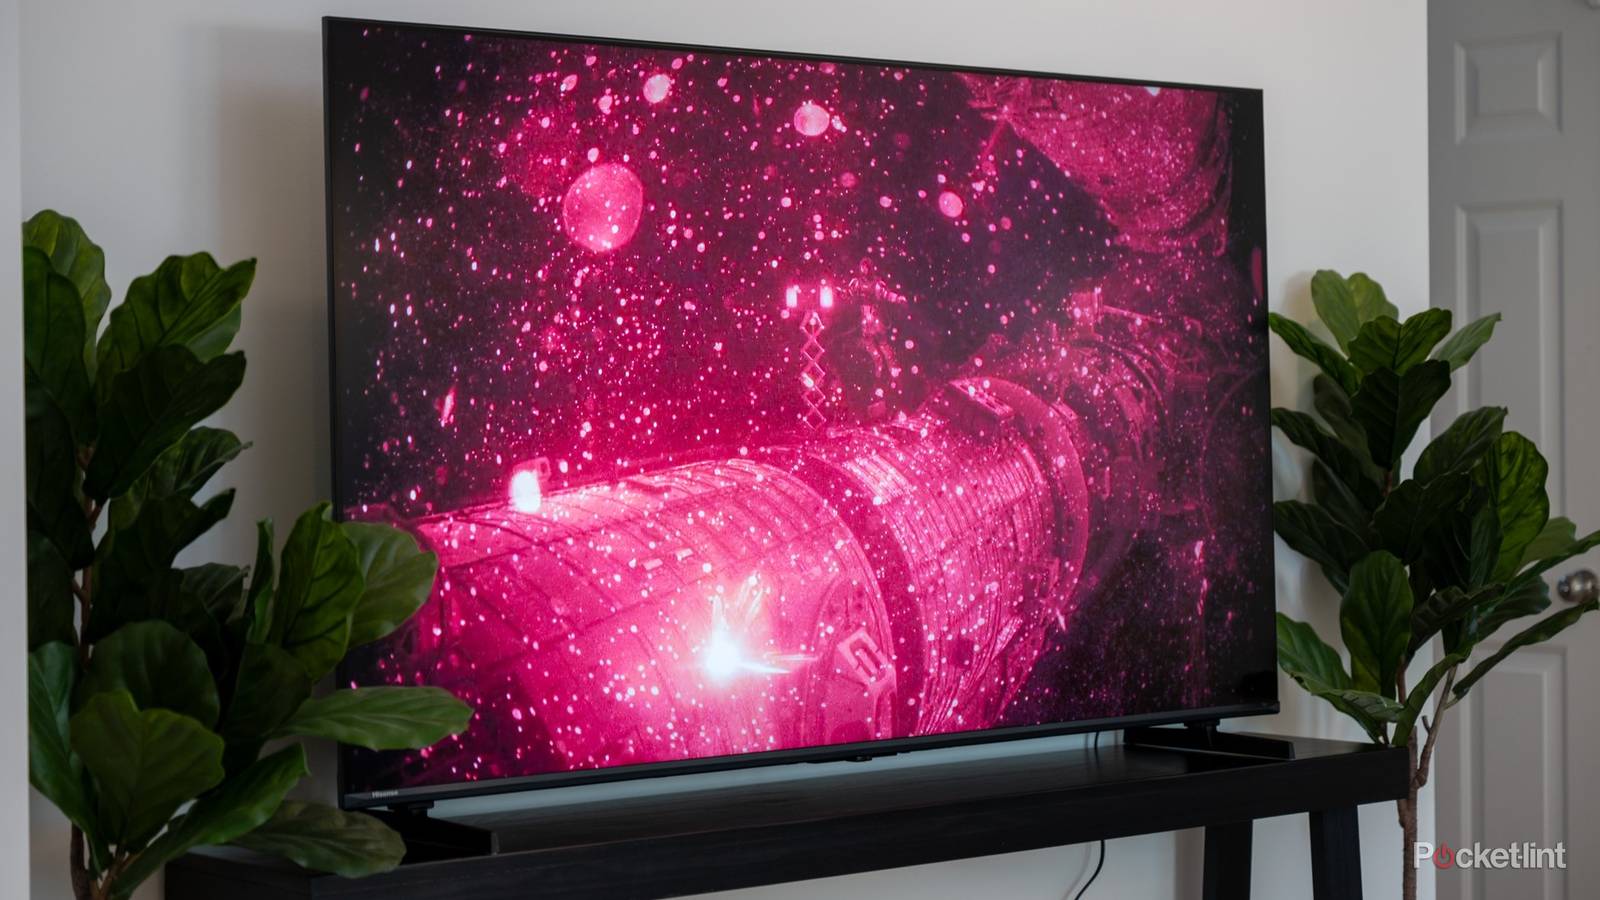
Honestly, I think Google TV is rapidly becoming my preferred TV platform, at least when I can’t hook up an Apple TV 4K. Sure, you do have to put up with banner ads and disable ACR, but those ads are relatively easy to ignore, and most of the platform’s competition is lacking in key areas. Fire TV, for example, can be obnoxious about its promotions, and Roku doesn’t have anything to compete with Gemini AI commands. Samsung’s Tizen interface is needlessly confusing.
Google TV isn’t necessarily firing on all cylinders out of the box. There are a bunch of changes you can make for better audio and video, and in fact I’m going to group some of these together (where it’s logical) to cram in as many as possible.
Switching to Filmmaker Mode or Dolby Vision Bright
How to slay several demons at once

I keep harping on this topic, but you really shouldn’t stick with your TV’s default picture modes. Options like Dynamic and Vivid might seem appealing, and even look good in the store, but often dial brightness, saturation, sharpening, and other settings up to levels that kill detail. They may also incorporate noise reduction and motion smoothing, which just aren’t handled well enough on most TVs. The Wizard of Oz should not have the same feel as a 2026 NFL broadcast.
On just about any TV, the quickest solution is to enable Filmmaker Mode. This disables all post-processing features and sets a neutral D65 white point. That might sound too far in the other direction, but extra processing is often unnecessary, and you can use the mode as a baseline for subtler tweaking. It’s no crime if you want brightness or color warmth a little higher.
With sets that support Dolby Vision, be sure to use Dolby Vision Filmmaker Mode or Bright. The first is just a shortcut that kicks in whenever Vision is active, otherwise being similar to regular Filmmaker Modes. Some people find it too dark on their TV, however. Bright can improve Vision’s performance in dark scenes without the drawbacks of cranking up overall brightness.
Flipping HDMI inputs over to Enhanced, and matching framerates
A fully armed and operational battlestation

It might surprise you to learn that some Google TVs ship with their HDMI ports crippled. By that, I mean manufacturers like Hisense set them to a mode that ensures compatibility, but prevents them from exploiting their full bandwidth. It’s all the more ironic given that I’ve never heard anyone complain about HDMI compatibility issues.
Go to Settings -> Channels & Inputs, and toggle each HDMI input over to Enhanced (or a similarly-named equivalent). You may be offered multiple options depending on the features you need. If you’re just connecting a Blu-ray player or media streamer, pick a mode that focuses on HDR (e.g. Dolby Vision). If you’re connecting a PC or game console, refresh rate is king. You’ll want a mode that promises VRR and/or refresh rates of 120Hz or higher, although that’s only meaningful with HDMI 2.1 or later.
Under Settings -> Display & Sound, you may have the option to match framerates with content. That will improve (natural) motion smoothness, but potentially at the expense of a black screen while your TV switches framerates, say between 30 and 24fps. You shouldn’t get this disruption on TVs that support both VRR and 120Hz-plus refresh rates, and indeed, the option might not be present at all.
Enabling dialogue clarity and/or passthrough
Depending on your rig

When you’re just using your TV’s built-in speakers, one of the easiest improvements is dialogue enhancement. This will potentially affect the overall sound balance — but if you have trouble understanding characters and don’t want to rely on captions, it’s worth it. Navigate to Settings -> Display & Sound -> Audio -> Sound Mode (or a similar menu) and turn on Dialog Enhancer. There should be multiple levels available. I’d always recommend experimenting with the lowest setting first, since that will keep you closest to the original audio mix.
Note that if you’ve got an external speaker system, you should always prefer its native enhancement options. Going a step further, I’d suggest manually tweaking EQ settings whenever it’s allowed. That can make dialogue clearer without sacrificing dynamic range, and enhance more than just talking heads, say if you want a touch more bass at the same time.
Continuing on the external speaker theme, you may in some cases want to enable passthrough (a.k.a. bitstream) under Audio options. The reason is that if you have a receiver or high-quality soundbar, that will probably do a better job of decoding formats like Dolby Atmos. Some receivers can upmix stereo into surround. If your speaker system supports DTS formats, passthrough may be the only way of experiencing them, as many TVs don’t include DTS processing.


