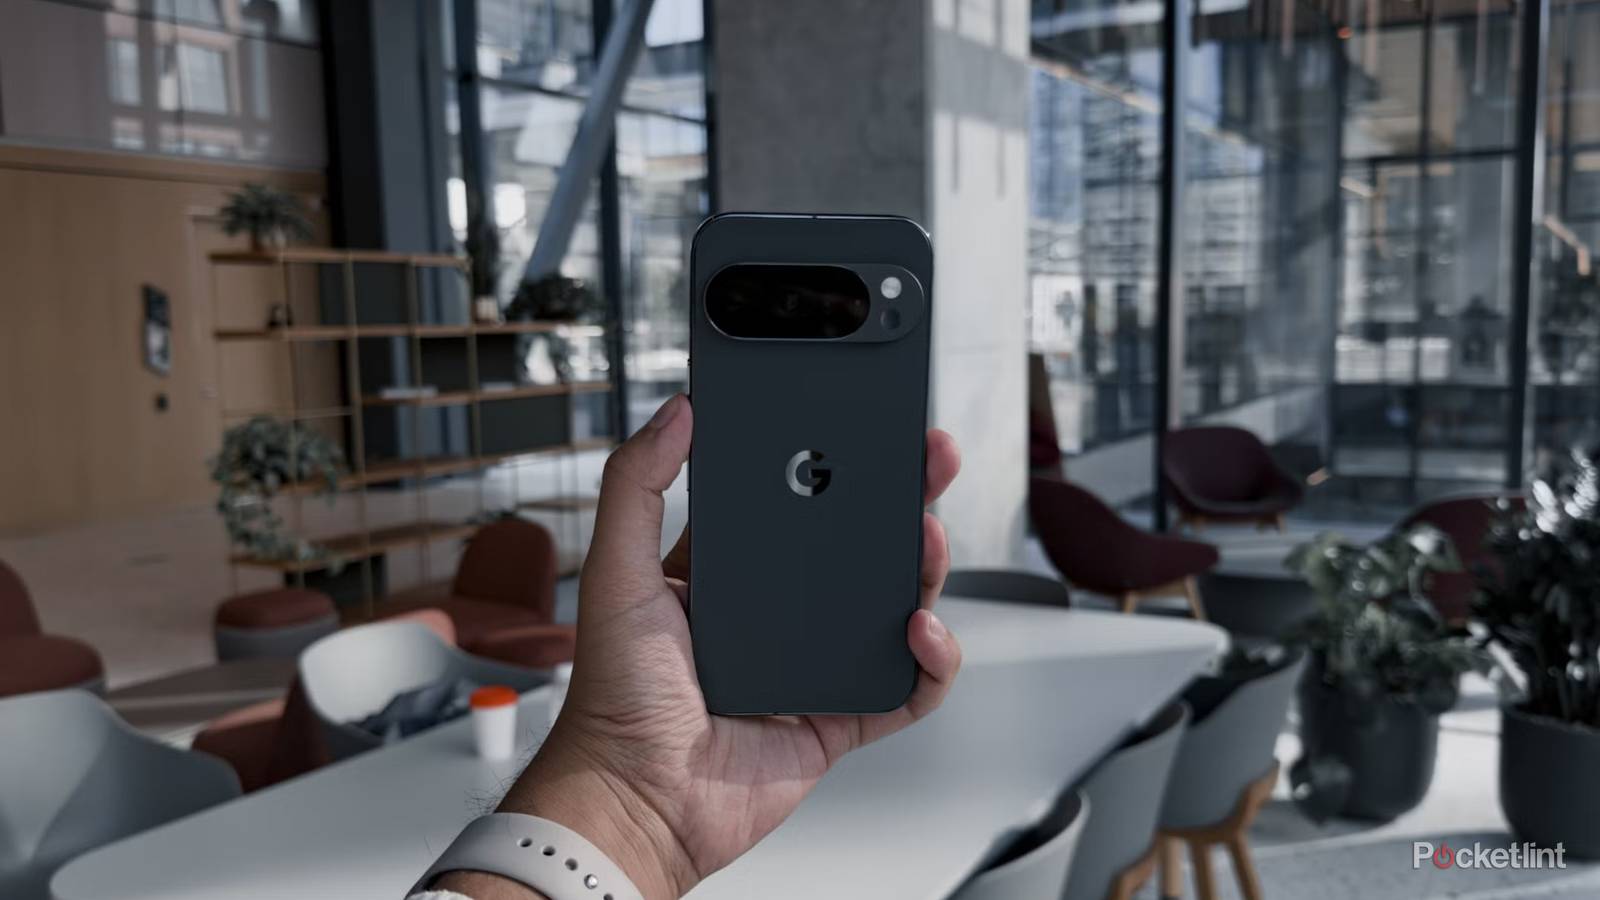
While there are still plenty of reasons to own a standalone camera, many people have replaced cameras with their phones. Over the years, smartphone cameras have really closed the gap, and unless you’re looking to shoot on film, I’d wager that your smartphone camera is more than enough. I have a Google Pixel 9a that can snap some nice pictures, but it was not until I decided to dig into the settings that I really optimized my pictures. This is how I also found out about Gestures.
I wouldn’t consider myself to be an expert photographer by any means, but I’ve been happier with what I can snap since changing some simple settings. If you’re looking to upgrade your photography on your Google Pixel, then perhaps these changes could be of some help. If you don’t like these changes, you can rest assured that it’s very simple to change things back to the way they were. There’s nothing wrong with using default settings at the end of the day.

- Brand
-
Google
- SoC
-
Tensor G4, Titan M2
- Display
-
6.3-inch 1080 x 2424 pixel resolution pOLED, (422.2ppi), 60-120Hz variable refresh rate, 1,800 nits (HDR), 2,700 nits (peak brightness)
- RAM
-
8GB
- Storage
-
128GB/256GB
- Battery
-
5,100mAh
Change your grid type to Golden ratio
Never doubt yourself again

Thinking I had something in the center of the frame only to realize that’s not the case after taking a picture has happened to me more times than I’d like to admit. I eventually stumbled across the Golden ratio setting. This can be found in the Photo settings part of your camera app. Click the gear icon in the bottom left corner and go into Camera settings to find the Grid type settings.
The Golden ratio breaks the picture up into nine different squares, but you’ll notice they aren’t all the same size as you’d see on a 3×3 or 4×4 grid, and it lets you find out exactly where the center of your photo is. This has been the single biggest upgrade to my photo-taking experience, and at minimum, this is what I’d recommend everybody do as soon as they open up their camera app. You’ll notice an instant improvement in your pictures, and if you’re like me, you’ll be kicking yourself for not finding out about this setting earlier.
Toggle those framing hints on
The level comes in handy

Not only is it important for you to get something directly into the center of the frame, but you will also want to make sure your photo is level. You can do this on the same page as the Golden ratio settings, and what you’re looking for is the setting that says framing hints. The biggest thing for me was the level that let me know how many degrees I was off by when I was about to snap a picture. Instead of having to rely on something like Canva to flip my picture ever so slightly, I can just make sure it’s done when I take the picture.
It might be obvious that having perfectly centered and framed photos is better than the alternative, but now you can guarantee you won’t run into any trouble. It’s odd, but this framing tool showed me that I was often off by a few degrees with each picture I took. This wasn’t a major problem for me, but now I have eliminated the issue and no longer worry about it.
Play around with zoom levels
2x zoom works more often than you’d think

I usually stayed at the basic zoom level, but that’s because I never thought I needed to do anything more. Sometimes I’d pinch my fingers on the screen to zoom in, but I found that clicking the actual 2x zoom button in the center of my screen isn’t a bad idea. Similarly, the .5 zoom is a good way to get more in frame without sacrificing much quality. Obviously, your mileage will vary, and it’s not like every picture is going to look better with a zoom on it.
There probably aren’t many situations where an 8x is handy unless you’re trying to read the fine print on something. What I would do is stick with the two default options and see how the pictures look with those before experimenting further. In my experience, those are the two options that have looked the best, but you might find something that works better for you. Personally, I don’t like to zoom in and see how many dust particles are floating around on my devices that are invisible to the naked eye.
Turn on Quick access controls
Change your brightness and white balance with ease

Brightness, white balance, and shadows are three things that can make or break a picture. I wouldn’t say that I’ve learned the best ways to use these settings, but I’ve been using them a lot more since turning on the Quick access controls. Instead of having to click a bunch of buttons and hoping I picked the right settings, this setting, which is found on the same page as framing hints and grid ratio, makes it so that when I click on the circle in the center of the screen, it brings up sliders for each setting directly on the screen.
From there, you can drag to the setting that you want and get an updated look in real time. I find this to be a much better option, mostly because I can instantly see the difference in what I’m doing. It takes a lot of the guesswork out and leaves me more time to take pictures.