


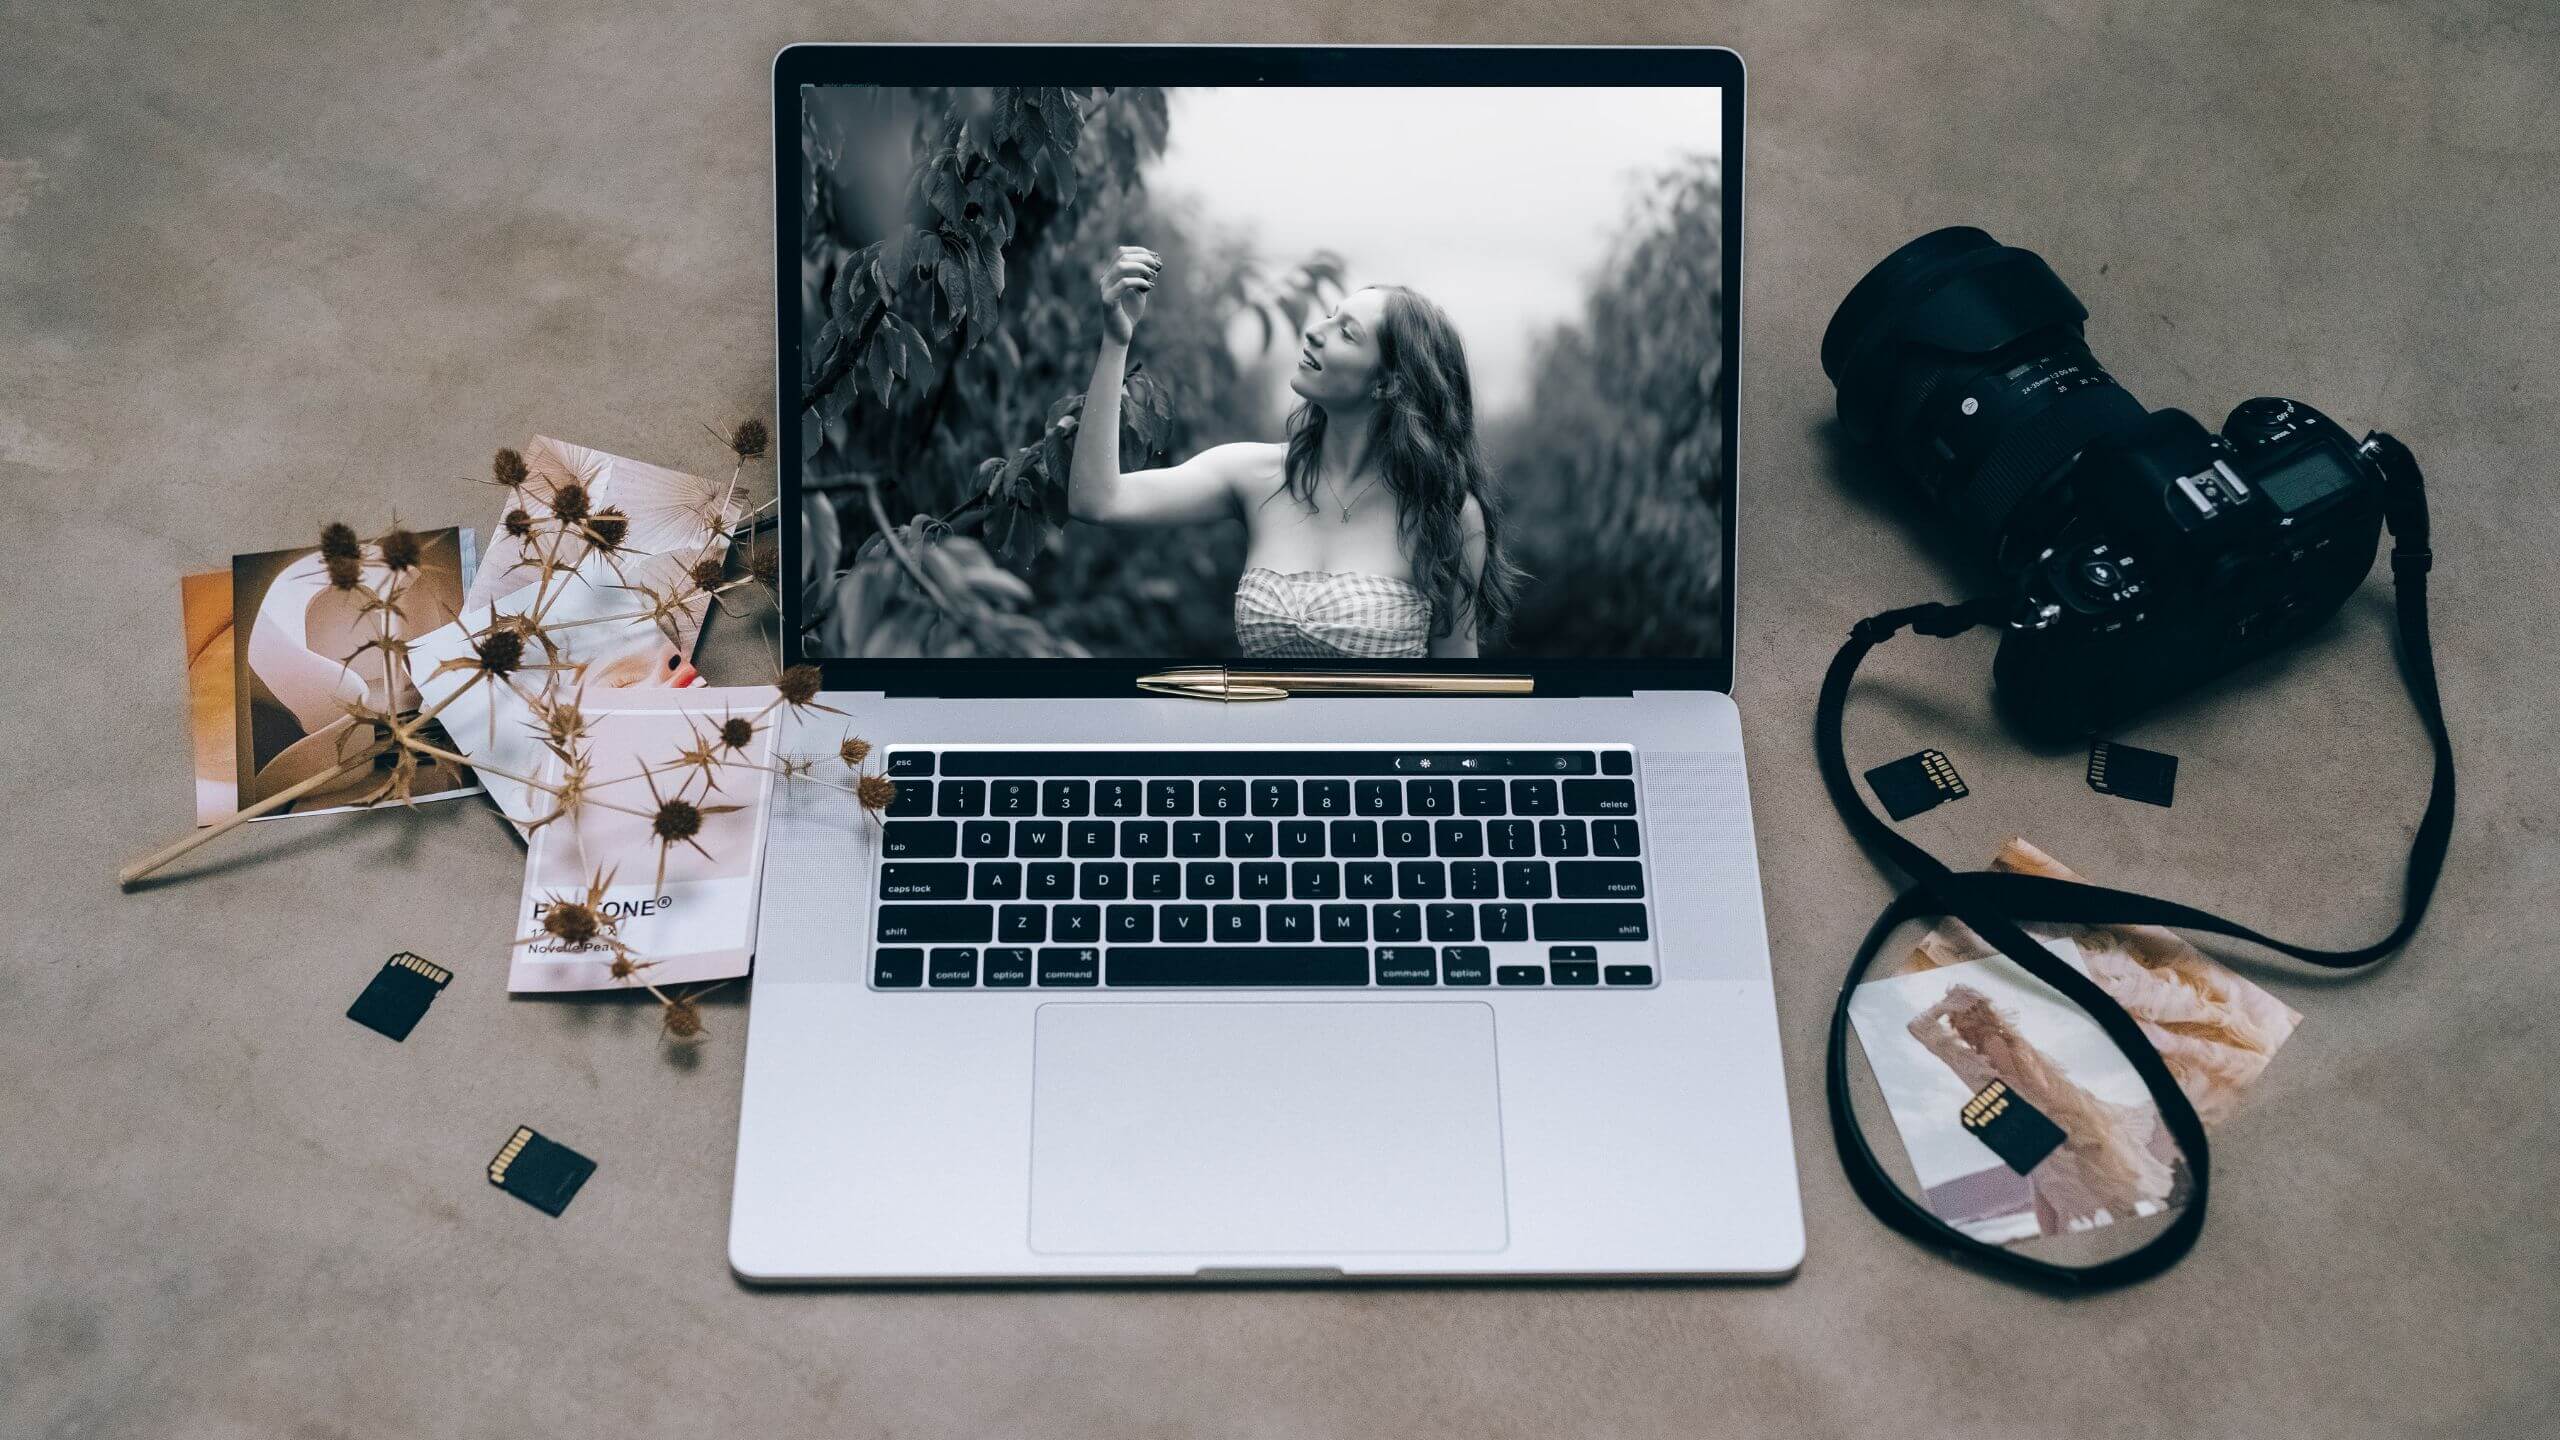
Photography is only half the battle when creating stunning portraits; the other half lies in post-processing. Establishing a streamlined editing workflow is crucial to save time and maintain consistency in your edits. Here’s my step-by-step guide to help me efficiently handle my portrait photography, from transferring files to applying the final edits. I hope it helps you too.

Step 1: Transferring files from SD card to PC
I start by connecting my SD card to the computer. Creating a dedicated folder on my hard drive or external storage device to keep my files organized. A typical folder structure might look like this:
Portraits > 2025 > January > Client_Name_Session_Date
This system ensures my files are easy to locate later. I copy the entire folder from my SD card to this directory. I avoid working directly from the SD card to prevent data loss or corruption. I can always delete any files I really don’t want.

Step 2: Folder storage and backup
Primary Storage: I use my computer’s SSD hard drive for speedy access during editing.
Backup: I always create at least one backup of my files. Options include:
- NAS or RAID systems: Network-attached storage (NAS) or RAID systems are excellent for creating robust, scalable backups. These systems provide automated redundancy, ensuring your files are safe even if one drive fails. A NAS setup also allows you to access files from multiple devices over your network. I have a Synology NAS System.
- Cloud services: Services like Google Drive or Dropbox provide off-site redundancy.
- External drives: Use external drives for a physical backup option.

Step 3: Culling and sorting with Aftershoot
Culling is the process of selecting your best images. I adore Aftershoot it is an AI-powered tool that can save hours by automatically rating and grouping my photos based on sharpness, composition, and facial expressions. It does cost money, but totally worth it in my opinion.
How to use Aftershoot?
- Import my photos into Aftershoot.
- Let the software analyze and rate my images.
- Review and tweak the selections if needed.
- Export the shortlisted images to a new folder labelled, for instance,
Portraits > 2025 > January > Client_Name_Session_Date > Selected.
Alternative tools: Photo Mechanic or Lightroom’s Library module can also be used for culling. But I find Aftershoot much quicker.

Step 4: Importing into Lightroom
Open Adobe Lightroom and import my selected images:
- Click Import and navigate to my Selected folder.
- Apply metadata templates, such as copyright information, during import. Well sometimes, but I also often skip this step – so lazy, right?
- Organize photos with keywords like “Portraits,” “Studio Lighting,” or the client’s name. Again I often skip this step due to laziness.
Step 5: Editing in Lightroom
Lightroom is excellent for global adjustments and initial enhancements. Here’s my suggested workflow:
- Basic Adjustments: Start in the Develop module with white balance, exposure, and contrast.
- Tone and Color: Use the Tone Curve and HSL sliders for precise adjustments.
- Detail and Noise Reduction: Sharpen my image and reduce noise if necessary.
- Crop and Straighten: Adjust composition as needed.
If I’m happy with the results, I export the images for delivery or I move onto Photoshop for further refinement.

Step 6: Advanced editing in Photoshop
For more intricate edits like skin retouching, background enhancements, or composites, Photoshop is my go-to tool:
- Skin Retouching: I have my own PS Actions that I frequently use, it’s similar to frequency separation in some ways but much easier.
- Background Adjustments: Replace or enhance backgrounds using masks and adjustment layers.
- Creative Effects: Add overlays, textures, or creative colour grading.
Step 7: Exploring alternative software
While Lightroom and Photoshop are industry standards, other software options can complement or replace them depending on your needs. Here are a few others I play with from time to time:
- Luminar Neo: Excellent for quick AI-powered adjustments and creative effects.
- Aperty: A versatile tool designed for streamlined portrait editing with user-friendly features and creative enhancements.
- DXO PhotoLab: Known for its exceptional noise reduction and lens corrections.
- DXO NIK Collection: I adore using various applications within NIK to add the final touches to my images.
Each tool has unique strengths, so experiment to find the best fit for your workflow. Mine above is just what I work with.

Step 8: Exporting and delivery
Once my edits are complete:
- I export my images in the desired format and resolution. Use high-quality JPEGs for client delivery and TIFFs for archival purposes.
- Store the final images in a dedicated folder such as
Portraits > 2025 > January > Client_Name_Session_Date > Final
Deliver the images through platforms like Pixieset, WeTransfer, or Dropbox.
Wrapping Up
A well-defined workflow can transform your editing process, making it more efficient and enjoyable. By organizing your files, using powerful software like Aftershoot, Lightroom, and Photoshop, and considering alternatives like Luminar Neo and DXO PhotoLab, you can focus more on creativity and less on tedious tasks.
Did I miss anything? What does your editing workflow look like? Share your tips and favourite tools in the comments below!