


As a MacBook Pro loyalist for over a decade, I could never have imagined completing a full day’s work on a tablet like an iPad. I was too cozy with macOS, and the growing pains that would come with switching to iPadOS weren’t worth the trouble. In fact, for years, I’d scoffed at the very idea of writing articles, editing other work, and doing my freelance social media marketing all from a single tablet — even if it was made by Apple.
iPads were for drawing, streaming, and checking email on the go. That is, until iPadOS 26 added a feature that changed the way you could be productive on the tablet. Before, Apple couldn’t have sold me on an iPad over a MacBook. But with the new workflow I use now, I could easily leave my MacBook behind for a week. Here’s how I multitask on my iPad like a Mac.

- Brand
-
Apple
- Storage
-
128 GB
- CPU
-
A16
- Operating System
-
iPadOS
Apple’s most colorful iPad model complete with the A16 chip.
Set up Stage Manager
Yes, I caved

I stayed away from Stage Manager for years, mostly because colleagues and friends warned me away from the feature. But the productivity option got an upgrade with iPadOS 26: Windowed Apps.
Windowed Apps is its own multitasking option that lets you resize and rearrange a number of windows on your screen, just like you would on a Mac. Enabling it (Settings > Multitasking & Gestures > Windowed Apps) will make a small white line appear in the lower right-hand corner of your windows, which you can drag to resize. You can also tap and hold the top of the window to move it around the screen, just like a Mac.

It’s nice on its own, but you quickly run out of space (especially if you’re using an 11-inch model like mine). However, Windowed Apps snuck into Stage Manager and finally made it the multitasking tool users have been asking for.
To enable Stage Manager, open Settings > Multitasking & Gestures > select Stage Manager.
The new Stage Manager has everything that Windowed Apps does, but it takes it up a notch by including different stages on the left-hand side of your screen. This immediately resonated with me, because it felt like switching between the various desktops with a four-finger swipe on my Mac’s trackpad. You can use a four- or five-finger swipe to switch between the stages on your iPad, too.

Each stage essentially serves as its own group of windows, so I create four different windows to switch between, usually dedicated to the following:
- Communication apps (Mail, Slack, Messages)
- Social media apps (Instagram, Facebook, etc.)
- Music and entertainment apps (Spotify)
- Content creation apps (Google Docs, Notes, my content management system, etc.)
This way, I can quickly swipe between stages if I need to reference material from one to drop into another. Stage Manager gained one more loyal follower the moment iPadOS 26 gave it the glow-up I needed.
Easy arranging and Slide Over mode

Red light, green light, one-two-three! The stoplight menu that appeared on iPads with iPadOS 26 is anything but child’s play, but it made me just as giddy. In each window’s upper left-hand corner, there’s now a familiar red, yellow, and green circle menu straight from macOS. The buttons function the same, too: red closes the window, yellow minimizes it, and green expands it to full-screen. But there’s another little trick hiding here that makes rearranging your windows even easier than dragging them around.
If you tap and hold the stoplight menu, a dropdown will appear that lets you move, resize, fill, or arrange your windows in a preset order. It’s a cleaner (and faster) way to organize your screen. I use it mostly for splitting my screen or tiling multiple apps evenly. The three-column layout is my favorite — especially for researching, note-taking, and content creation all in one window.
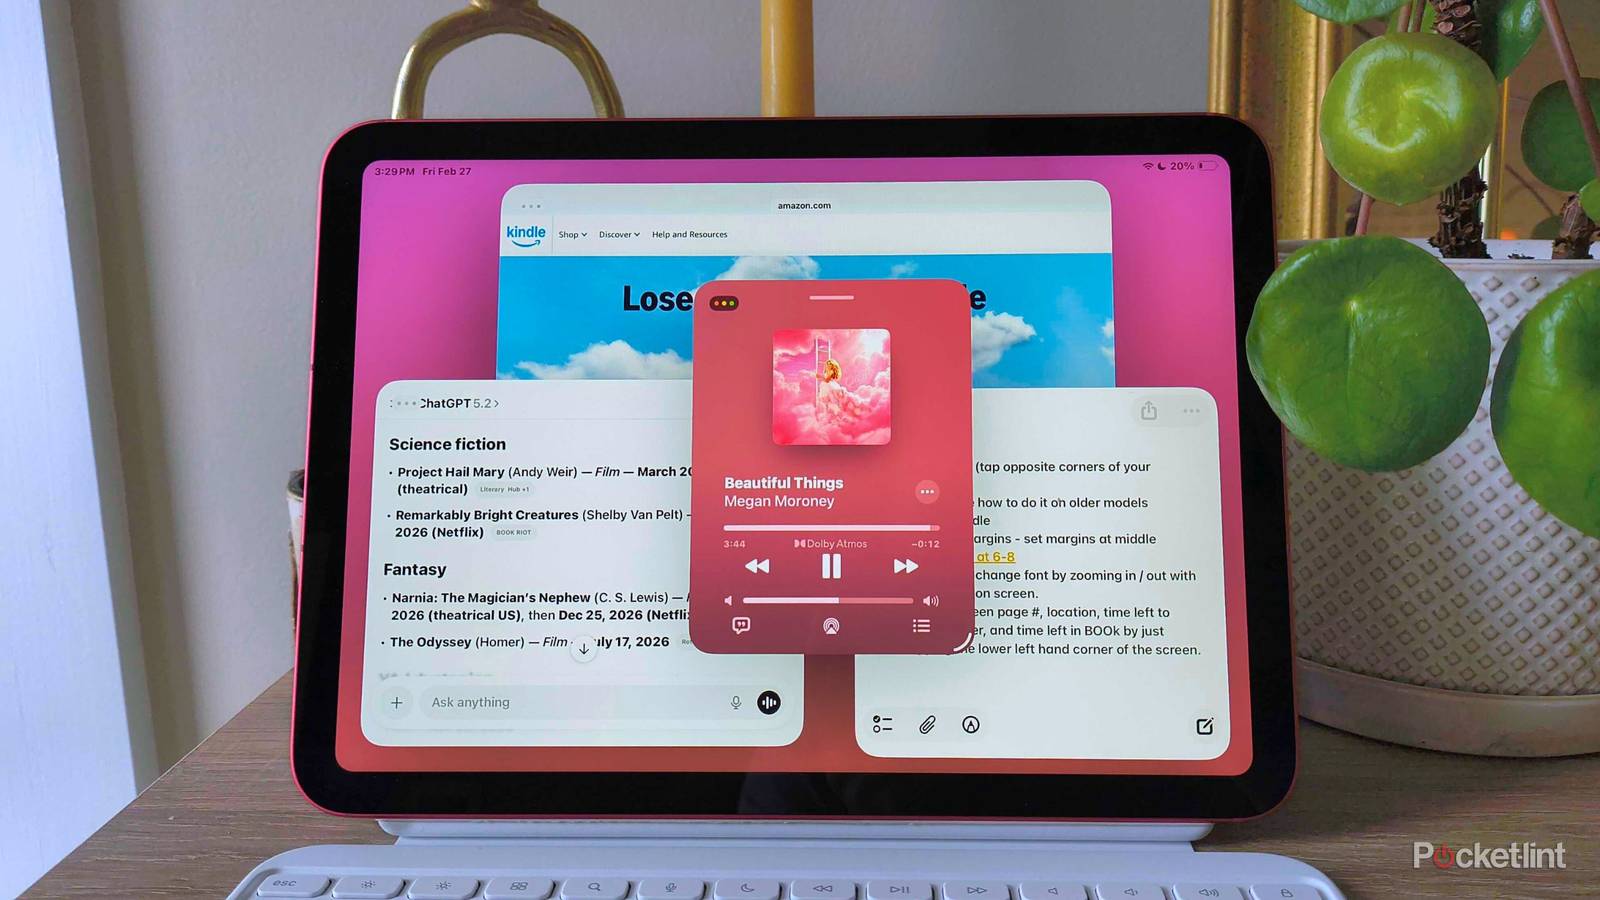
There’s also an option to put that window in a Slide Over mode, which lets you hide that app off-screen if you don’t want it taking up space. I usually reserve this for music and treat it like a pop-out mini player, just like I do with Apple Music on my laptop.
If you want to replace an app in Slide Over mode, you can drag a new app from your dock and hover it over the Slide Over window. It will fill the space and replace it when you drop it in.
Other familiar features from macOS
Just like home

On a Mac, there’s a menu bar at the top of your screen that gives you even more control over whatever application you’re using. It’s the one with File, Edit, View, History, Help, etc. This didn’t exist on the iPad before, and it made me feel a little helpless when it came to the apps I had opened on my tablet.
Lo and behold, iPadOS 26 brought that feature to the table, too. Now, you can swipe gently from the top middle of the iPad screen to reveal that menu bar, which looks almost identical to a Mac’s. If it doesn’t work, make sure to go back into Settings > Multitasking & Gestures > and toggle “Swipe to Reveal Menu Bar” on.

The last feature I cherished on my Mac that made its way to my iPad is Exposé. On a Mac, if you swipe up on your trackpad with four or five fingers, it reveals all your windows and desktops spaced neatly where you can see them all. It’s a lifesaver when you just can’t find that one window you lost on the screen, which used to be a huge problem for me on my iPad, even with window/app tiling.
Now, Exposé lets you see all your open apps on iPad, too. However, to access it, all you need to do is swipe up and hold with one finger to see the app windows spread out nicely across your screen. If one of your stages has multiple app windows in it, the preview will show both windows and include both app icons at the bottom.