


When you work with a wide angle lens there is some distortion inherent in the image. Tilt the camera up and it really rears its ugly head. Here are some thoughts on working through the problem. See this image article on noise reduction for the start of this photo.
Distortion
Any wide angle lens is going to show some distortion, especially toward the edges of the photo. You can leverage it into a very different image, using it to exaggerate the effect. The further you tilt the camera up the greater the distortion. The are some ways to combat this effect. Number one is to get the camera level. When level, the lens will report the most accurate, least distorted result. If you have to tilt the camera to get the subject in the image it’s time to mitigate the problem in post production.

Correcting distortion in post production
Working in Adobe Photoshop is my go-to for post production. Using layers allows for lots of creative solutions. If you have enough room around your subject one of the ways to correct is to use the Perspective Tool. But, you need to use it judiciously. As you shift the lines to get your edges to straighten up you change how the subject looks which becomes another issue. A small change might not be noted. The further you adjust the more funky it gets and often will leave you without a square image.

Layers in Photoshop
Note that the center of an wide angle lens photo contains the least distortion. As mentioned above, correcting the edges messes with the center. In landscape work, my solution is to put the problem areas on their own layers. Once that was done, I rotated the edges and placed them in position that more represents how the eye sees the scene. Mask ing and blending the resulting movement is crucial.

What do you think?
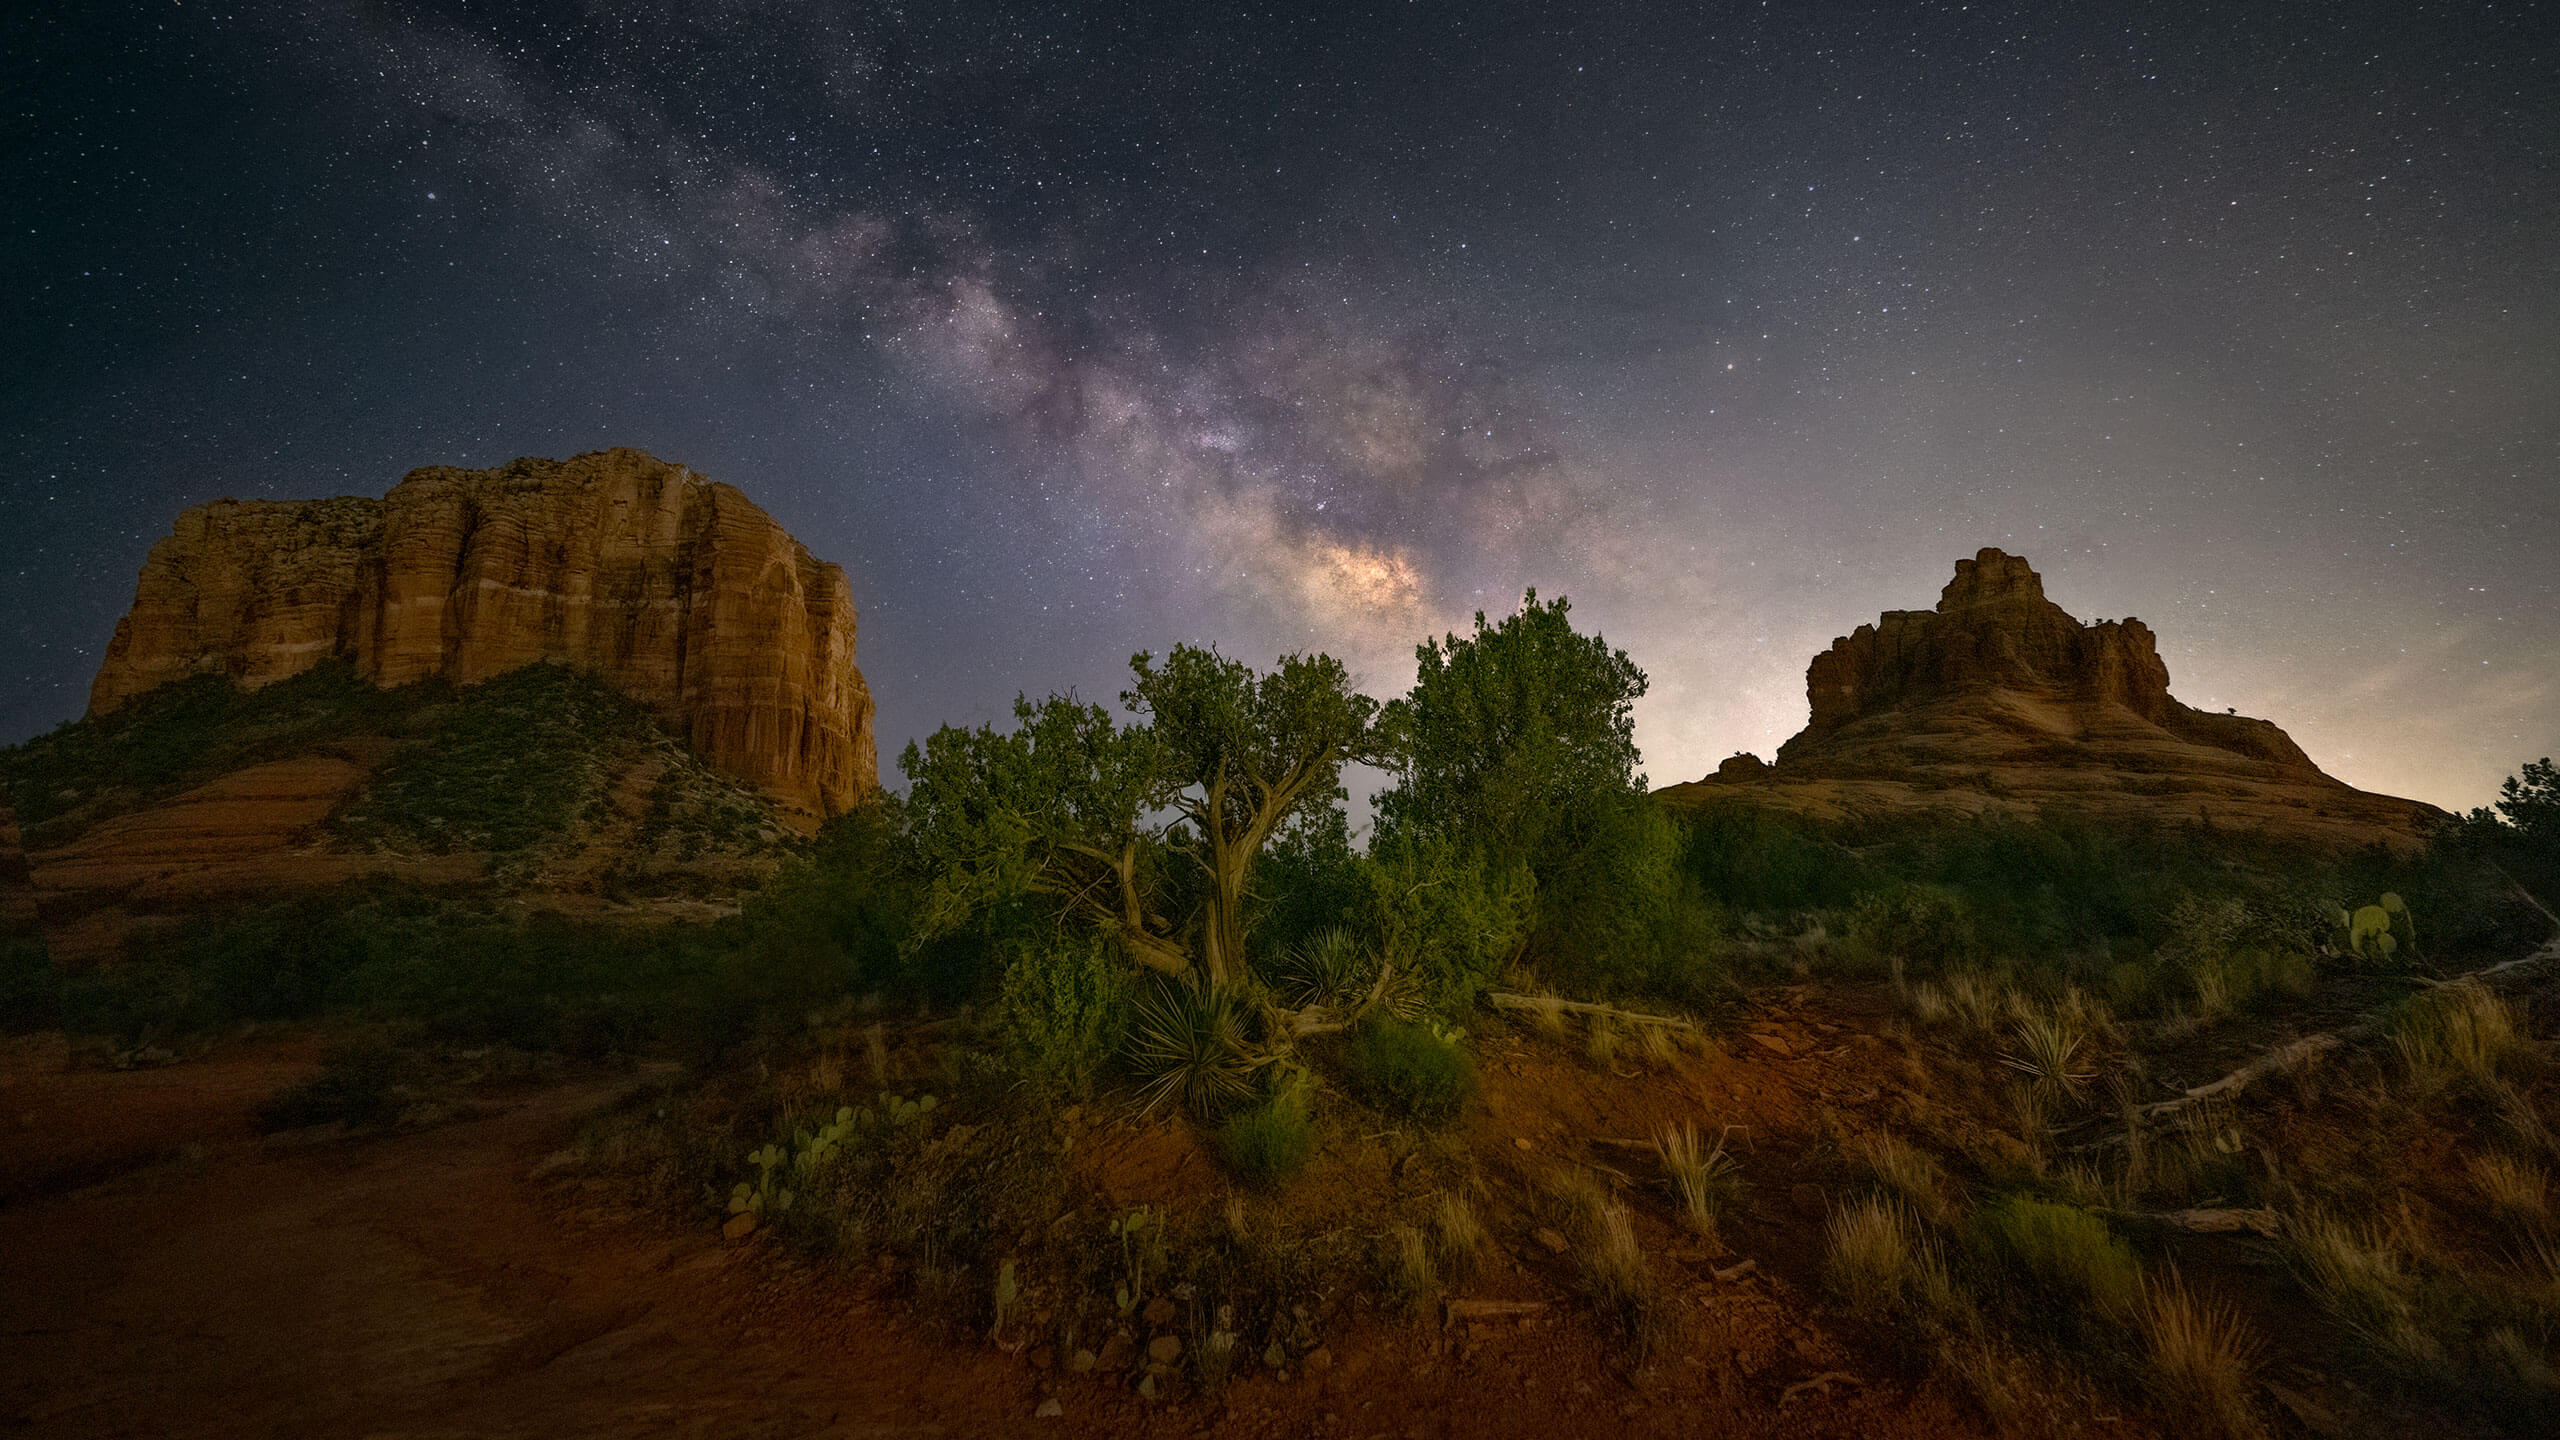
Above, see the before and after of the scene. The camera needed to be tilted up to capture the entire scene, resulting in the rock formations tilting to the center. For me, it’s okay, but not what I was trying to portray. I’ll leave it to you to decide. If you have some different ideas i’d love to hear them in the comments below.
Yours in Creative Photography,
Bob