


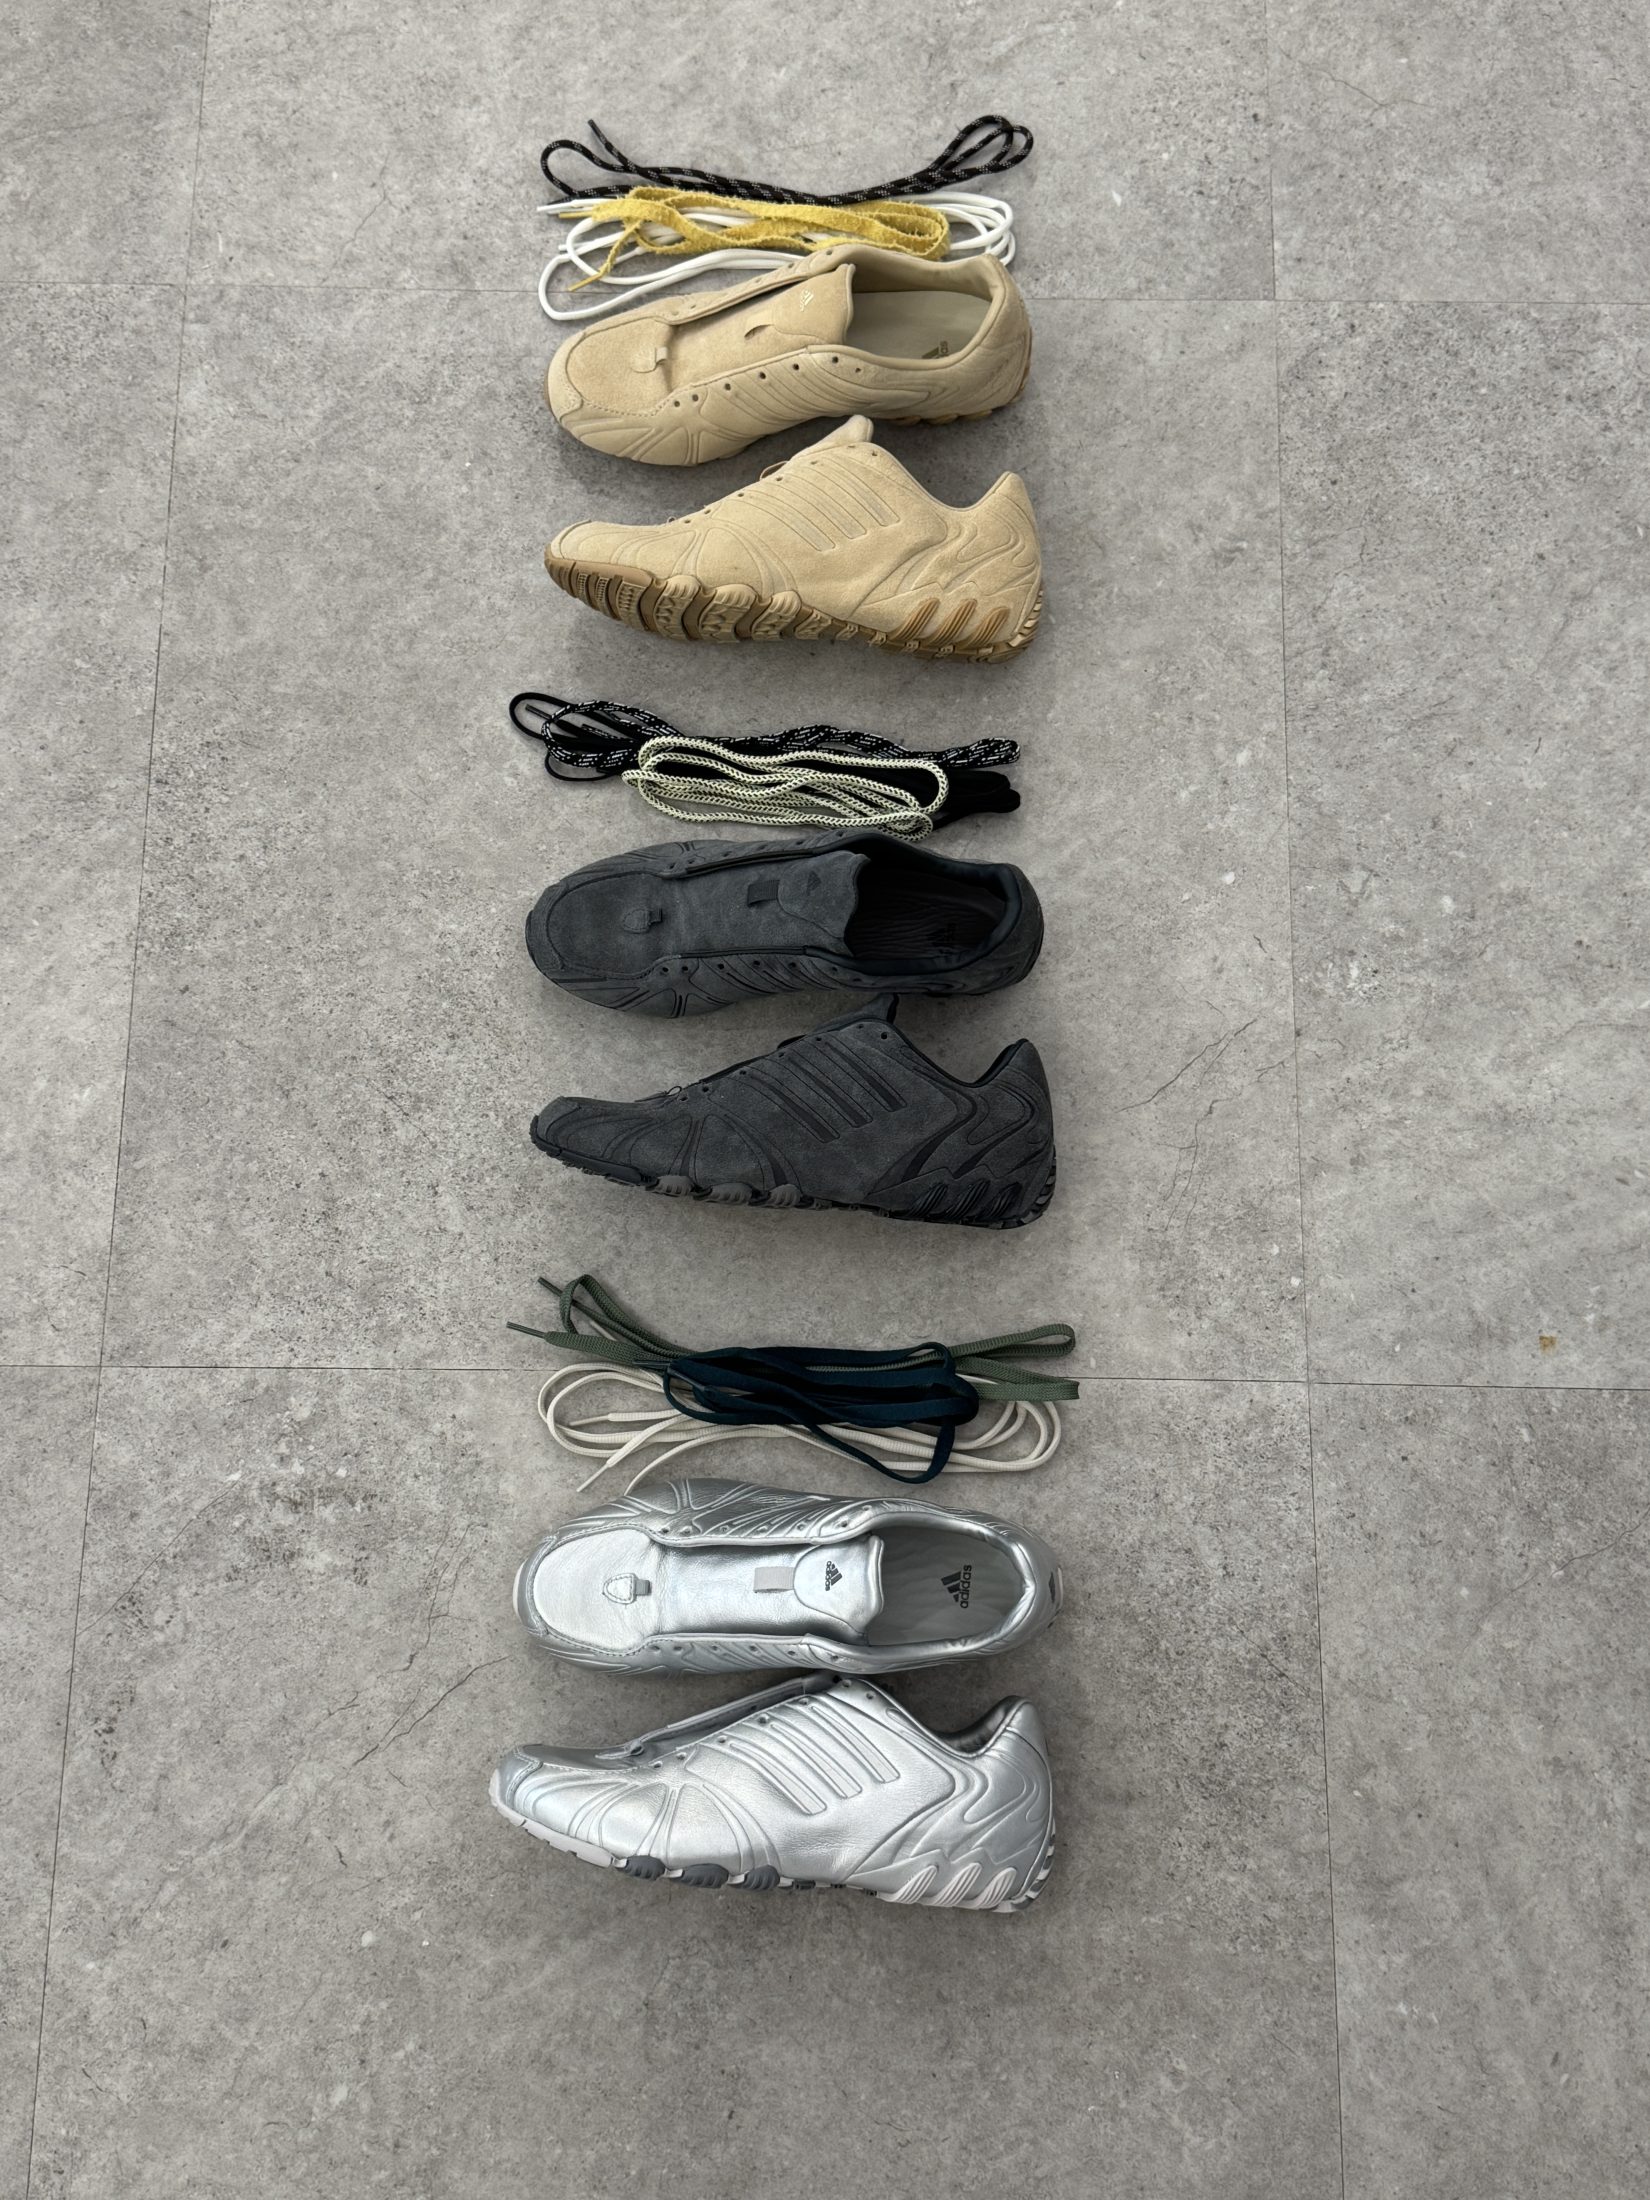
Over the past year, lacing has become more than simply a means to secure your foot in your trainer. The way we lace our shoes has become a form of self-expression and a means to make even more of an impact with footwear. Like it or not, multiple sets of laces on your favourite pair have been spotted everywhere from the runway to street style, and it’s a trend that’s not going anywhere anytime soon.
Whilst trying this trend out for ourselves, a few of us at size? HQ find it a little tricky to execute the double lace method, which got us thinking. And so, born from our own personal struggles comes our handy guide for how to relace shoes. You’re welcome.
Step one
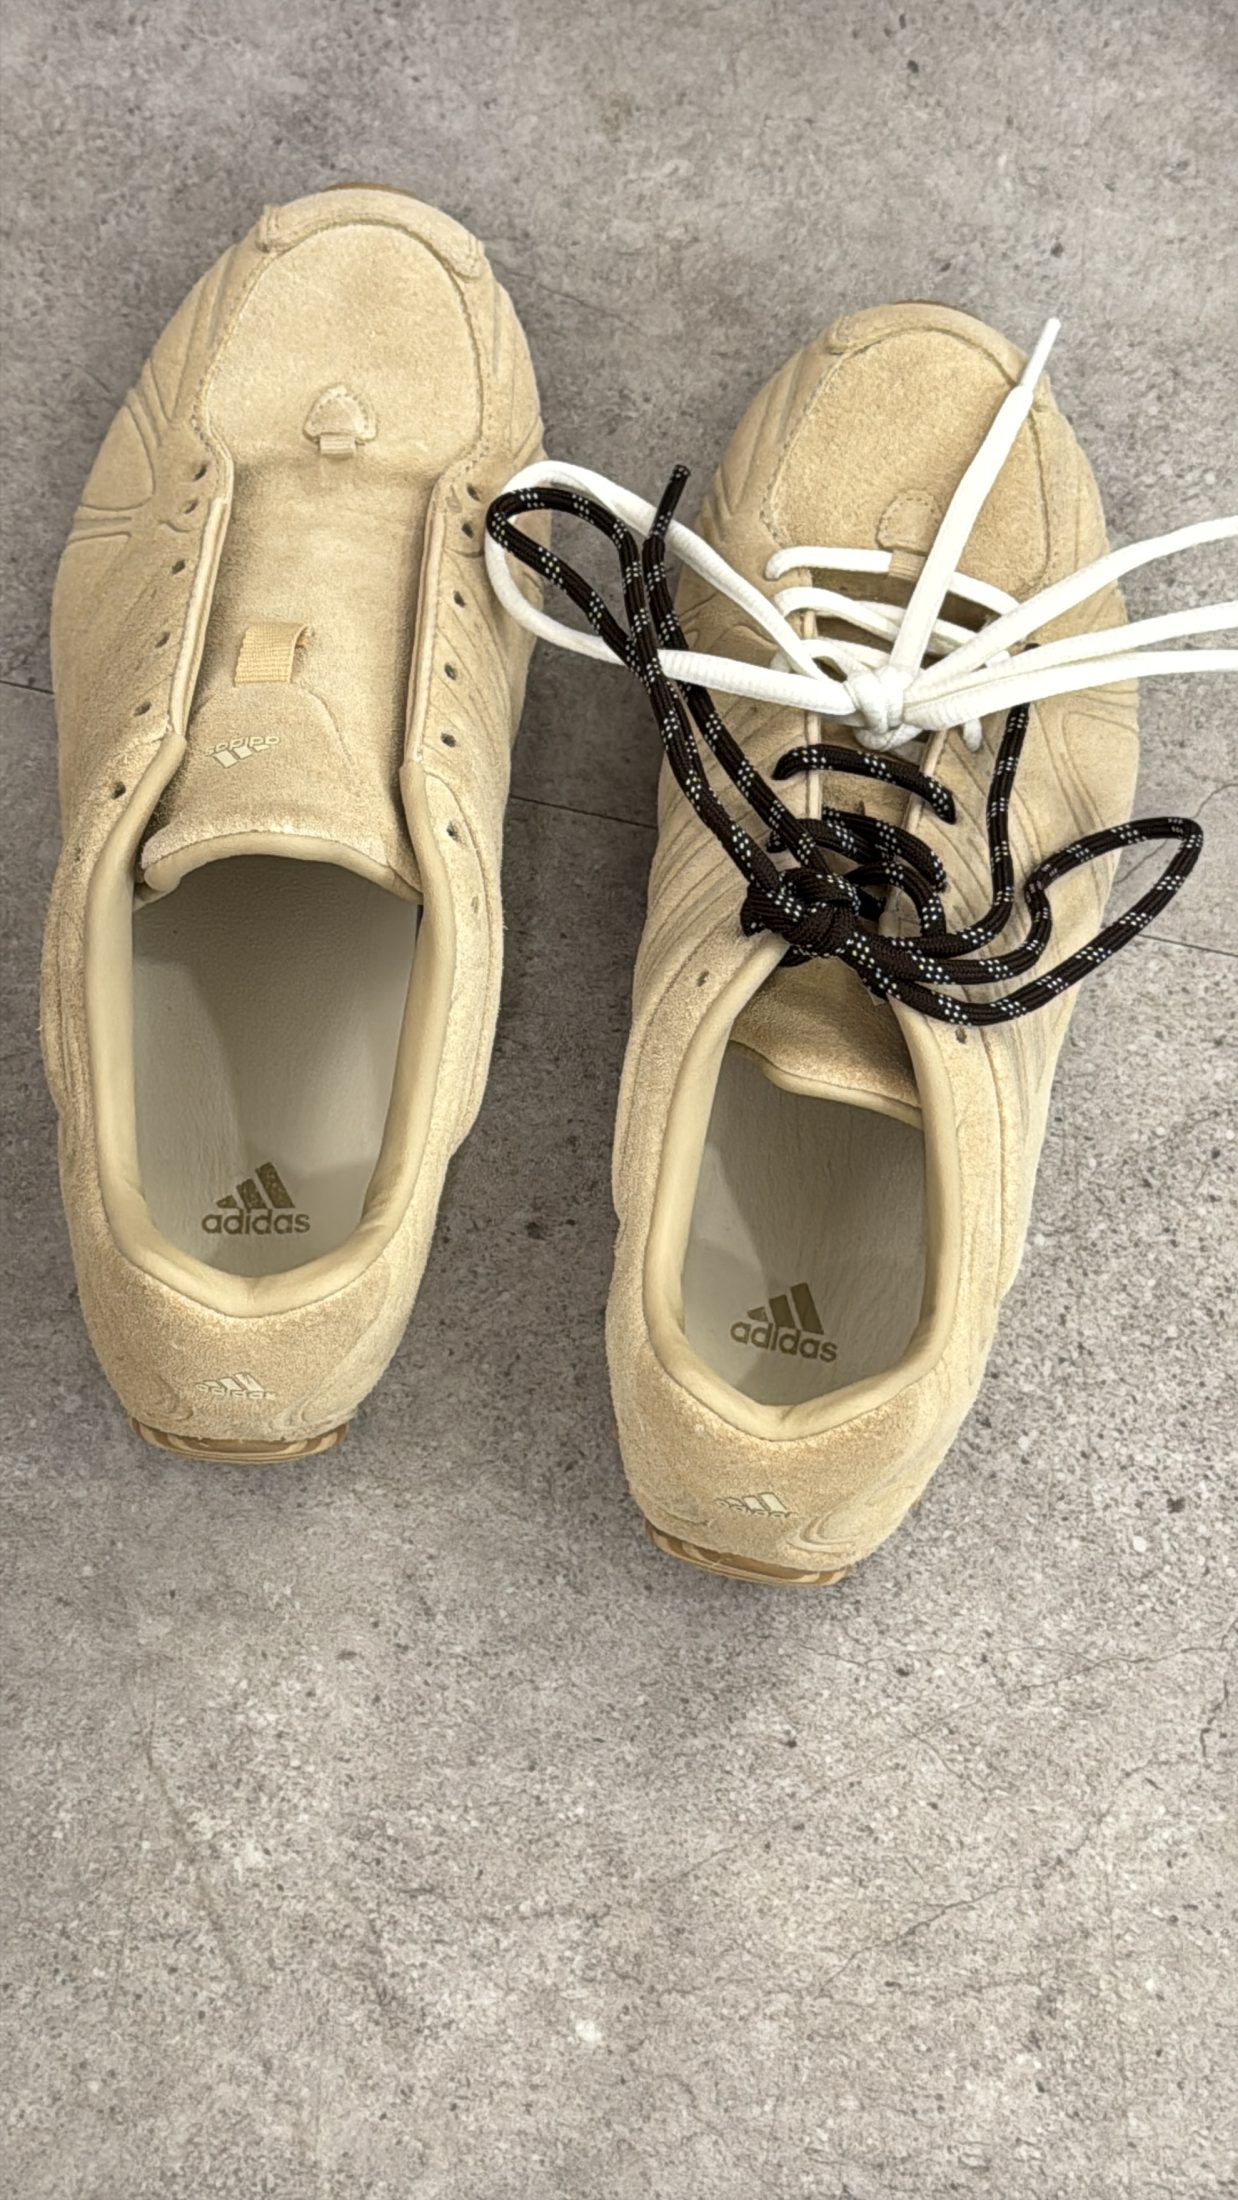
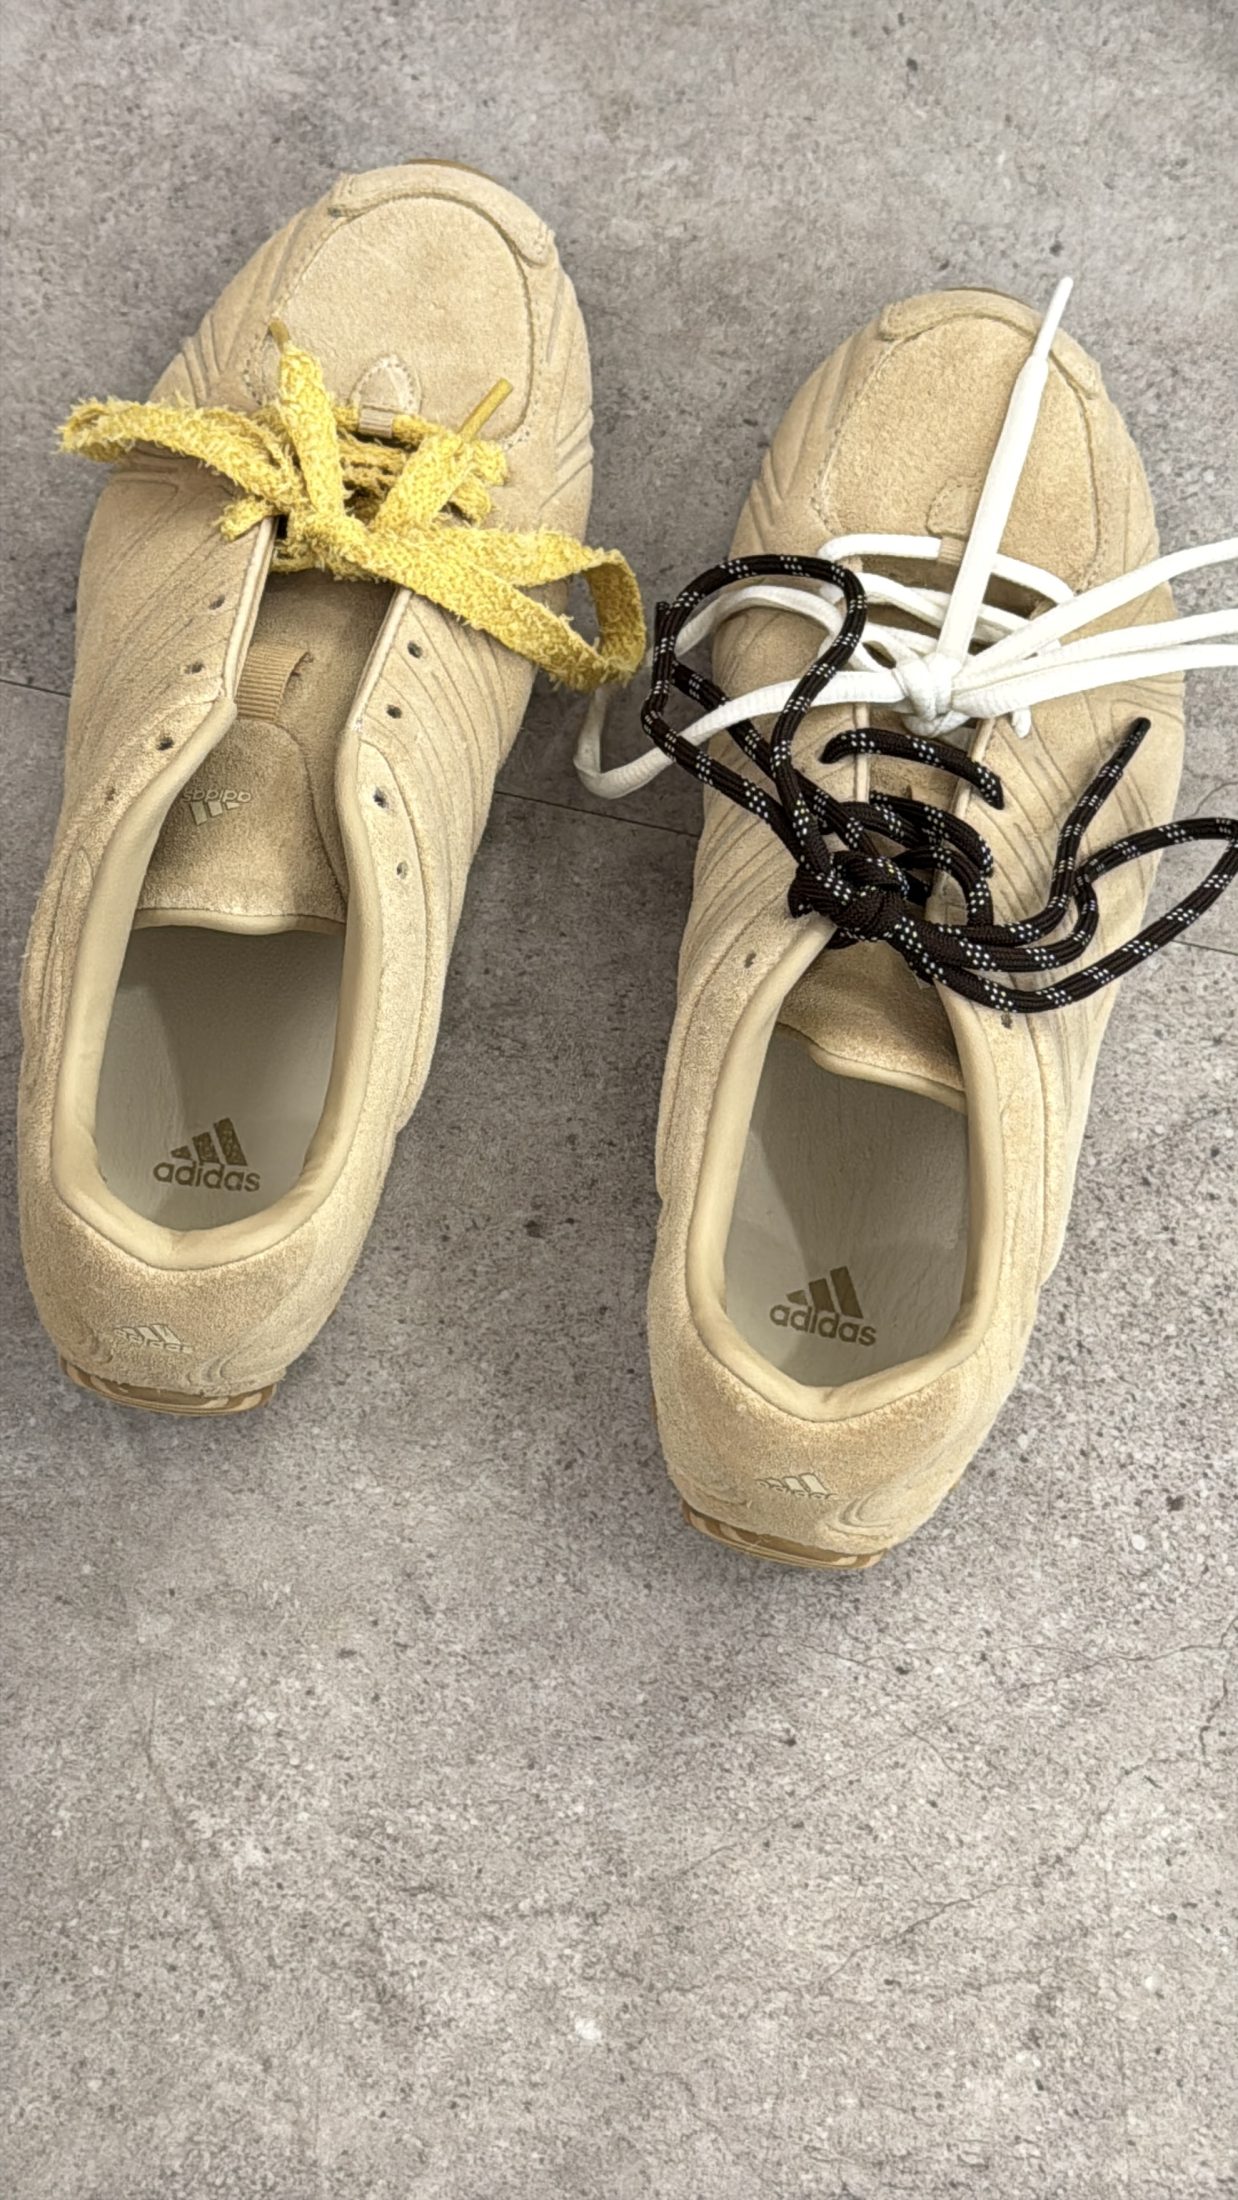
Choose your laces. This is where you can get creative; you can borrow laces from other silhouettes or buy new options for this endeavour. We suggest opting for a matching set of laces, perhaps in a neutral shade, and adding two complementary non-matching styles into the mix.

Step two
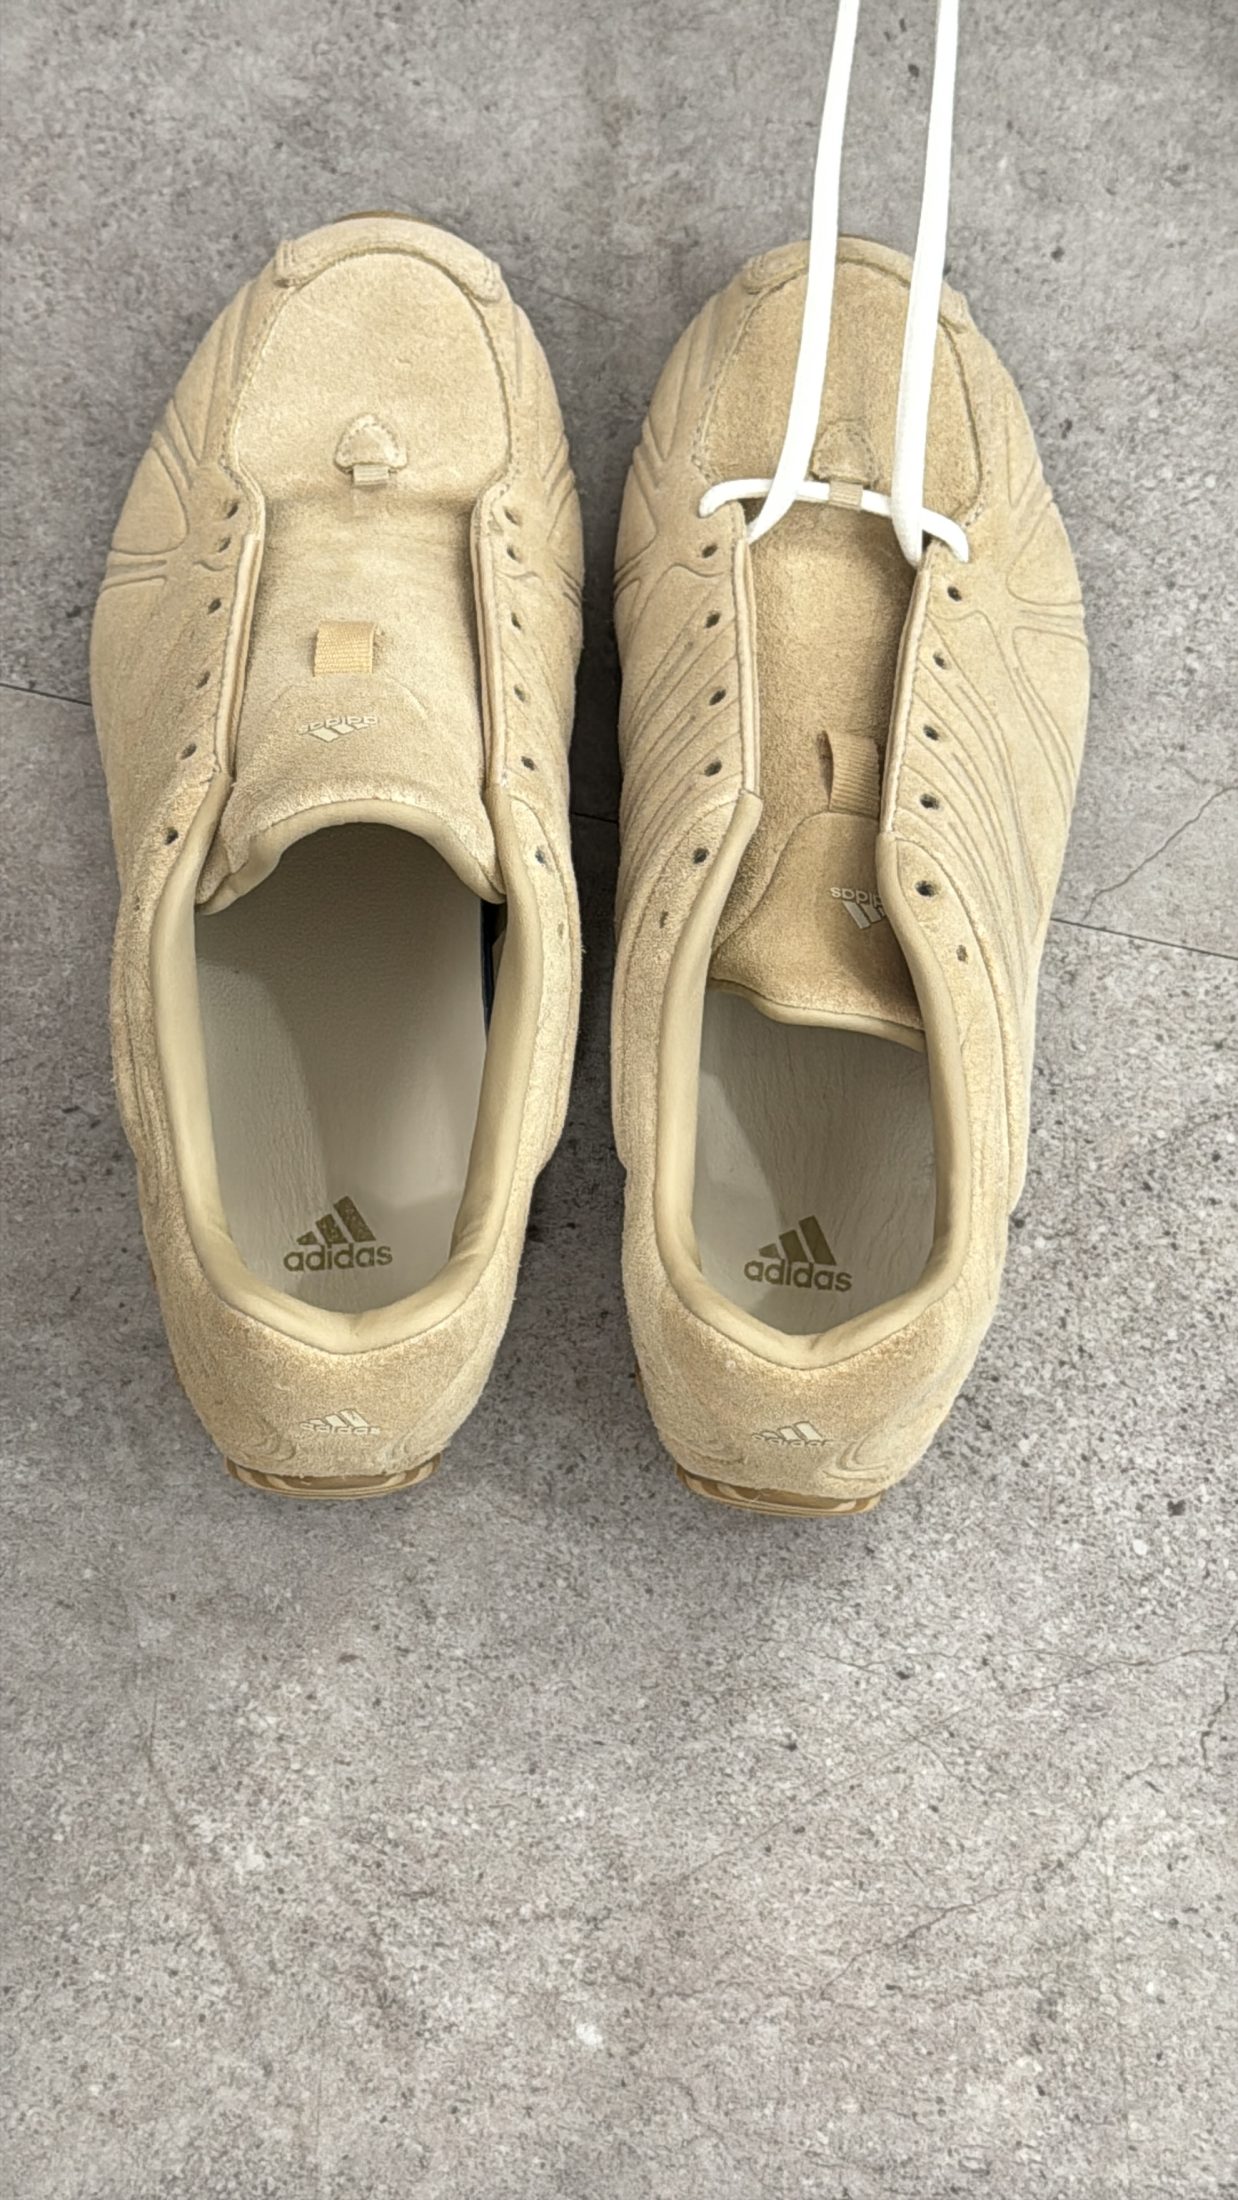
It’s time to lace. Starting at the bottom, thread your laces through the first eyelet (and loop if your silhouette has this feature), making sure your laces are going “over”, or in towards the shoe. Once both sides are in, pull your laces until the tips are even when held up – this will help your laces stay the same length throughout the process.
Step three
For the first set of laces, you will only need to lace up to the third eyelet, or wherever halfway is on your chosen silhouette. We recommend threading one side to start with, firstly to mark out where you’re going to stop, and secondly to achieve a cleaner look with less chance of tangling. Once the first side is done, repeat the process on the other.
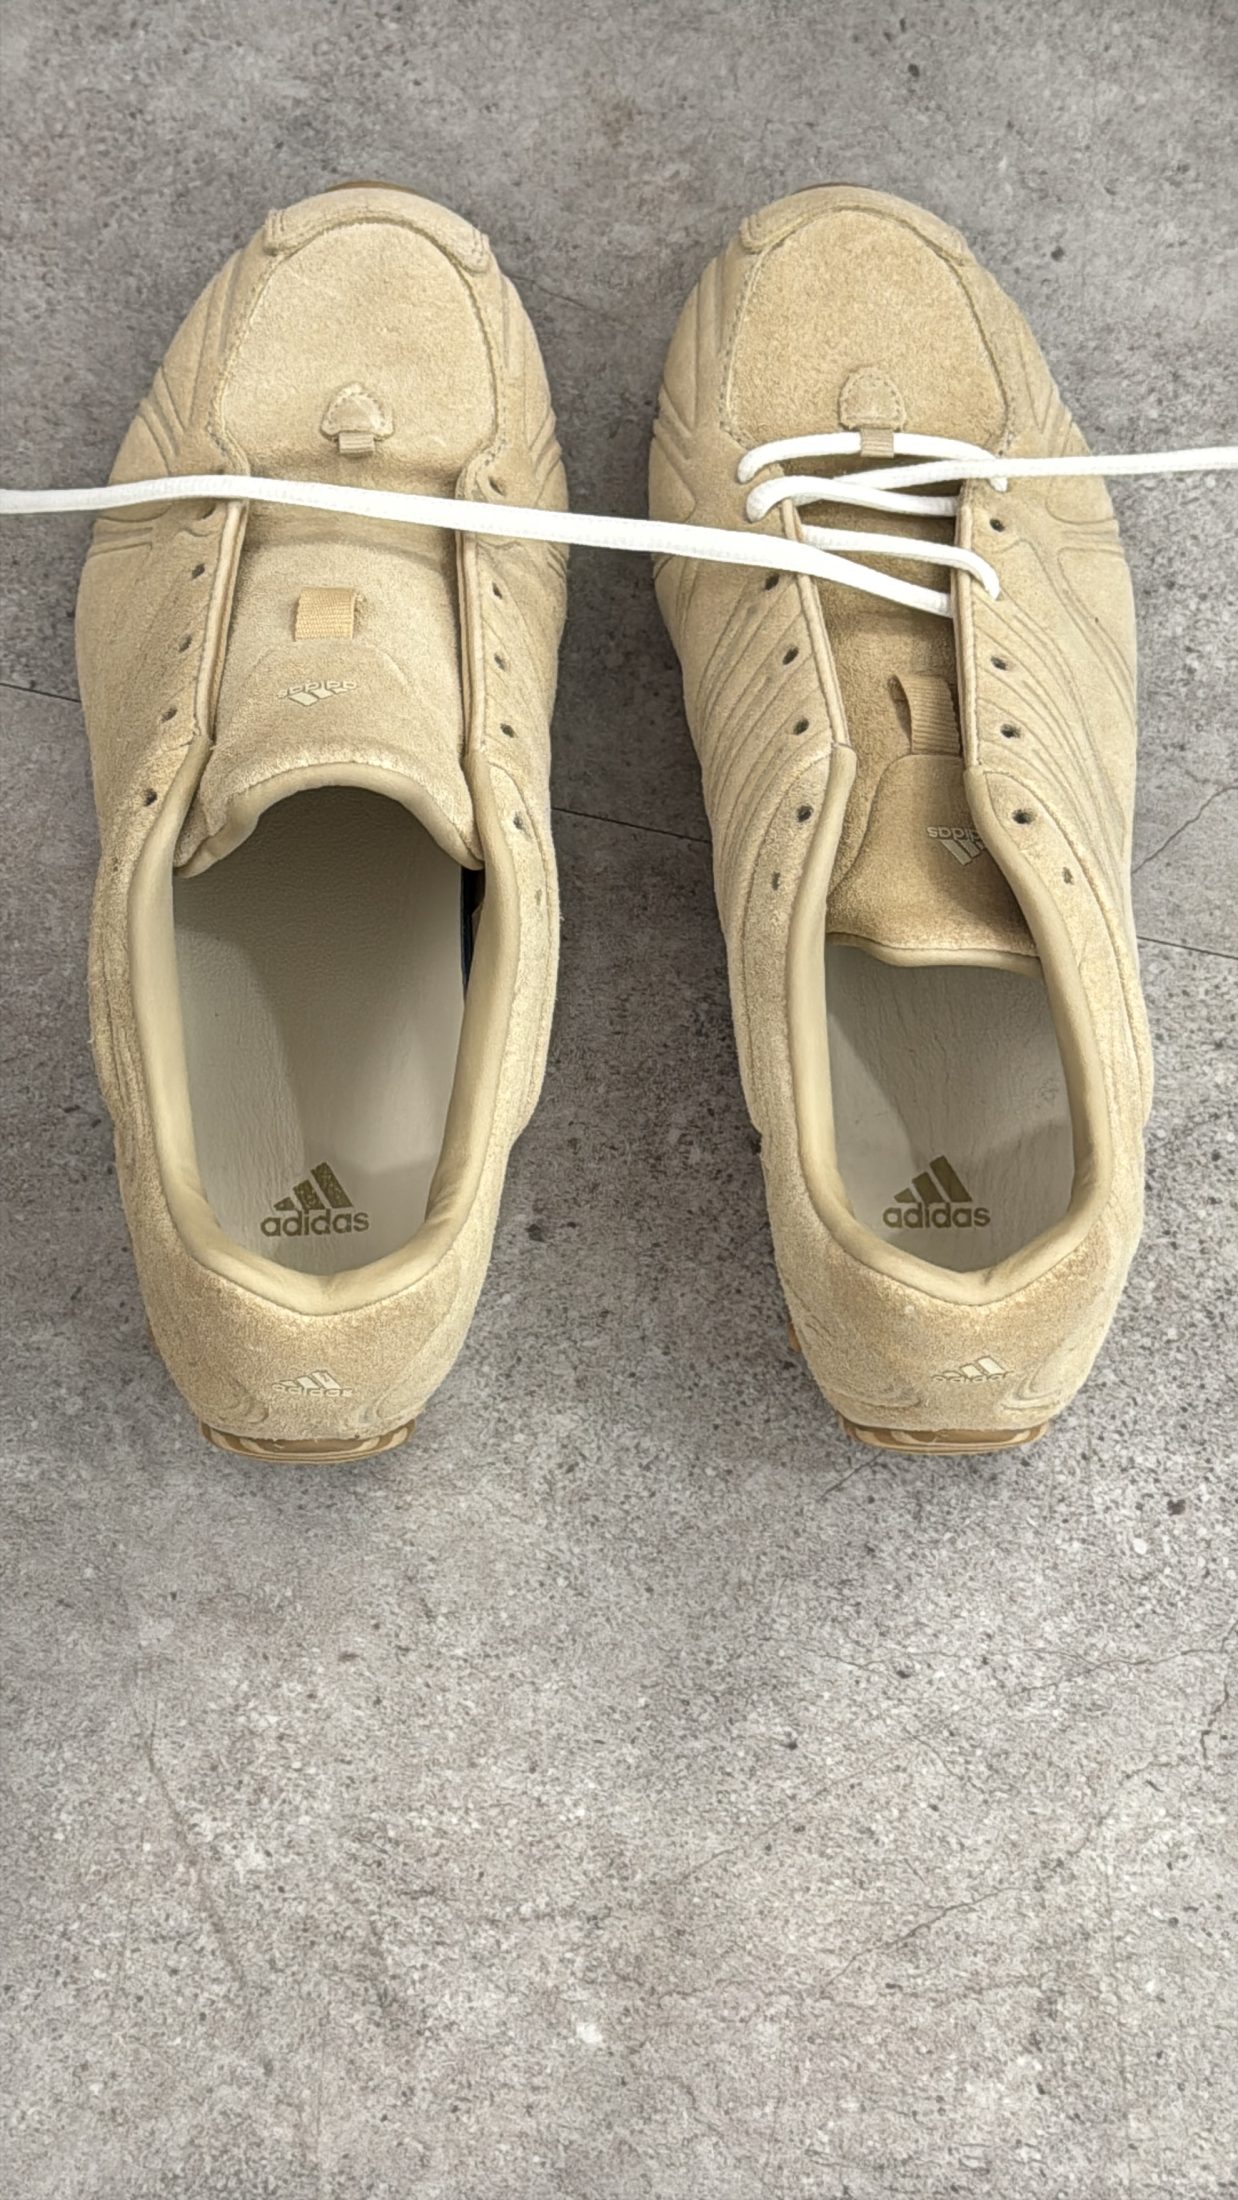
Top tip: make sure you’re always threading in towards the shoe.
Step four
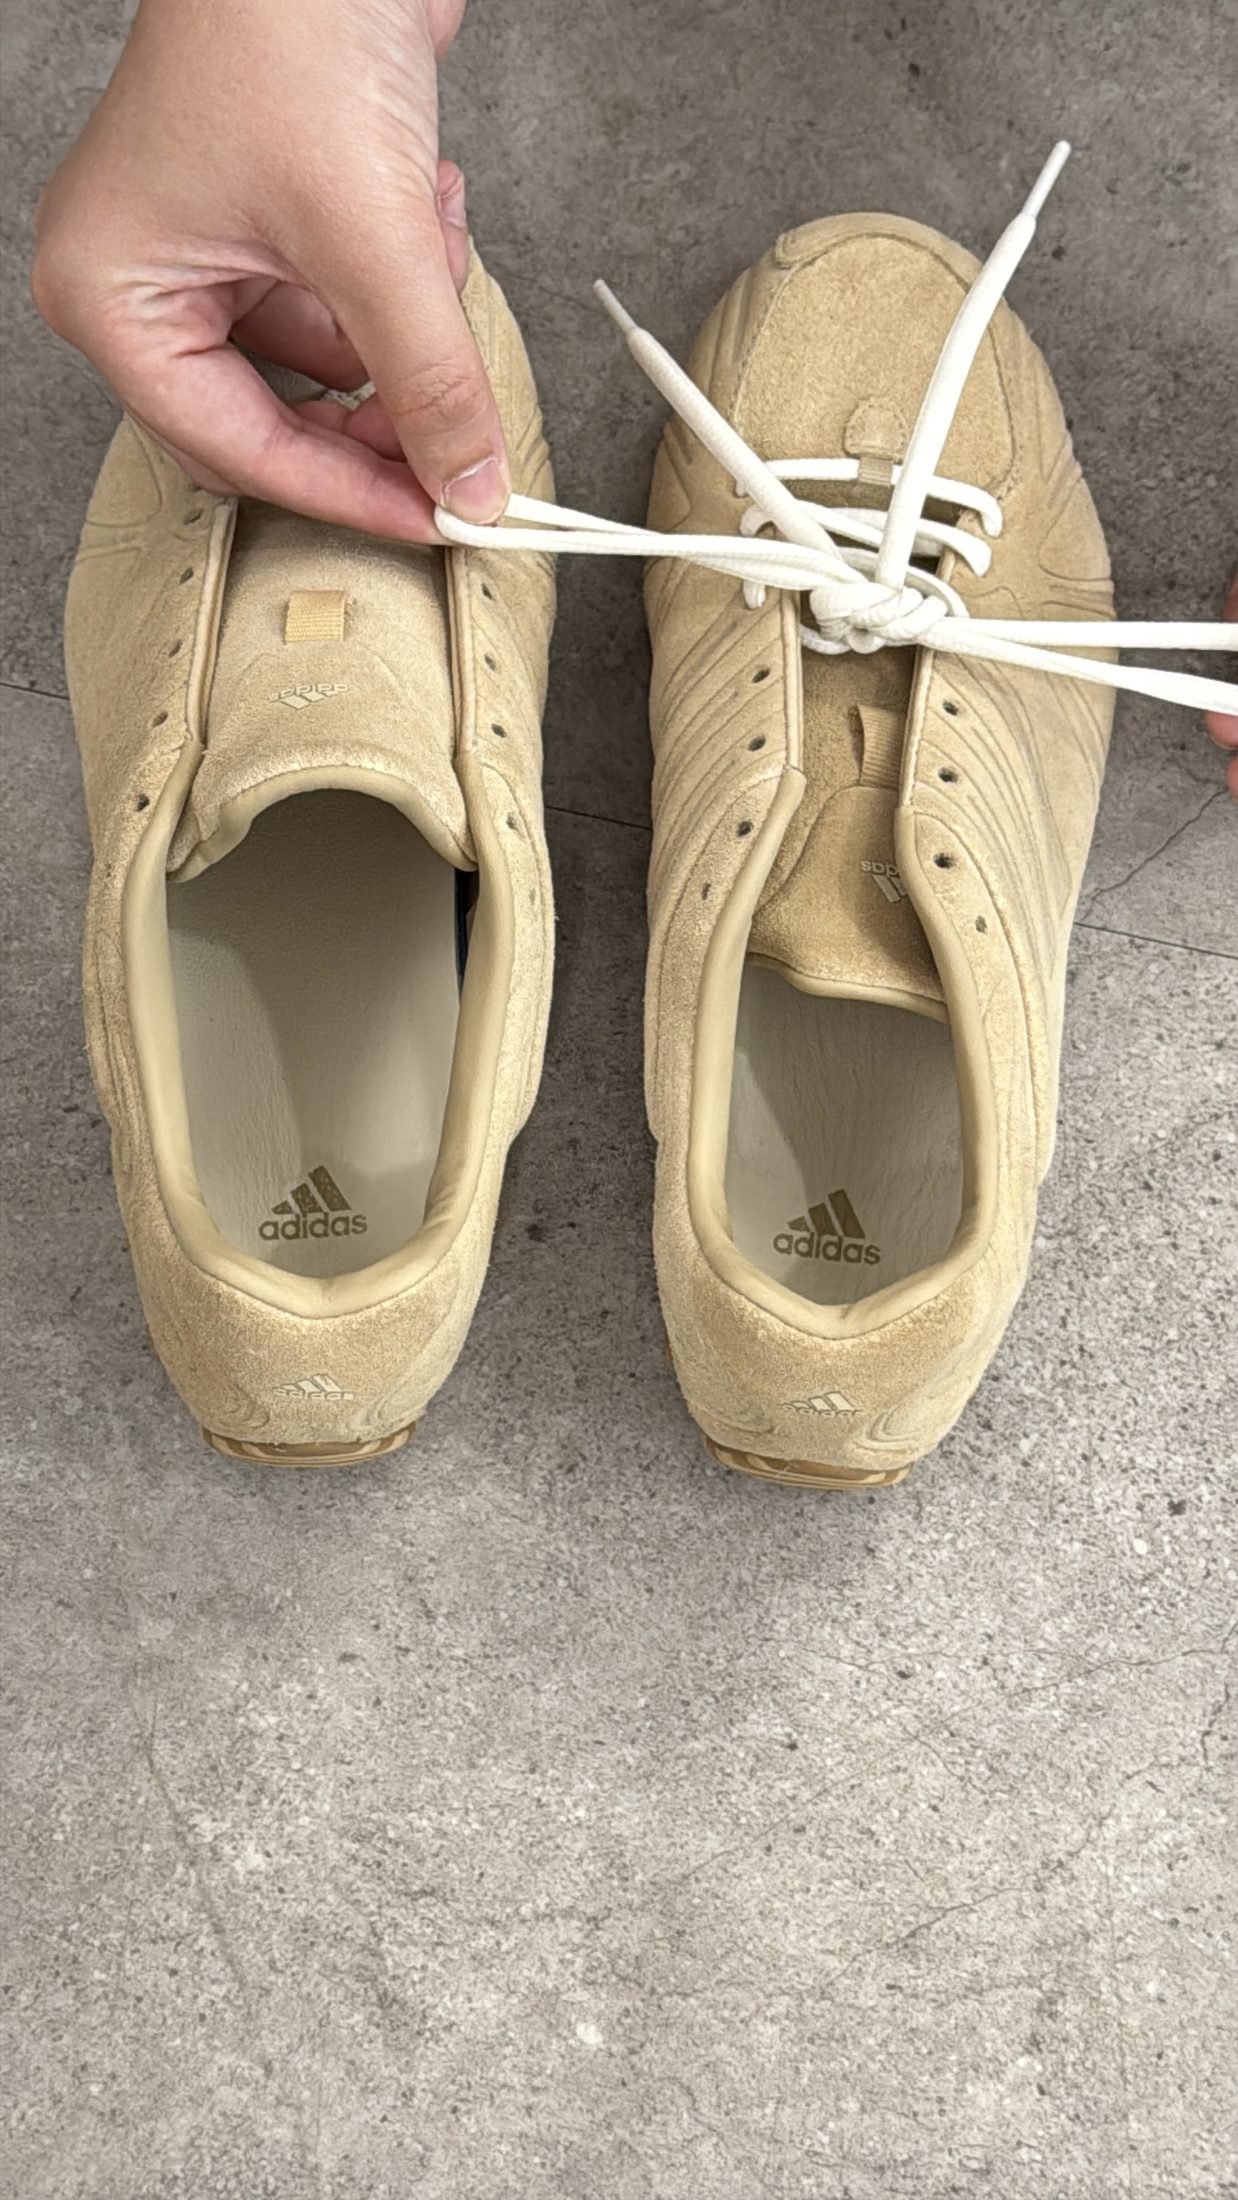
Once both sides of the first section are laced up, tie off with a double knotted bow. We recommend doubling up because not only will it stay secure, but it also uses more of the lace and reduces your bow from looking too oversized.
Step five
Once the first half of the shoe is tied up, it’s time to start above. Repeat the same process, stopping one before the final eyelet to recreate the look we’ve gone for below. If your eyelets allow for it, you can double up and thread through to mix with the lace below, but if not, that’s okay, ours didn’t have space either this time.
Step six
Once your first shoe is done, it’s time to start on the second. Yes, we know it can take a while, but it’s worth it in our opinion. You can take this look one step further with a third lace or by adding charms where you see fit.
Struggling to keep up? We’ve got you. Learn how to tie double laces in real time with our handy step-by-step video guide below.
We hope this helped you. Now it’s time to experiment with double lacing on your favourite low profile silhouettes from adidas, New Balance, PUMA, Nike and more.
For more easy guides, check out the rest of our ‘How To..’ series.