


You probably know (and love) the Dark Mode on your iPhone. The most popular one adjusts the inside of your apps at night, like turning the background of your Notes app or Safari black, and the other gives your home screen a makeover by darkening all your app icons in one go. Both are built into iOS by default and do wonders for the appearance of your iPhone.
But there’s a way to make these modes even darker. I’m not just talking about dimming the brightness itself — there’s a handful of settings you can change to enable an even more aesthetically pleasing, ultra dark mode on your iPhone. On top of looking crispier, these settings can also help you save battery life since they reduce the intricate display dynamics.
Here’s how to curate an ultra-dark mode on your iPhone.
1. Edit your home screen
Cosmetic tweaks

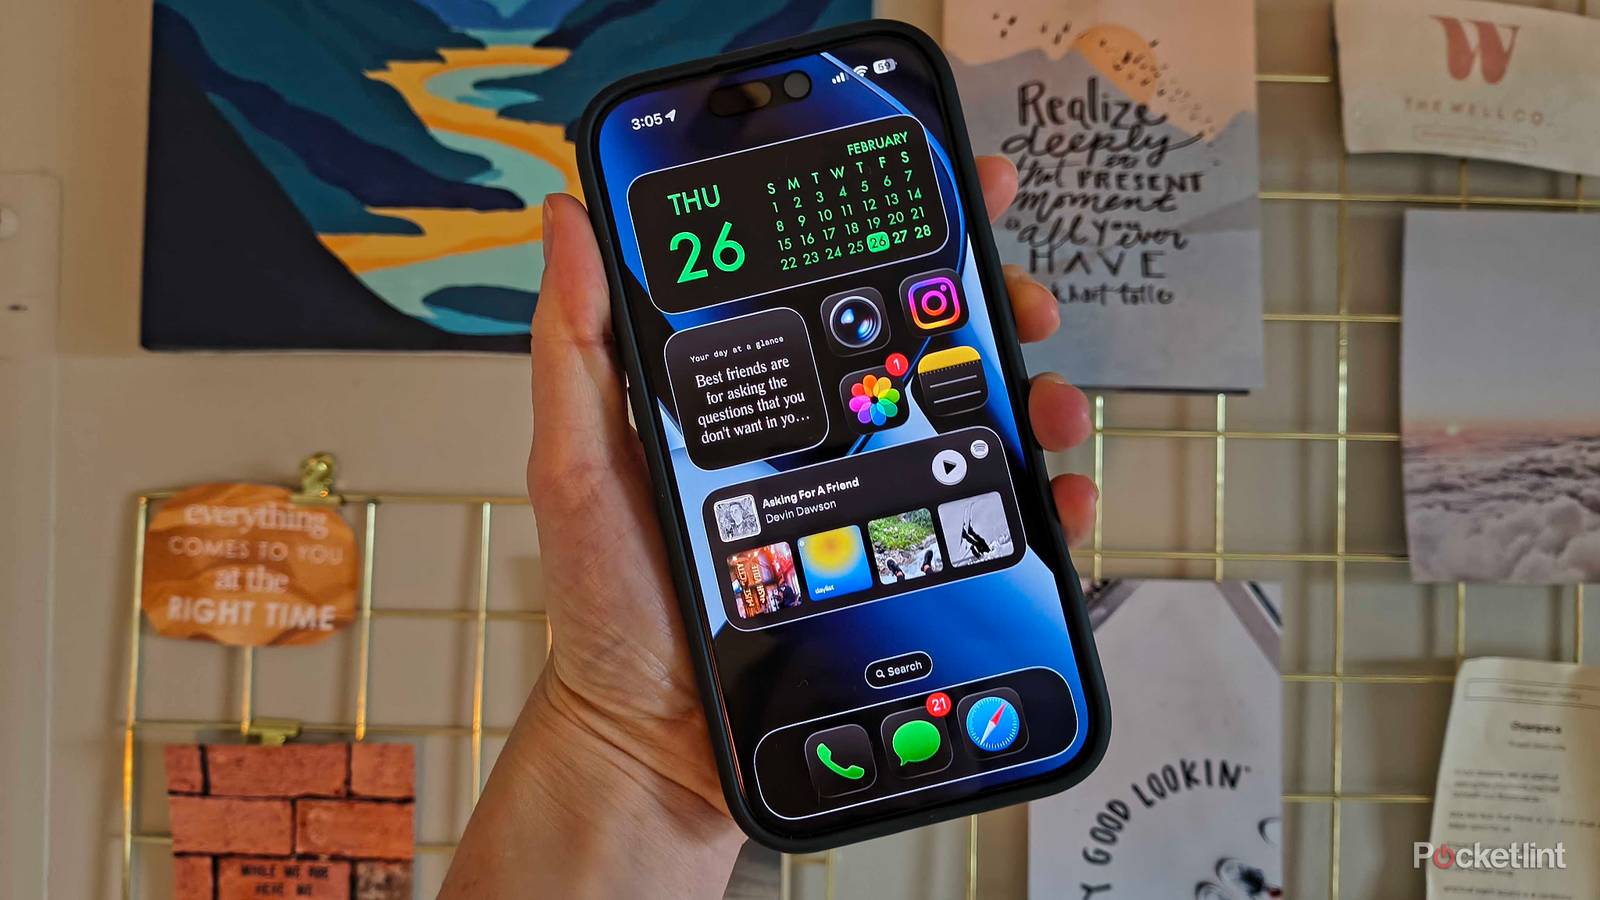
If you haven’t already, the first step to enabling ultra-dark mode is to customize your home screen. To give all your app icons a darker alter-ego, tap and hold any blank space on your home screen (the apps will begin to jiggle) > tap Edit in the upper left-hand corner > choose Customize > tap Dark and make sure Always is selected.
If you choose Auto, your app icons will oscillate between Default and Dark based on your iPhone’s brightness and display settings.
As you can see, darker app icons have more contrast and are easier to see against your background. Aesthetically, they’re going to lay the groundwork for the rest of our ultra-dark settings.
2. Adjust Display & Brightness settings
Details that add up

You’ll need iOS 26 for this part, since we’re changing the most controversial part of it: Liquid Glass. Part of the ultra-dark mode is increasing contrast, so you’ll want to tint the transparent display by going to Settings > Display & Brightness > Tap Liquid Glass > and choose Tinted. In the preview above, you’ll see the background behind the icons becomes darker and overall contrast increases.

But you aren’t done yet. Now, for the finishing touches, you’ll want to go back to Settings > Accessibility > Display & Text Size > and toggle on both Reduce Transparency and Increase Contrast. Both settings will subtly boost contrast and make your apps stand out even more. In general, writing will become easier to read and items will pop against your screen more.

Finally, the cherry on top is also within Display & Text Size: an option near the top called Show Borders. This adds a crispy outline to all your widgets, notifications, search bars, back arrows, and many other demarcated spaces on your screen. It physically separates each area from one another, and adds a bold contrast layer to the entire display.
3. Optional brightness hack
Reduce white point levels

If you’re a late-night scroller staring at your phone in the dark, you’ve likely wished your brightness could go even lower than the brightness bar in your Control Center allows. A sneaky setting called Reduce White Point lets you dim the screen even more, and it’s an eye-saver in the pitch black darkness.
To adjust white point settings and make your iPhone’s screen physically dimmer (on top of all your dark mode aesthetic changes):
- Open Settings.
- Choose Accessibility.
- Tap Display & Text Size.
- Scroll all the way down to Reduce White Point, and toggle it on.
- Use the slider to adjust the intensity to your liking.
The intensity that you choose remains the same unless you go back and change it. Unlike brightness, your iPhone will not automatically adjust white point settings depending on the ambient lighting.
I’ve written about white point settings before, specifically when I tried to turn my iPad into an e-reader. Traditional backlit screens will never truly copy E Ink displays, but reducing white point intensity gets you as close as possible.