


iPads are anything but simple tablets. While beginners can intuitively navigate their interface from the get-go, users who take full advantage of all the hidden shortcuts, tricks, and features know exactly how powerful Apple’s tablets can be.
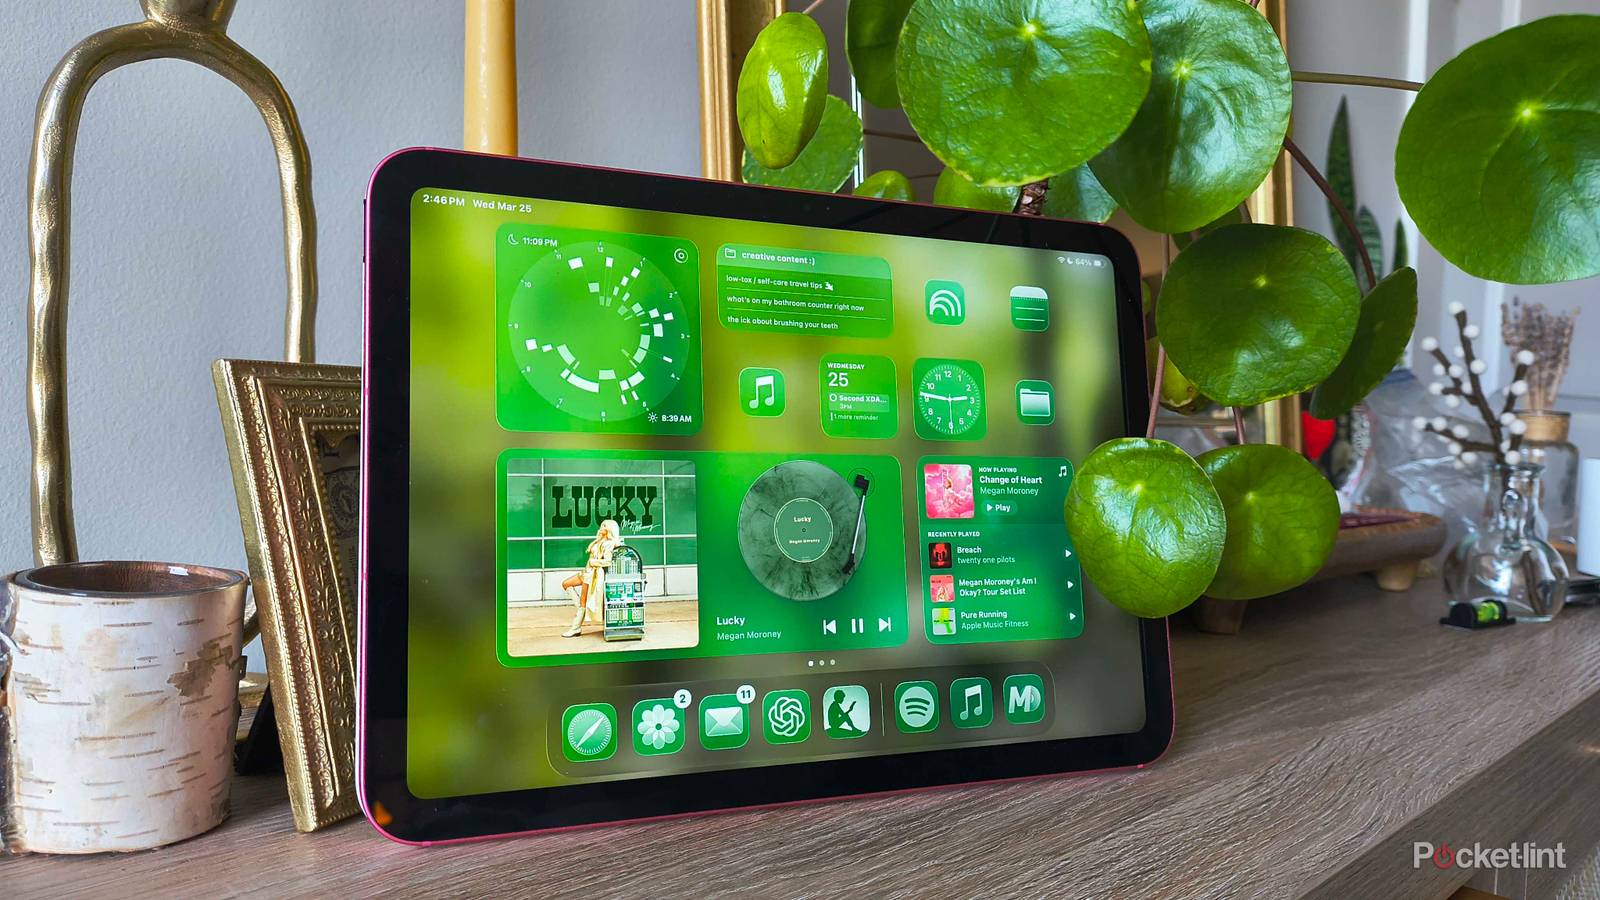
I mainly use my iPad A16 for streaming, writing, reading, and playing cozy games to wind down in the evenings. But, every so often, I put it into productivity mode to help streamline the workday (you can never have too many screens when you’re a writer, researcher, and editor all in one day). And at the core of any productive work session are shortcuts that help you cut corners and dramatically reduce the number of taps it takes to achieve your goals.
iPadOS is powerful, and while I love to talk about many hidden features and workflows, there are a couple hiding in plain sight — no matter what screen or app you’re on. Each corner of your iPad’s screen has a hidden talent, but you need to make sure a specific setting is turned off to take advantage of some of them. Here’s everything you need to know.

- Brand
-
Apple
- Storage
-
128 GB
- CPU
-
A16
- Operating System
-
iPadOS
How to unlock your corners’ superpowers
Turn off Stage Manager

I’m not the first to admit that I love iPadOS 26’s windowing system. APple now treats Windowed Apps and Stage Manager as separate multitasking options, so it’s cleaner not to call one the engine for the other. However, while Windowed Apps and Stage Manager are helpful when you’re surfing the web or multitasking, they’re kryptonite to your iPad’s corner powers.
To unlock those powers, go into Settings > Multitasking & Gestures > Select Full Screen Apps. Make sure Full Screen Apps is selected instead of Windowed Apps or Stage Manager.
How to use your iPad’s corners
Several tricks up its digital sleeve

If you stay within the Multitasking & Gestures settings and scroll to the bottom, you’ll see an option to turn on Swipe Finger from Corner. When you toggle it on, it will let you choose the action that occurs when you quickly swipe diagonally away from the bottom corners of your screen.

The two options are Screenshot and Quick Note, and you can choose to associate each of them with a bottom corner. By default, swiping diagonally from the bottom-left corner takes a screenshot and swiping from the bottom-right corner opens a Quick Note. But if you know you won’t use one over the other, you can make the same action occur for both corners.
Screenshots are exactly what they sound like. Quick Notes literally open a mini Notes app window so you can jot something down before it has time to escape your mind — which can happen in the blink of an eye, let alone the several taps it takes to open the Notes app and create a new one in general. Organization can always come after the idea is documented!
What about the other corners?
Don’t forget top-left and top-right

If you’re familiar with iOS or iPadOS in general, you know swiping from the top-right corner opens the Control Center, which is a powerhouse in itself. Inside Control Center, you can quickly access Wi-Fi settings, Bluetooth, the music player, brightness, volume, orientation lock, screen mirroring, and a variety of other shortcuts you can add to the power panel.
To customize the Control Center, tap and hold any blank space. Drag and drop shortcuts to rearrange them, make them bigger by dragging their lower-right corners, and add new controls by tapping the + Add a Control prompt at the bottom.
What about the top-left corner? Unfortunately, there isn’t anything too special about this one. Dragging diagonally from that corner opens Notification Center on my current iPad setups, which can also be achieved by swiping down from the top-center of the screen.