



Love them or hate them, advertisements are an ingrained part of the modern digital lifestyle. Some ads can be genuinely useful, shedding light on new and interesting products and services, while others are far more pesky and intrusive by nature.
While it’s impossible to irradiate all advertisements wholesale, there are ways to reduce their prevalence considerably. Notably, if you happen to have an Android smartphone or tablet, you can leverage a built-in setting called private DNS to block a great majority of ads across the entire system — no apps or accounts required.
Without getting too technical, Private DNS is a security feature that encrypts DNS queries (these play a role in translating website names into IP addresses). Various protocols are leveraged within Private DNS, but for our purposes, we can use the feature to block advertisements. This works by using an ad-blocking private DNS provider, with a popular option being the one by AdGuard.
Bear in mind that advertisements play a critical role in keeping the internet free and in allowing content creators to earn a living. Consider whitelisting publications, journalists, and websites that you frequent, or, alternatively, subscribing to their paid service tiers to support their work.
How to block ads on Android using private DNS
No separate app downloads required

Depending on the specific make and model of your Android device, the exact process for setting up a private DNS provider hostname may vary slightly. Most hardware manufacturers tweak Android with their own custom software skins, which often includes rearranging elements within the Settings application.
To block ads at a system-wide level on Android using private DNS, follow these steps:
- Launch the Settings application.
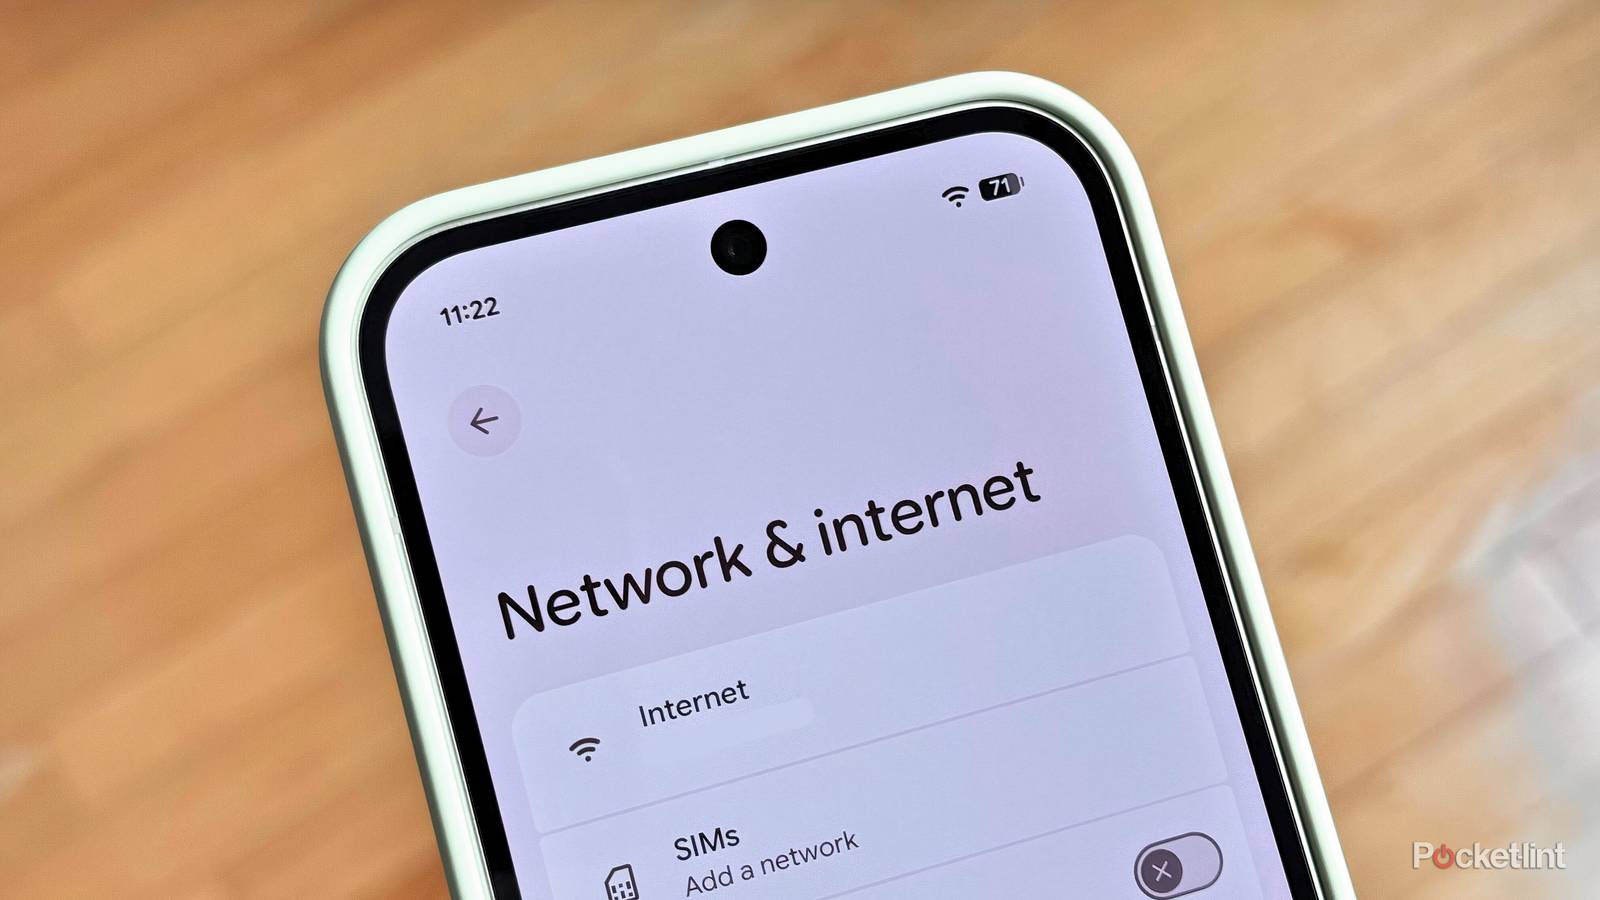
- Navigate to Network & internet > Private DNS.
- From here, select Private DNS provider hostname.
-
Type in the following hostname:
dns.adguard.comand then tap on Save.
Once complete, most instances of advertisements and ad pop-up banners should disappear across your Android device, including both within applications and while using web browsers.
Note that Private DNS was introduced in Android 9 Pie in 2018, and so this ad blocking method requires a handset with a moderately recent version of the Android platform.
The beauty of using Private DNS for ad blocking purposes is that it’s a near-frictionless experience. There’s no need to download a third-party application or plug-in, there’s no account creation requirement, and, best of all, it’s entirely free to access, making it a no-brainer resource worth tapping into.
Of course, Android is a relatively open platform, and so developers and enthusiasts have created a number of other ways to block ads at the system level. For more information on these alternative methods, check out XDA’s dedicated article on the subject.