


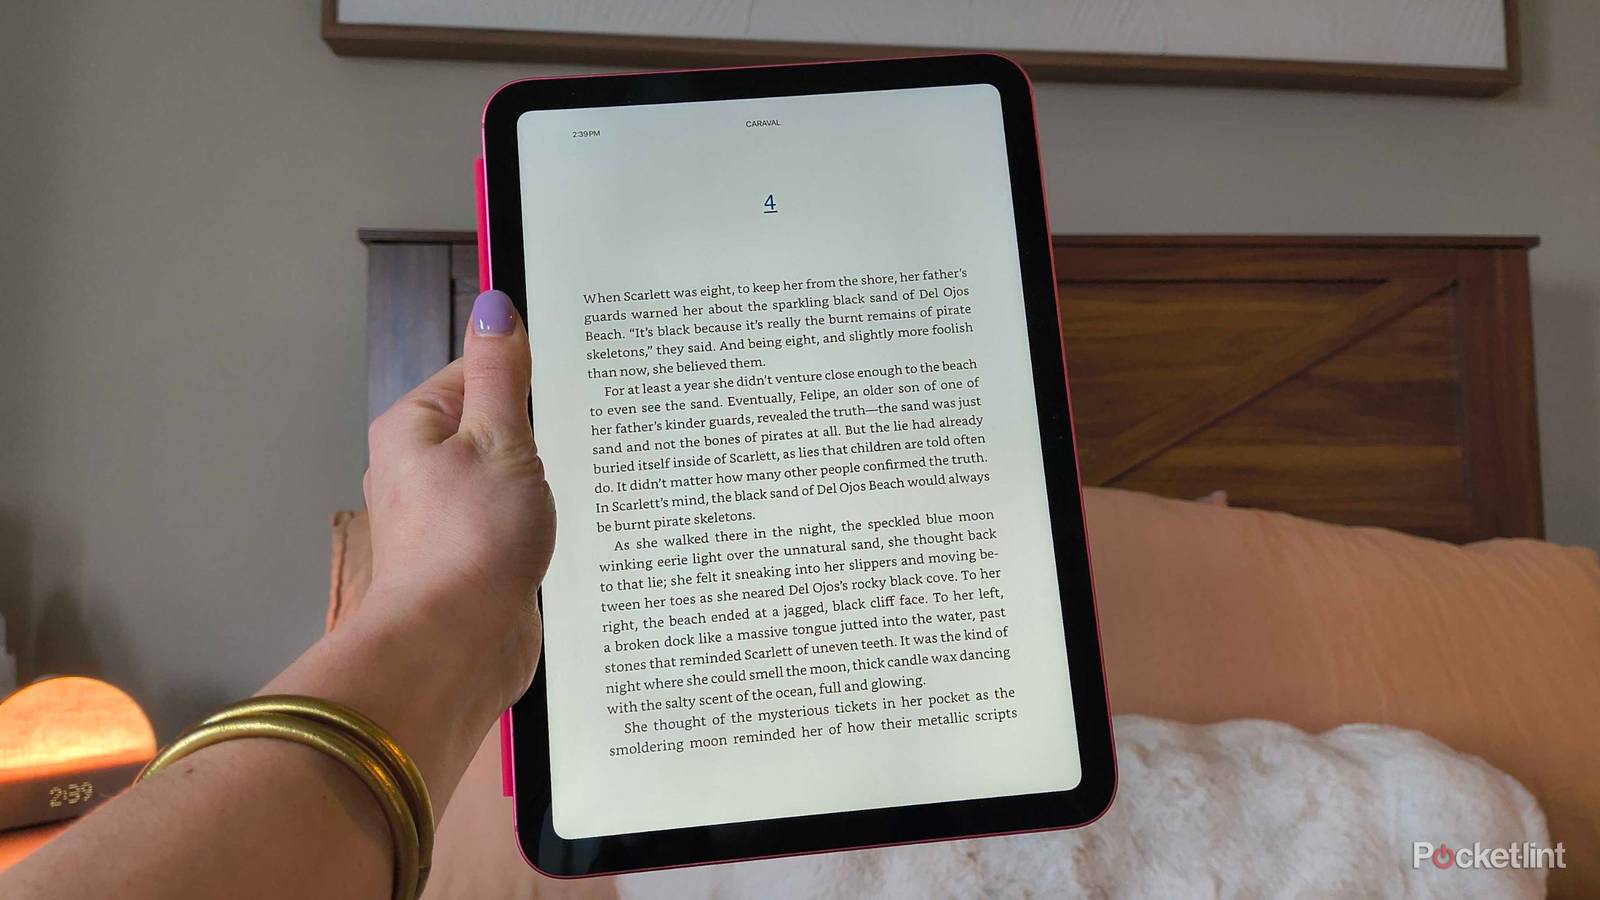
It’s possible to read anywhere on virtually any device you own. While e-readers like Kindles and Kobos dominate the market with their E Ink displays and notification-less natures, sometimes you don’t want yet another device to tote around. If you have a perfectly good iPad and don’t want to add another tablet to your lineup, there are ways to make it the e-reader you’ve always wanted.
Sure, there’s a myriad of settings within e-reader apps (like the Kindle app) that let you play with page settings and layouts, but I’m not talking about those. Within your iPad itself, there are some hidden settings that turn your tablet into the perfect e-reader stand-in — display and all. Here are the ones I tweak to make my tablet feel more like my Kindle.

- Brand
-
Apple
- Storage
-
128 GB
- CPU
-
A16
- Operating System
-
iPadOS
Apple’s most colorful iPad model complete with the A16 chip.
Use the Guided Access shortcut for reading
Tell your iPad to lock in

Guided Access is a lifesaver for parents who want to keep their kids from wandering around their device, but it also does a swell job of stopping you from doing the same during designated reading time. When enabled, Guided Access keeps the iPad in a single app and even lets you control what features are available in it. Here’s how to turn it on:
- Open Settings.
- Tap Accessibility.
- Scroll down to Guided Access under General.
- Toggle Guided Access on, and more options will appear.
- Make sure to toggle on the Accessibility Shortcut option, which will let you enable Guided Access from any app when you triple-click the power (top) button on the device.
Now, triple-clicking the power button on your iPad will open up a shortcut menu. By default, the gesture will offer a Classic Invert action, so if you’d prefer to limit the triple-tap to Guided Access, go to Settings > Accessibility > Accessibility Shortcut (under General) > tap Classic Invert to uncheck it.
Then, when you go into your e-reader app (I use the Kindle app) and triple-click the top button, Guided Access will begin, and you won’t be able to leave the app until you end it. The first time you start a session, it will ask you to set a password (which you can also change in the Guided Access menu in Settings). Make sure to remember the password, because it’s also how you get out of the app-lock later.
I prefer to use the same password as my iPad, so I don’t accidentally lock myself in the Kindle app. Just the extra steps of entering a password I’m already familiar with keeps me from floating around the social media distractions.
Set up Downtime “reading hours”
Kill the temptation

Downtime is one of the most underrated iOS features. During a session (or scheduled hours), Downtime only allows you to access specific apps of your choice, the default options being Messages, Maps, and Facetime. On my iPad, I removed all three default options and only granted access to the Kindle app. In an emergency, my phone will be nearby, so I’m comfortable removing those options.
Here’s how I set my Downtime settings to help turn my iPad into a completely distraction-free e-reader:
- Go to Settings.
- Choose Screen Time.
- Under Limit Usage, select Always Allowed.
- Choose which apps you need to access during during Downtime — on my iPad, I removed all apps except for my Kindle app. I will have my phone nearby should someone really need to contact me.
- Once you’ve chosen your e-reader apps, go back to the Screen Time page. From there, tap Downtime.
- You can choose to manually Turn On Downtime Until Tomorrow, or you can create a schedule by toggling on Scheduled.

Many people use it to peel children away from their devices, but I think it’s quite a tool for burnt-out adults who can’t seem to break free from the doomscroll. If you can’t do anything but read on your iPad, you might as well dive in.
Make the screen feel like E Ink
With a few accessibility hacks

Like I said earlier, an e-reader’s two main appeals are distraction-free reading and reduced eyestrain with E Ink displays. Unlike e-readers, many tablets have screens that are bright enough to light up a dark room, and that just can’t compare to the paper-like feel you get on a Kindle or other e-reader. But, that doesn’t mean you can’t make a few tweaks to get your iPad closer to it.
Dimming the screen isn’t enough. When I went back into my iPad’s settings to dig up some better options, I found White Point. Reducing it takes down the intensity of bright colors, which makes your e-books look more like real books than a full-blown flashlight. Here’s how:
- Go to Settings.
- Tap Accessibility.
- Scroll down to Reduce White Point, and toggle it on.
- Adjust the intensity with the slider — the 50% mark felt right to me.
You can also use Color Filters (in the same Display & Text Size menu). Depending on how warm you like your books, playing with these filters could help you achieve the perfect aged-page look you find in old paperbacks. I prefer to mess around with the warmth filters within my Kindle app or iPad Control Center first — it’s less work than going all the way into Settings.
Turn on Airplane Mode
Become truly unavailable

E-readers are typically single-use devices meant for distraction-free reading, which is quite literally their main appeal besides E Ink displays that are easy on the eyes. This tactic sounds simple because it is: turning on Airplane Mode is like putting your device in a Faraday cage — no signals can get in or out.
Assuming you have your phone nearby in case of an emergency, enabling Airplane mode on your iPad eliminates the possibility of notifications pulling you away from your book and any temptation to reach out to someone else. Arguably, the same thing can be achieved with Do Not Disturb, but my curiosity often gets the best of me. In my notification center, I’ll check what’s come through since turning on DND and get sucked back into digital reality and away from whatever fantasy world I’m reading about.