Summary
- RetroPie on Raspberry Pi: Value for under $100
- Troubleshooting roadblocks: RetroPie update solution
- Smooth sailing after installation: Accessing ROMs easily
The Raspberry Pi platform has been around for a long time now, and while I’ve heard about it in passing, I haven’t done a lot of research into what it’s truly capable of. I’ve started to get into retro gaming more lately after modding a Game Boy Advance, but that device can only take me so far.
I have a few Super Nintendo cartridges of some of the best games lying around, but no Super Nintendo console to play them on. For what it’s worth, an SNES console doesn’t break the bank, but I opted for a Raspberry Pi build so I could emulate games. I don’t want to have to worry about hardware that’s decades old, and I certainly don’t want to deal with having to fix anything that breaks. A Raspberry Pi is perfect for this, and it’s something a lot of people do with their Pi devices.
What I didn’t expect was how much trouble I’d run into doing something that seemed so simple on the surface. After a lot of troubleshooting over a few days, I finally got the emulator up and running. All of my research beforehand led me to believe this project was going to essentially be plug and play, but it was anything but. Your mileage may vary, of course, but this was difficult for me, and I’m somebody who loves to tinker with things. Maybe I should have known some tips beforehand.
Related
6 Raspberry Pi projects that go beyond the basics
You can do more than you might think with a Raspberry Pi.
Things got frustrating fast
A lot of this might have been user error
I purchased a Raspberry Pi 3A+, a case, a power supply, and a microSD card, all for under $100, so I felt like I got a lot of value included with the purchase. The SD card was preloaded with the 32-bit Raspberry Pi OS, but due to my being a beginner, I didn’t realize I’d overwrite that immediately by installing RetroPie, the retro gaming emulator I chose.
Instead of doing that right off the bat, I booted up the OS on my Pi and tried to install RetroPie without using an external source. With just 512 MB of RAM, I was warned that launching Firefox wasn’t recommended, and that was an understatement. I moved very slowly to the RetroPie site, but once I got the necessary codes loaded into my command prompt via copy and paste, it was smooth sailing. At least, that’s what I thought. I let the Pi run overnight because things were taking a long time, and that’s when I discovered that it froze up hours into the process. I ran it again the next morning, and the same thing happened. It was then that I decided to just install RetroPie on top of my SD card, wiping away the preinstalled OS in the process. Luckily, the SD card wasn’t a ton of money in the first place.
I followed the tutorial laid out by the RetroPie website, and it really seemed as simple as grabbing an SD card reader, plugging it into my PC with the microSD card inside, and writing the program to it. To be fair, everything did work like that, but when the time came to plug my Pi into a monitor, I was met with a series of roadblocks. The big one was that my video just wouldn’t show up. I checked and checked again, but the picture just wouldn’t show up. After hours of Googling and trying out various troubleshooting ideas, I was stumped.
There was a point where I just about gave up and was going to eat the price of the Pi before I stumbled across a forum post talking about how RetroPie wasn’t properly updated for the 3A+. I downloaded the weekly Buster image of RetroPie, and lo and behold, it booted up perfectly. It turns out that all the changes to the config file and reading numerous Reddit threads were completely pointless because all it took was installing an updated RetroPie version. You live and you learn, I suppose. Once I got past the frustrations, the Pi worked just as I expected it to, and I have to admit, it’s a very cool little machine.
Related
Every Raspberry Pi model ranked from worst to best
Find out which SBC comes out with the biggest piece of the Pi.
It’s great when it works
Just some growing pains
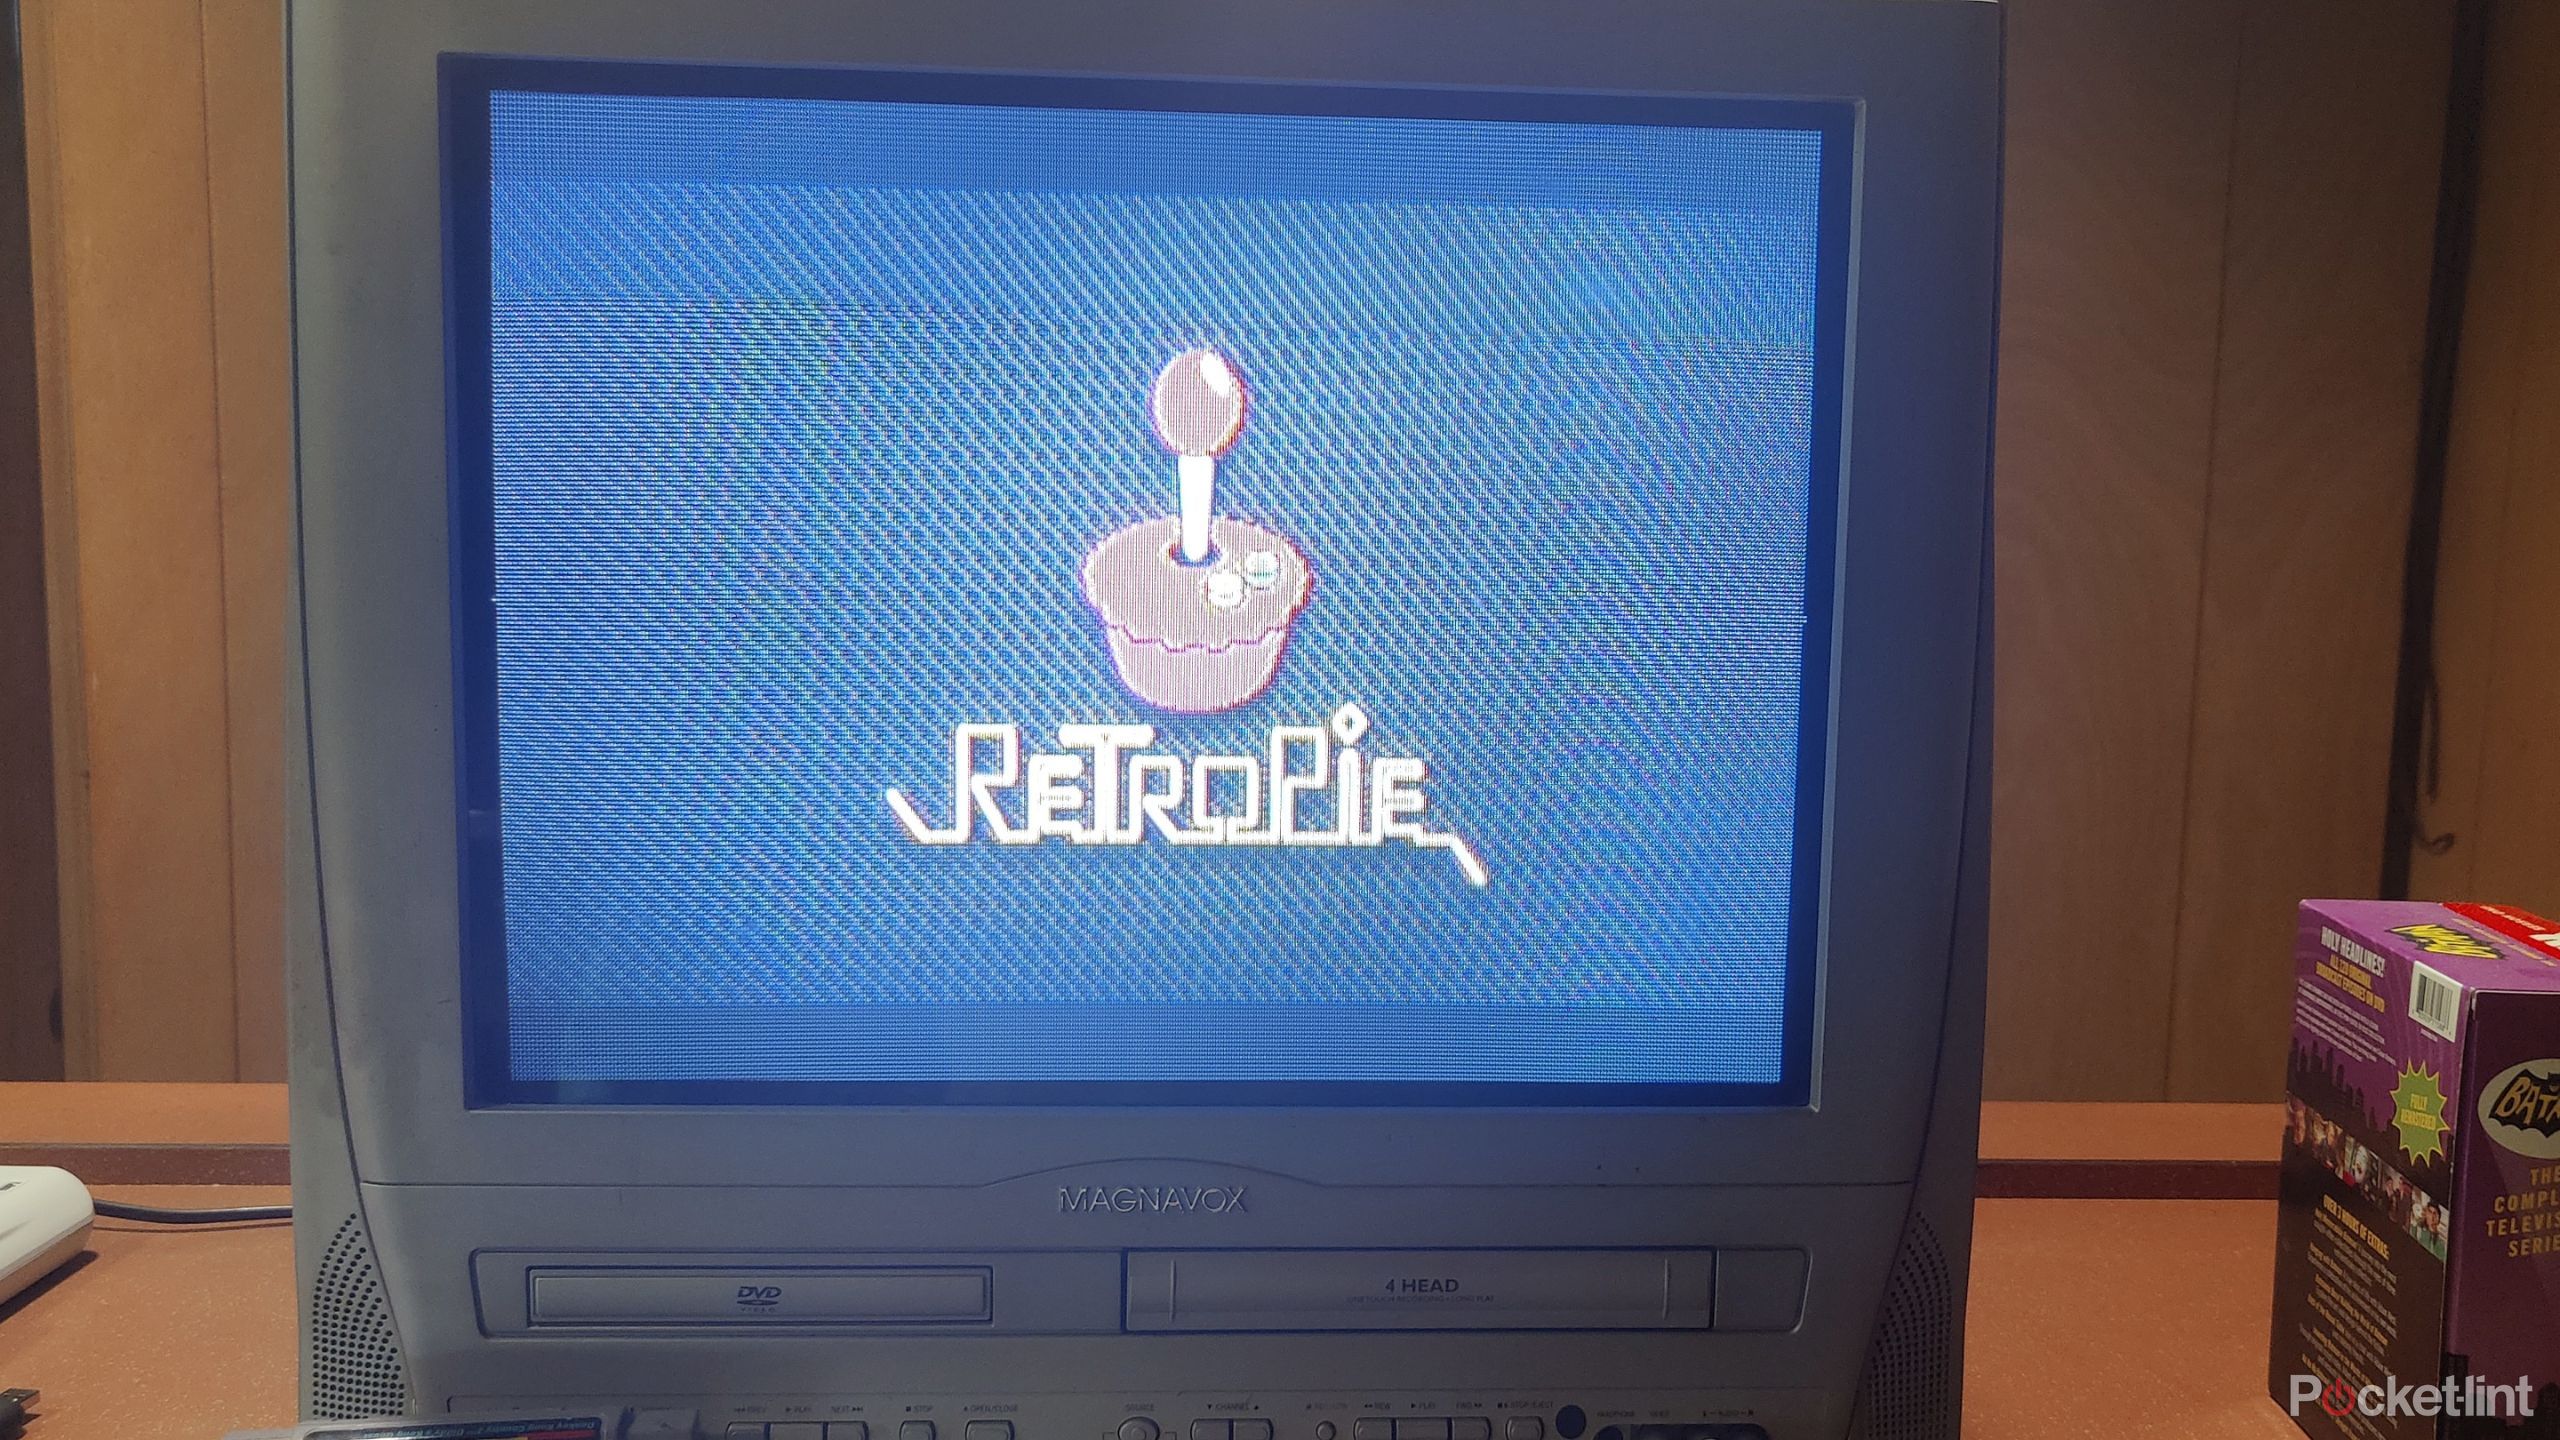
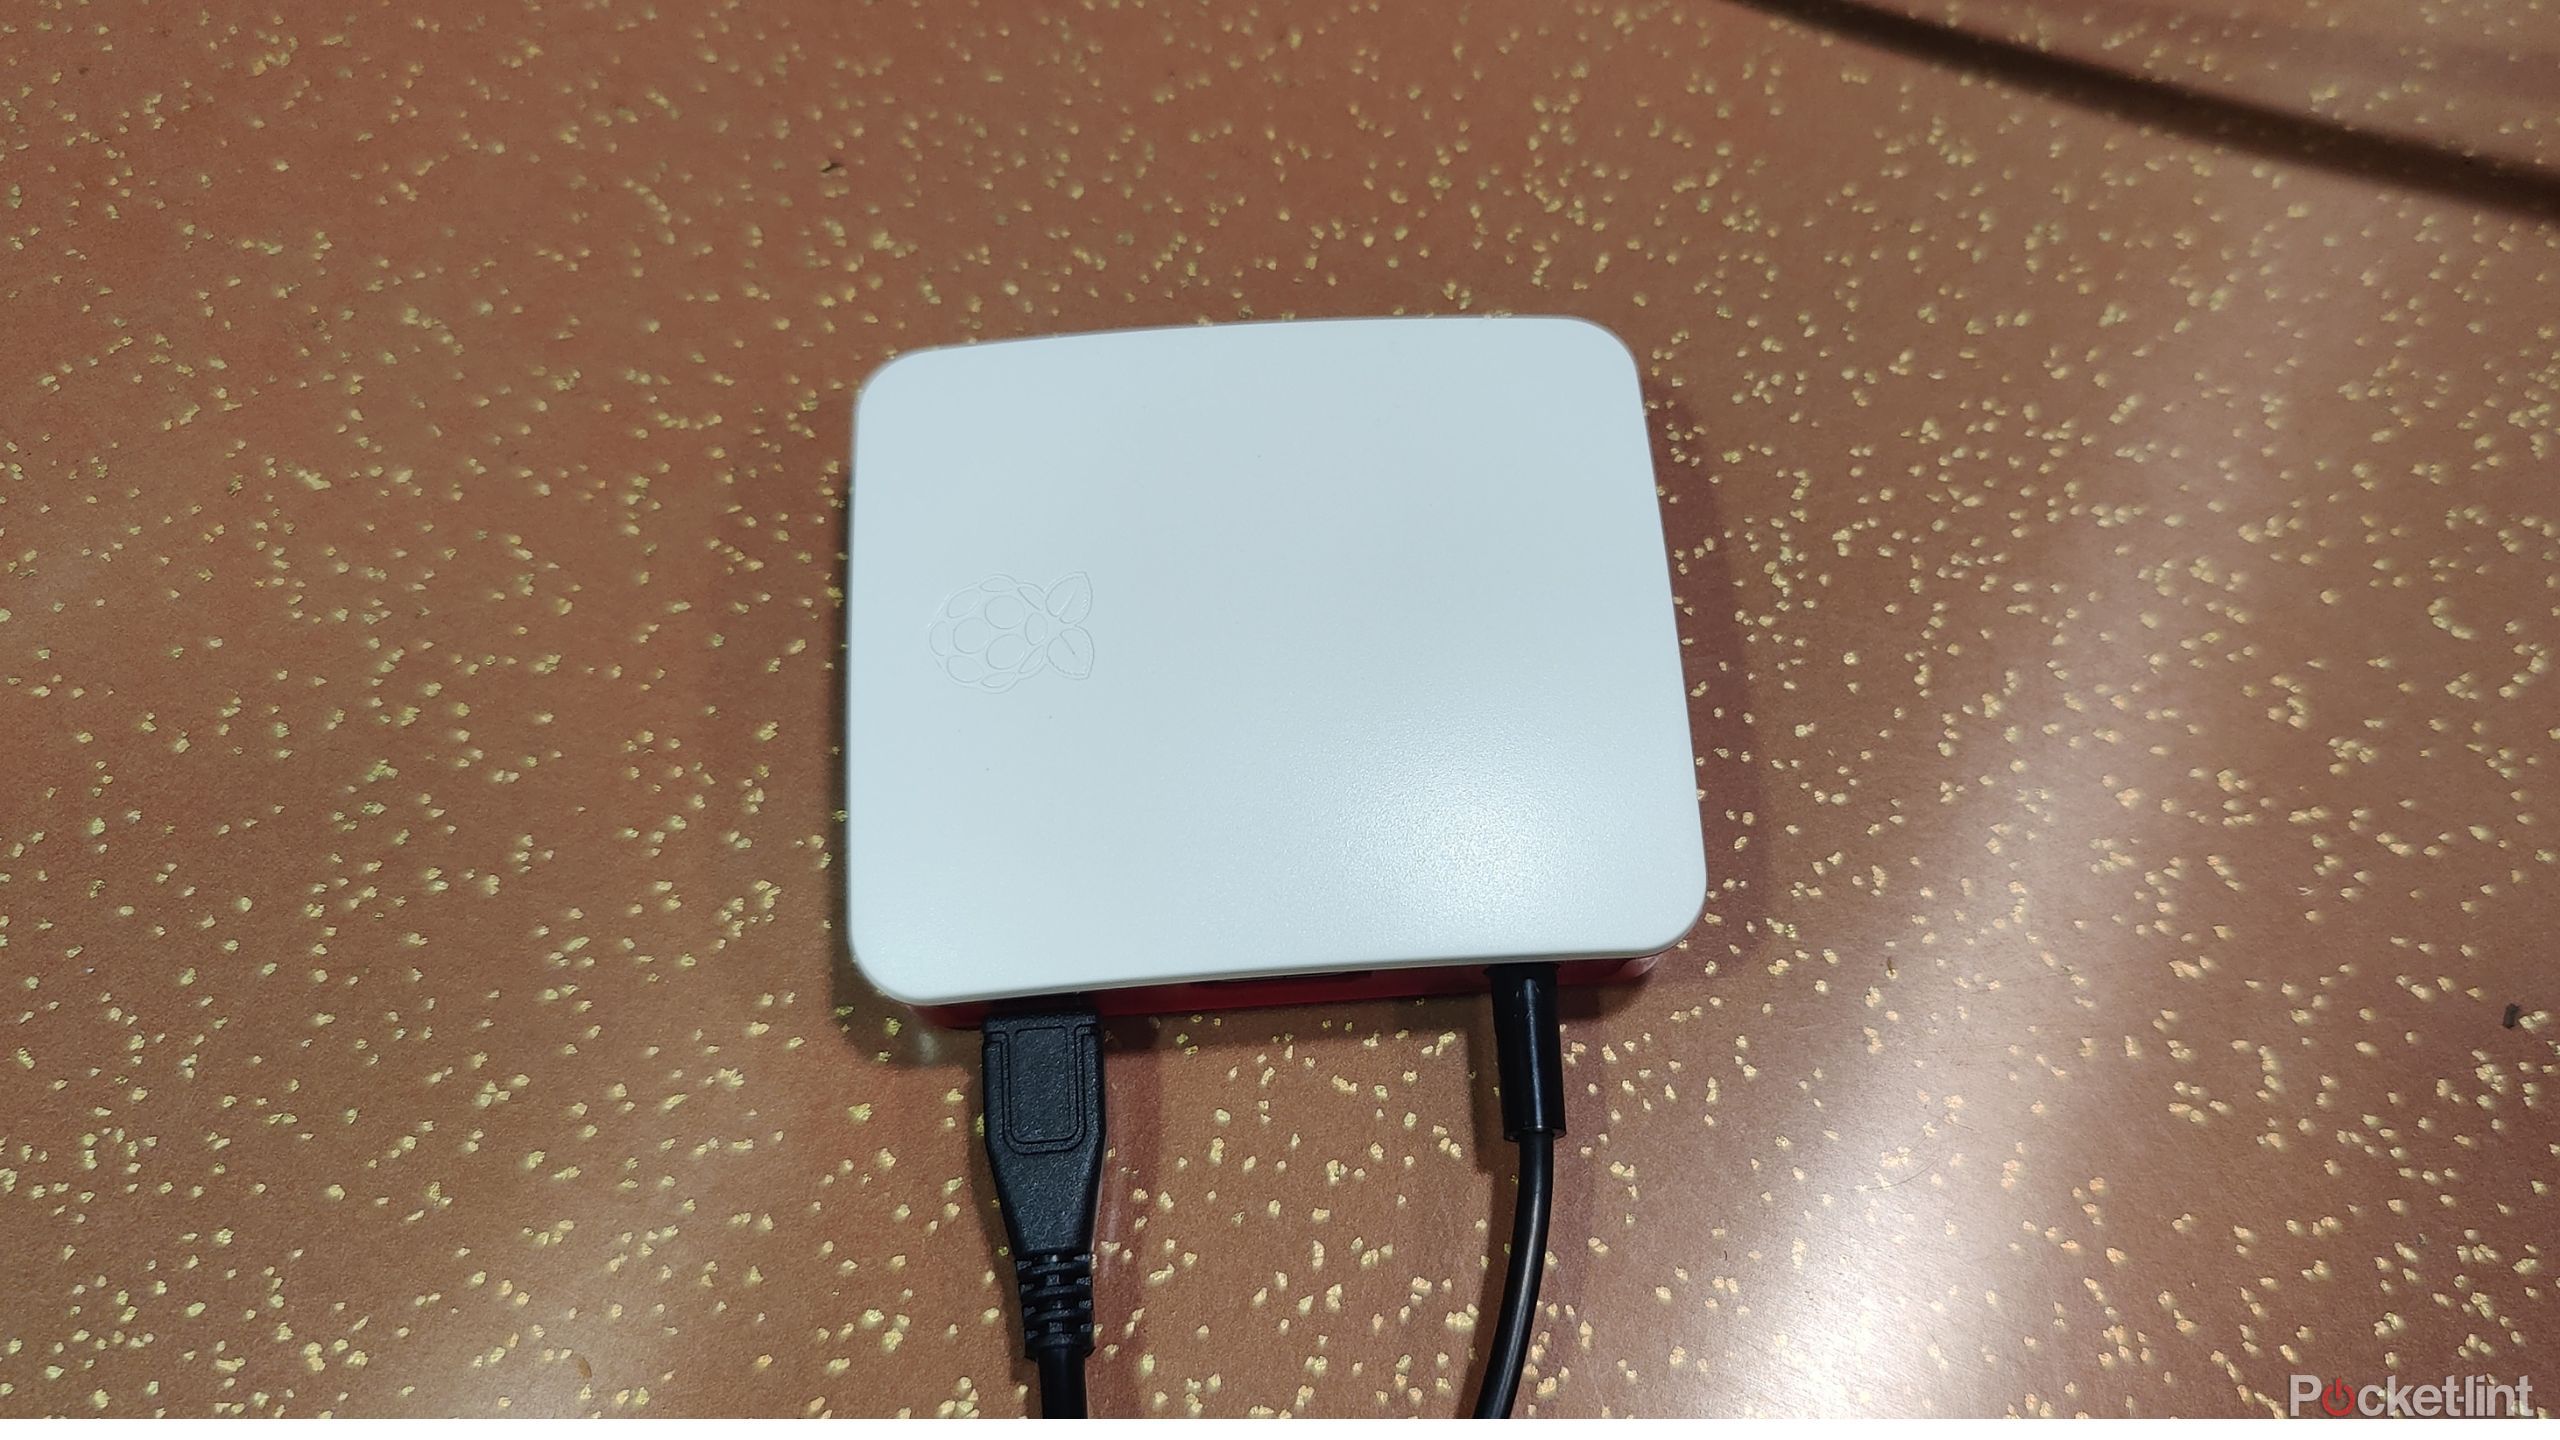
Once I got RetroPie installed and booted, everything was simple from there. All I had to do was format a USB drive that helped me get my backed-up ROMs from my PC to the Raspberry Pi. It was a completely automated process in that I let the USB drive sit in my Pi for a few minutes. Upon restarting the Pi, my ROMs were sorted into their subsequent folders, so it was a breeze to get between the different platforms. Basically, everything was simple once I sorted out the installation. Not even I could mess things up from there.
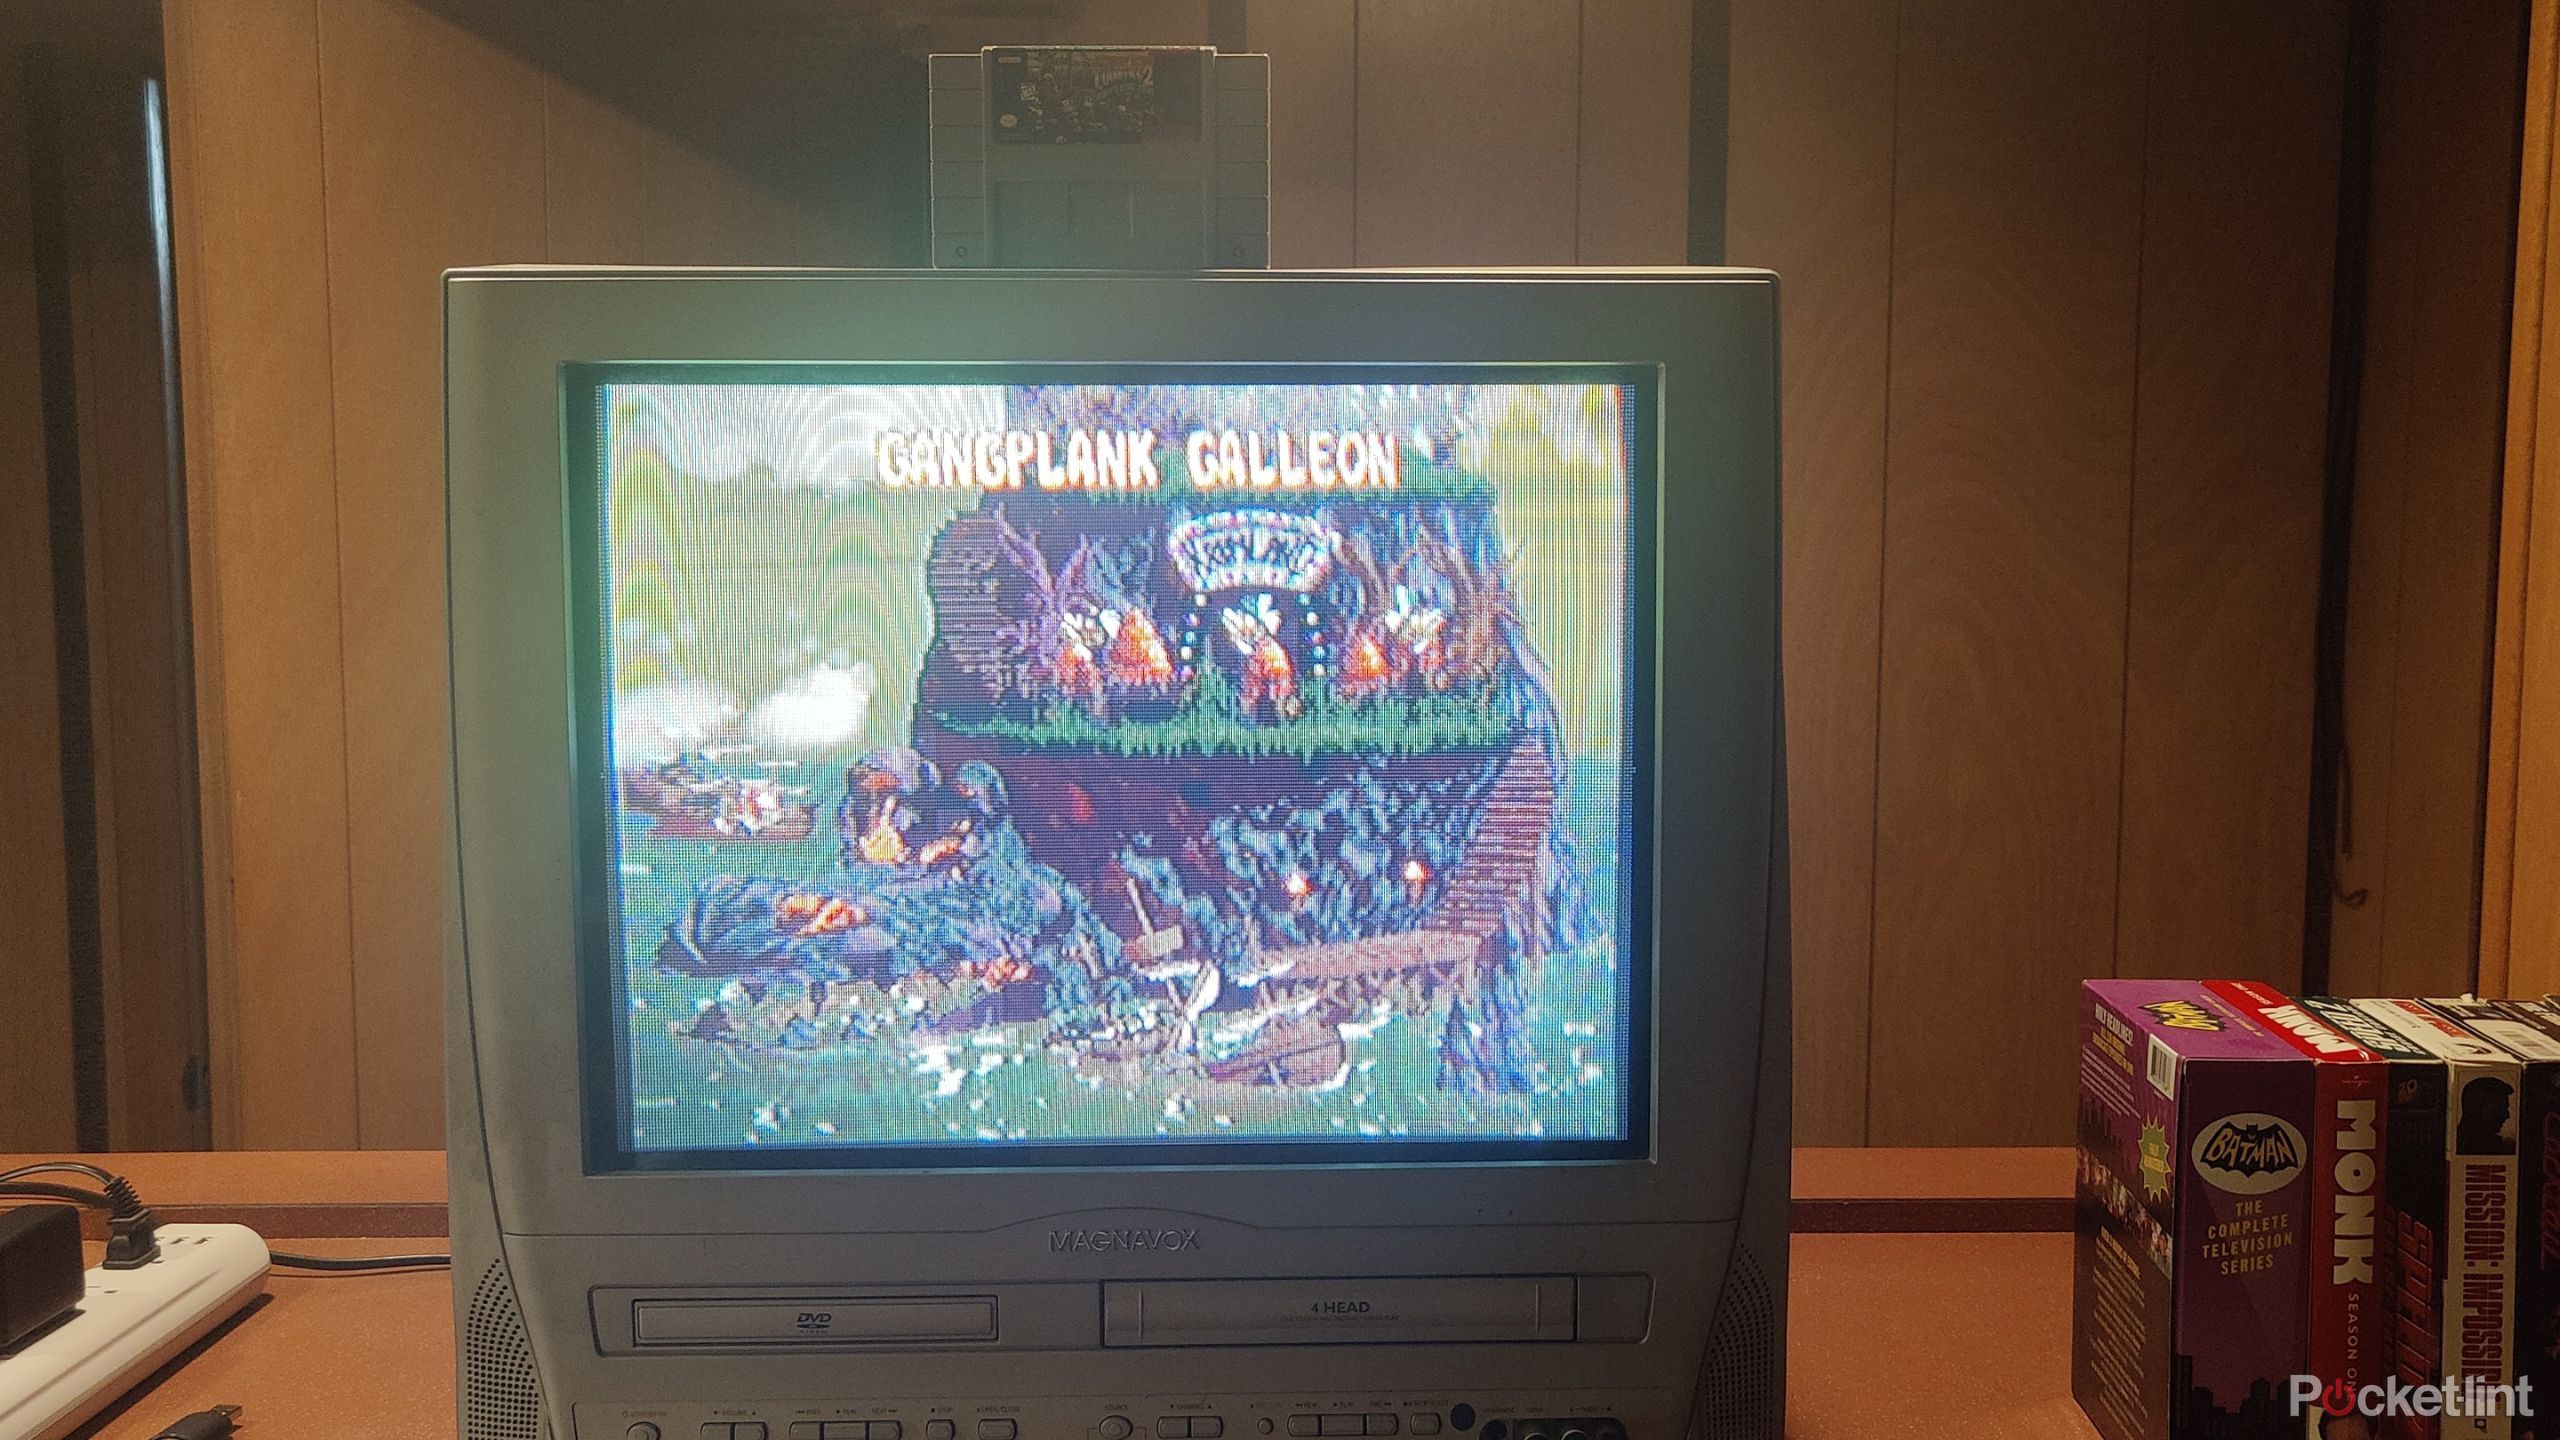
Despite being on an older Pi, I had no trouble running Donkey Kong Country 2, which isn’t all that shocking considering SNES games don’t require a whole lot to run. I doubt I could get something running from the PS2 era in a playable state, but that’s not what I’m going for at all. Games load up just fine, and I was able to plug my Pi 3 into an old CRT without any tinkering, something that the newest model doesn’t have the luxury of. I still have to do some image adjusting to get the best look, but it’s largely plug-and-play.
Ultimately, I tackled a basic Raspberry Pi project, and while it took longer than I expected it to, the result is a working machine. I don’t know if I’ll go deeper into the ecosystem because, frankly, it seems like it’s going to be a lot of work. I don’t have many ideas about where I’d like to go next, although I am a big fan of the smart size of the board. Making a handheld device would be cool, but I don’t know if I want to spend the time learning how to get power to a device like that. I have learned that Raspberry Pi devices are very versatile, and while I use mine to emulate games, they can do so much more than that. Maybe a little while down the road, I’ll be more willing to pick another up to try something else. In the meantime, I’m going to sit back and enjoy my games.

Related
5 practical Raspberry Pi projects that improve my life in subtle ways
There are so many ways you can use the popular single-board computer.


