


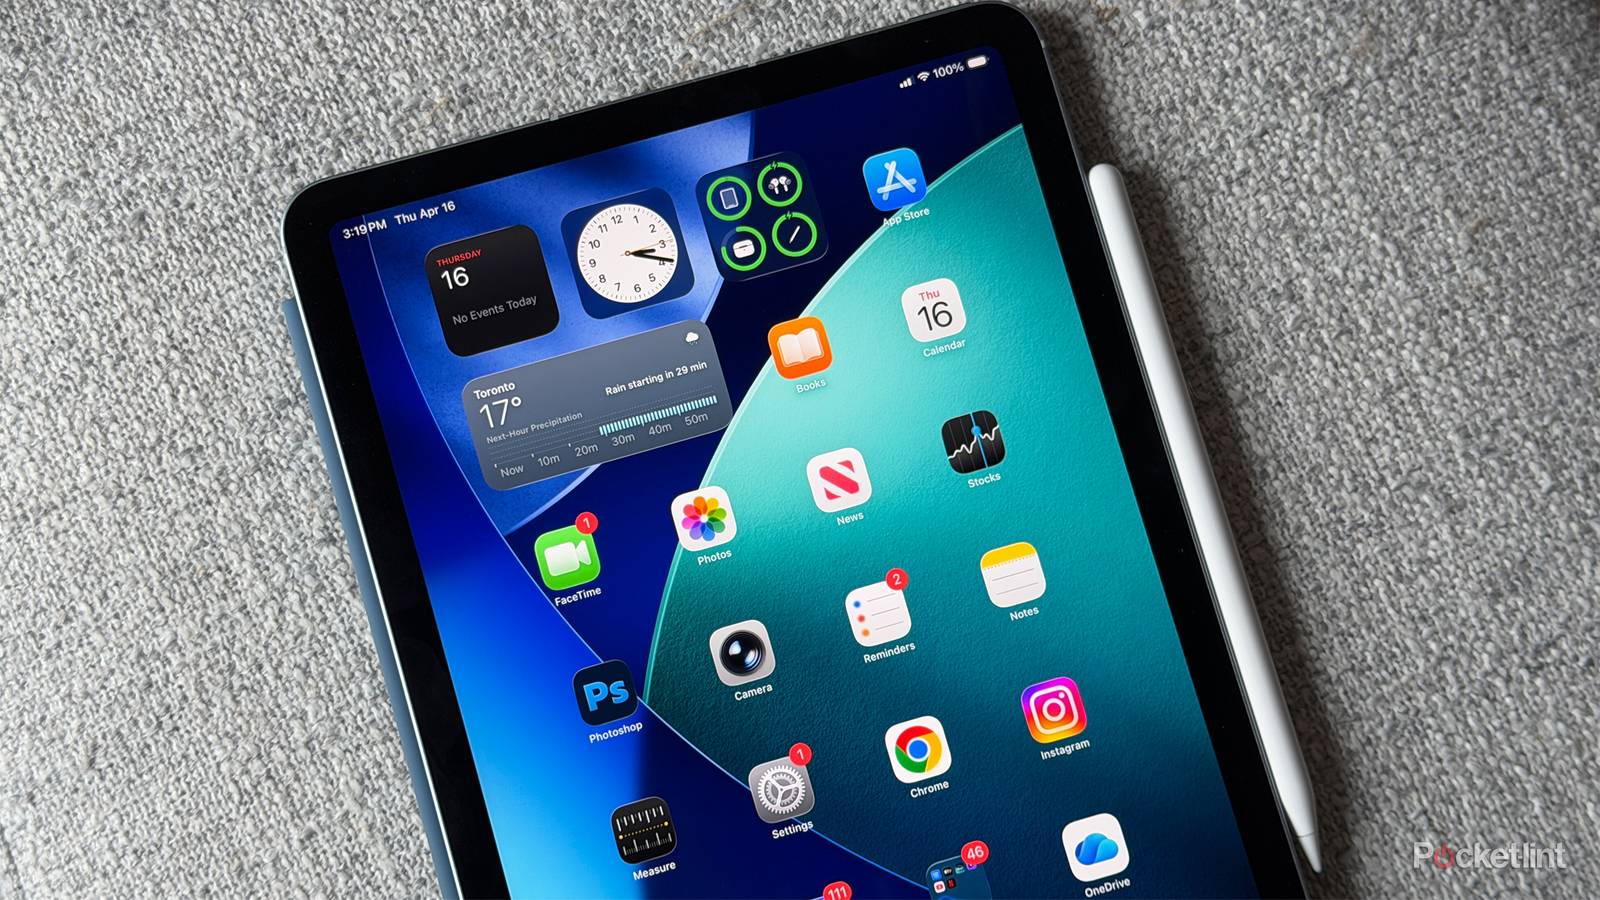
The iPad is a remarkably versatile computing device. Its tablet form factor is ideal for content consumption, its stylus support is perfect for sketching and note-taking, and its broad keyboard, mouse, and monitor compatibility allows for seamless on-the-fly laptop or desktop-style workflow transitions.
That being said, the iPad’s operating system, iPadOS, is still a work in progress. In its current state, it lacks certain basic Mac and PC functionalities, like the ability to project to an external monitor while in clamshell mode, or the ability to play and mix audio from multiple sources at the same time.
One computing staple that’s still missing from the iPad experience is the ability to play back, rip, and burn optical discs. Unfortunately, Apple simply hasn’t built out the technological underpinnings needed to support optical discs natively, which isn’t surprising considering the iPad’s lack of a built-in disc drive.
Of course, with the help of a Mac or a PC, it’s certainly possible to rip the contents of, say, a Blu-ray disc, and to transfer them onto an iPad for local playback purposes. Here are the steps required to get your Blu-ray disc collection up and running directly on your iPad.

- Brand
-
Apple
- Storage
-
128 GB
- CPU
-
A16
- Operating System
-
iPadOS
- Ports
-
USB-C
- Display type
-
sRGB color, True Tone
Apple’s most colorful iPad model complete with the A16 chip.
How to rip Blu-ray discs onto an iPad
The process is relatively straightforward

As a first order of business, you’ll need to rip the contents of your Blu-ray discs to your Mac or PC. This can be accomplished through the use of a third-party ripping application like MakeMKV. Of course, you’ll need access to a Blu-ray drive to facilitate the process, whether it be an internal drive or an external USB-powered one.
Blu-ray discs can hold a fair bit of data on them (between 25GB and 50GB each), and so you’ll need to ensure that your computer has ample storage capacity to save the video files once ripped. You can optionally compress ripped files to save on space by opting for a free software solution such as HandBrake.
Note that ripping the contents of copy-written materials is a legal grey area, even in the context of personal use. Never share ripped files with other people, and stick to ripping original home videos as opposed to feature films and TV shows.
Once you’ve successfully ripped your Blu-ray discs, it’s time to transfer the video files directly to your iPad for local playback. This can be accomplished either using a cloud storage provider (Google Drive, OneDrive, iCloud, Dropbox, etc.), or by manually transferring the files using a USB stick or an external HDD or SSD.
Once transferred over, it’s time to enjoy the fruits of your labor. Your FHD 1080p video files will be fully watchable right on your iPad’s bright and beautiful multitouch display, which is arguably the best way to watch content outside of a full-sized flat-screen television panel. If you own an iPad Pro, you’ll benefit from even better picture quality, thanks to the device’s fancy Tandem OLED display technology.


