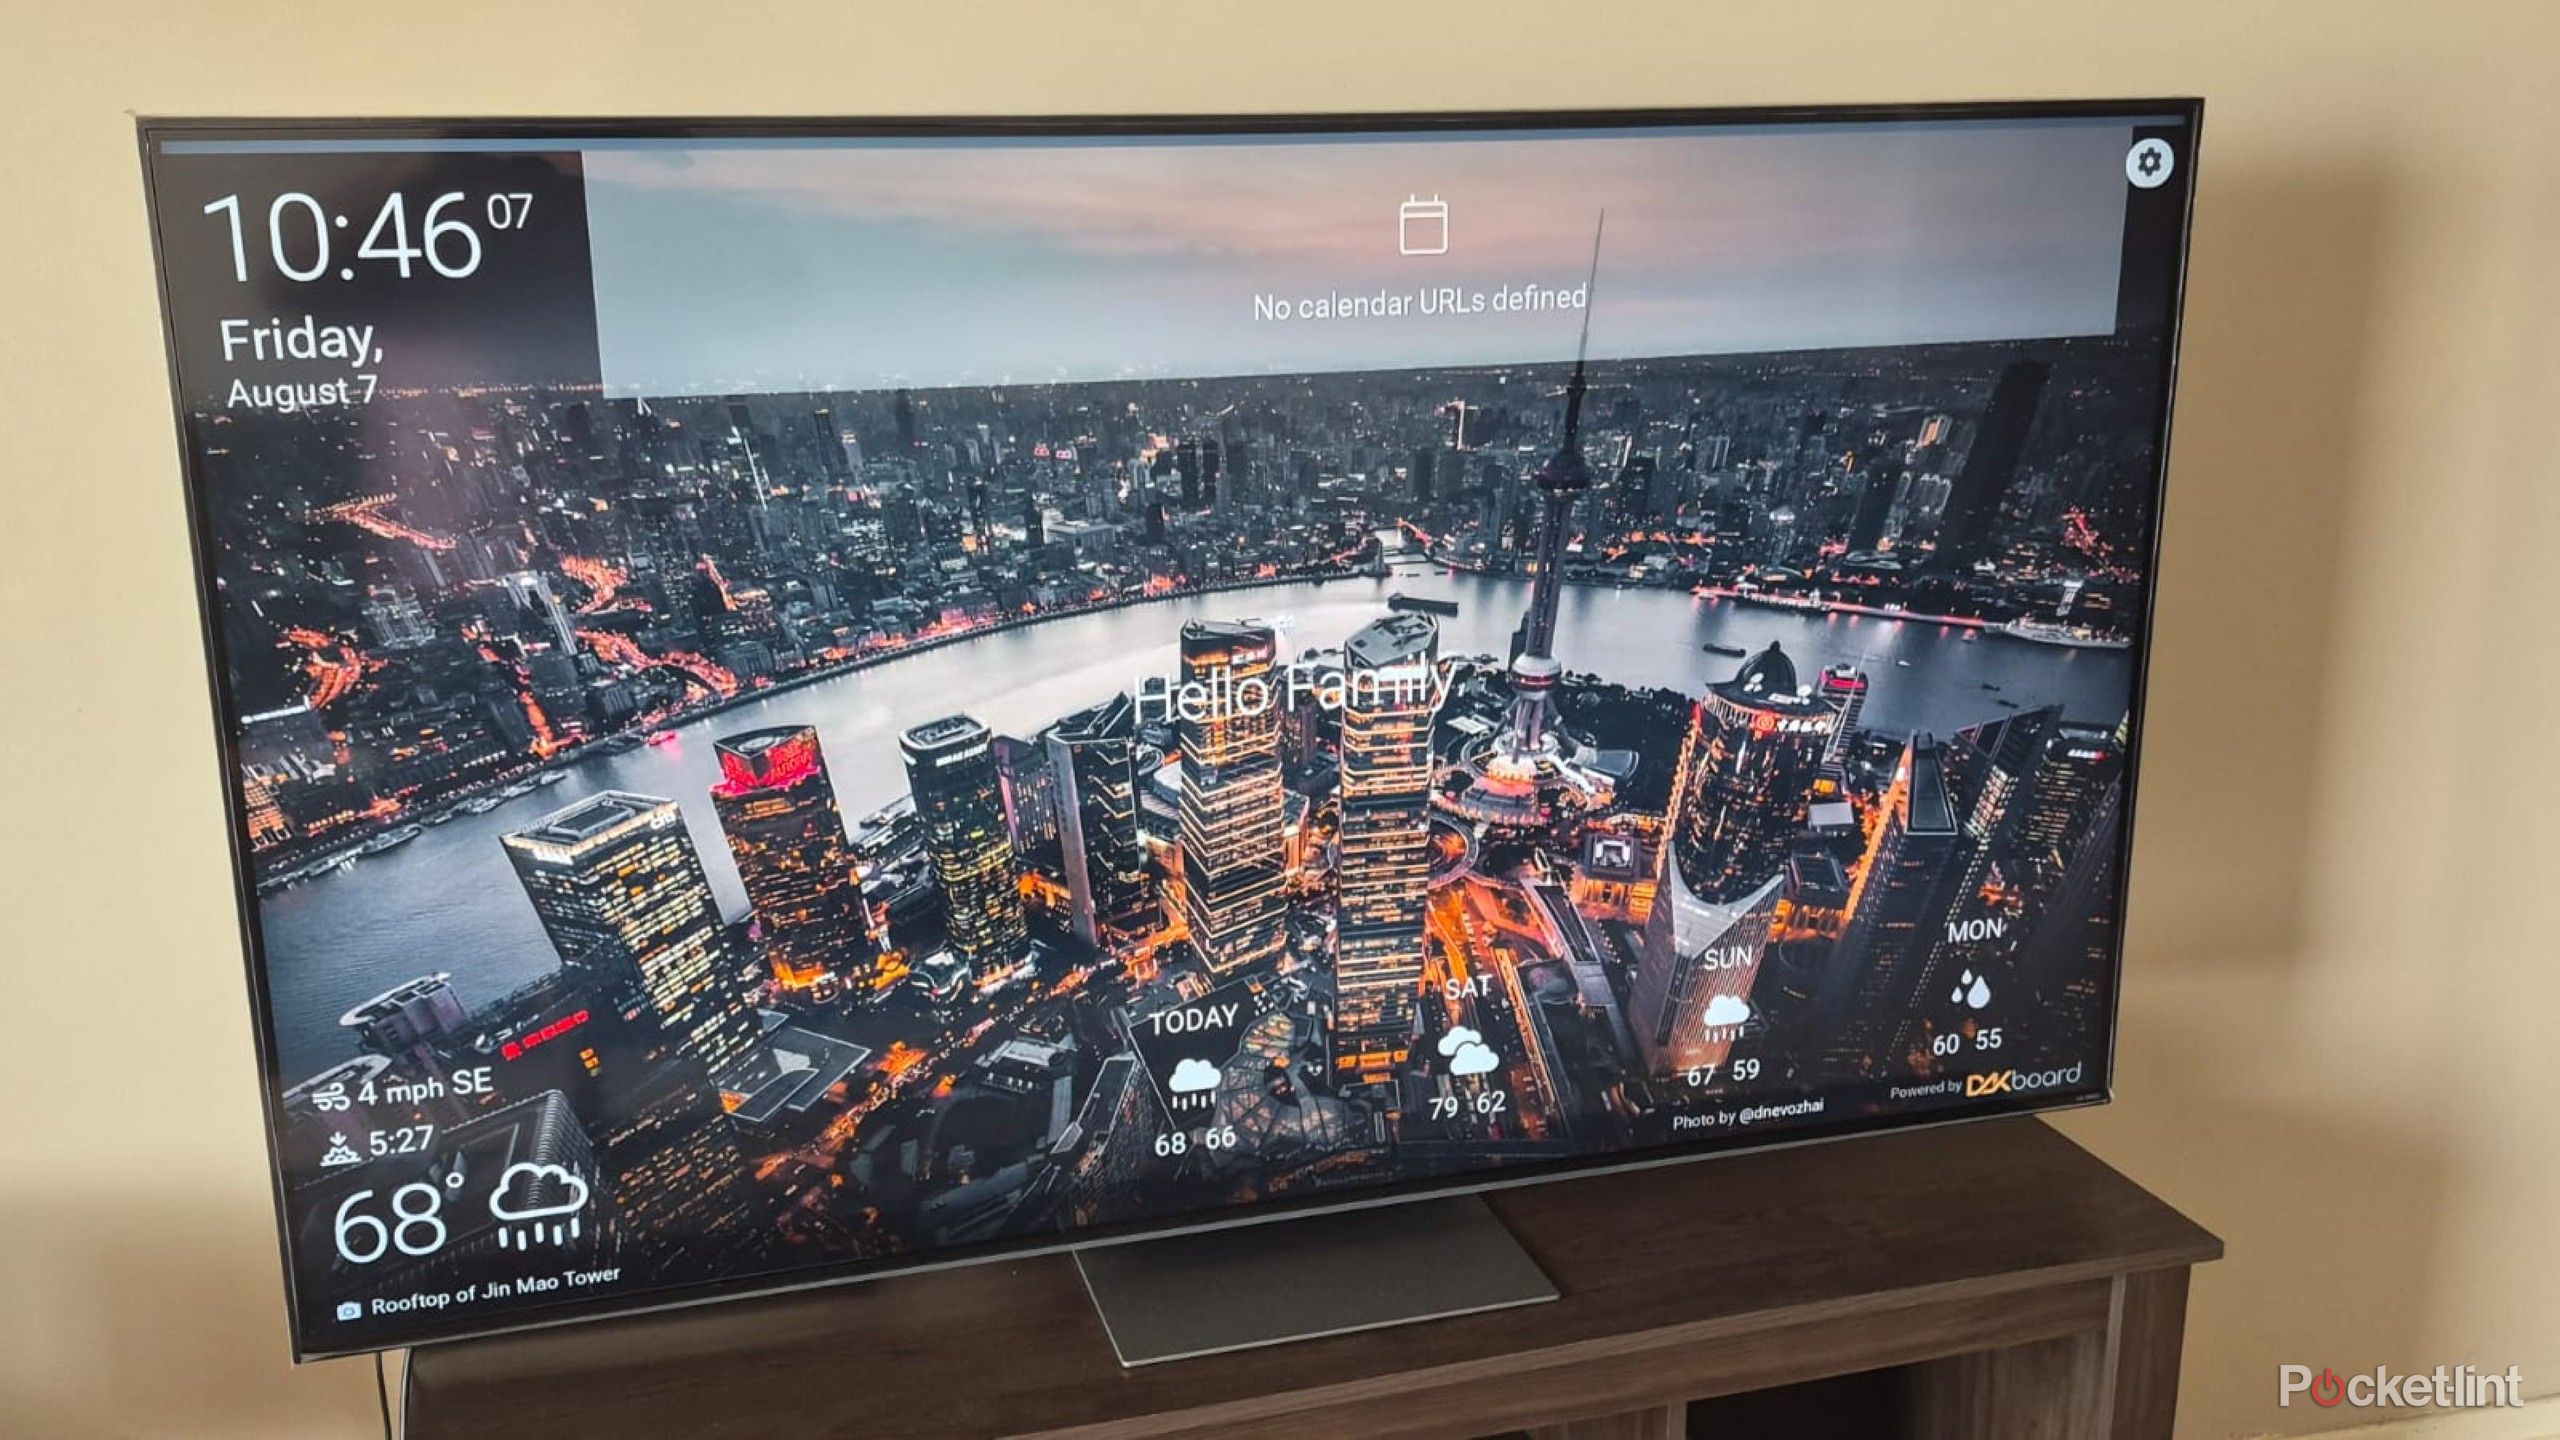
New smart TVs have more functions than ever and aren’t just for viewing movies and must-watch shows. You can use them for gaming or music, or turn them into a desktop PC for checking your emails and doing other work.
Another seldom-mentioned feature is smart display functionality. It makes sense because your TV is usually in a central area where the whole family can view the weather, upcoming calendar events, or add-to-do lists. Repurposing your TV into a smart display is straightforward, and I’ll show you how to do it in a few easy steps.
Getting DAKboard on your TV
No app installation required
I open my TV’s internet browser and navigate to the DAKboard website. Once I’m there, I get prompted to sign in or create a new account. I create a new account using my Google or email credentials. The app has free and subscription-based tiers. I started with the free version, and I can always upgrade later if I feel like it.
The wizard is faster and easier but doesn’t offer the same amount of creativity as the custom builders.
The app displays a welcome screen when I log in for the first time, and I needed to set up your default location, time zone, and language.
I then chose between using the Guided Setup Wizard or the Full Custom Builder to create my first screen. The wizard is faster and easier but doesn’t offer the same amount of creativity as the custom builders. Alternatively, I could start with a blank canvas, which I recommend for advanced users, or import an existing screen from a file or share code.
Guided Setup Wizard
The easy way to get started
The wizard takes you through each step of the process.
Layout
You choose the orientation of the date and time and whether to have a big date and calendar from the predefined options.
Background
This window lets me enable or disable backgrounds and choose between the built-in nature and landscape photos or custom albums from apps like OneDrive, Google Photos, and Apple Photos. I can also have video backgrounds from Vimeo and YouTube.
After selecting the background, I decide how often it should change using a dropdown menu. It ranges between five seconds and four hours, and I chose two minutes. I also use the tick boxes to fade the photos gradually, crop to fill the entire screen, and display the metadata.
Calendar
I then enable the calendar, then choose between monthly and agenda, and the number of days and weeks to display. I set my week to start on Monday rather than Sunday and configure the additional view tickboxes for other options I prefer. Some of these include displaying event locations, end times, and adding custom colors to them.
Date/Time
The date and time settings are pretty straightforward. I just enable the function and choose display settings, like a digital and analog clock, and the time and date formats.
Weather
I enable the weather function and choose the source from OpenWeatherMap, Weatherbit, or WeatherUnderground. Then I choose between Celsius and Fahrenheit and the length of the forecast.
News
I enable the RSS option in the news feed. It then opens a menu to add the URLs of websites I want to get my news from. The free version of the app only allows for one site, and I need to pay to add more.
To-do
The to-do settings have a slider to enable the function. Then I can link it to apps, like Google Tasks, Microsoft To-Do, and Todoist, to view my lists.
Custom Message
I enable custom messages to add fun text to my smart home display. I can choose its orientation between the top, middle, upper, lower, and bottom parts of the screen.
Screen Settings
I give my screen a name, then choose the language and base font size. It also creates a custom URL I can copy into my PC or phone web browsers to view my screen.
Full Custom Builder
In-depth customization for advanced users
The custom builder gives more control when creating custom displays.
Choose a template
The first screen displays a list of templates to choose from. Some are basic calendars, and others have seasonal themes, like New Year’s celebration or back to school.I choose the template I want, then a customization window opens. Each area of the template, like the time and calendar, becomes a block I can customize individually.
For example, a settings window will open if I click on the date. I can then access default settings like the format and time zone or advanced settings like custom fonts in different sizes and colors.
The in-depth customization options in each window are staggering, and I can add things like humidity and moon phases, logos, and other information I want.
DAKboards custom builders also let me add custom blocks that are not on the template. I can add pictures and albums, connect it to smart home assistants, or even link my fitness trackers.
All of this takes more time than using the easy wizard. However, it’s worth it because you only have to do it once, and it can improve your efficiency and save you time.