


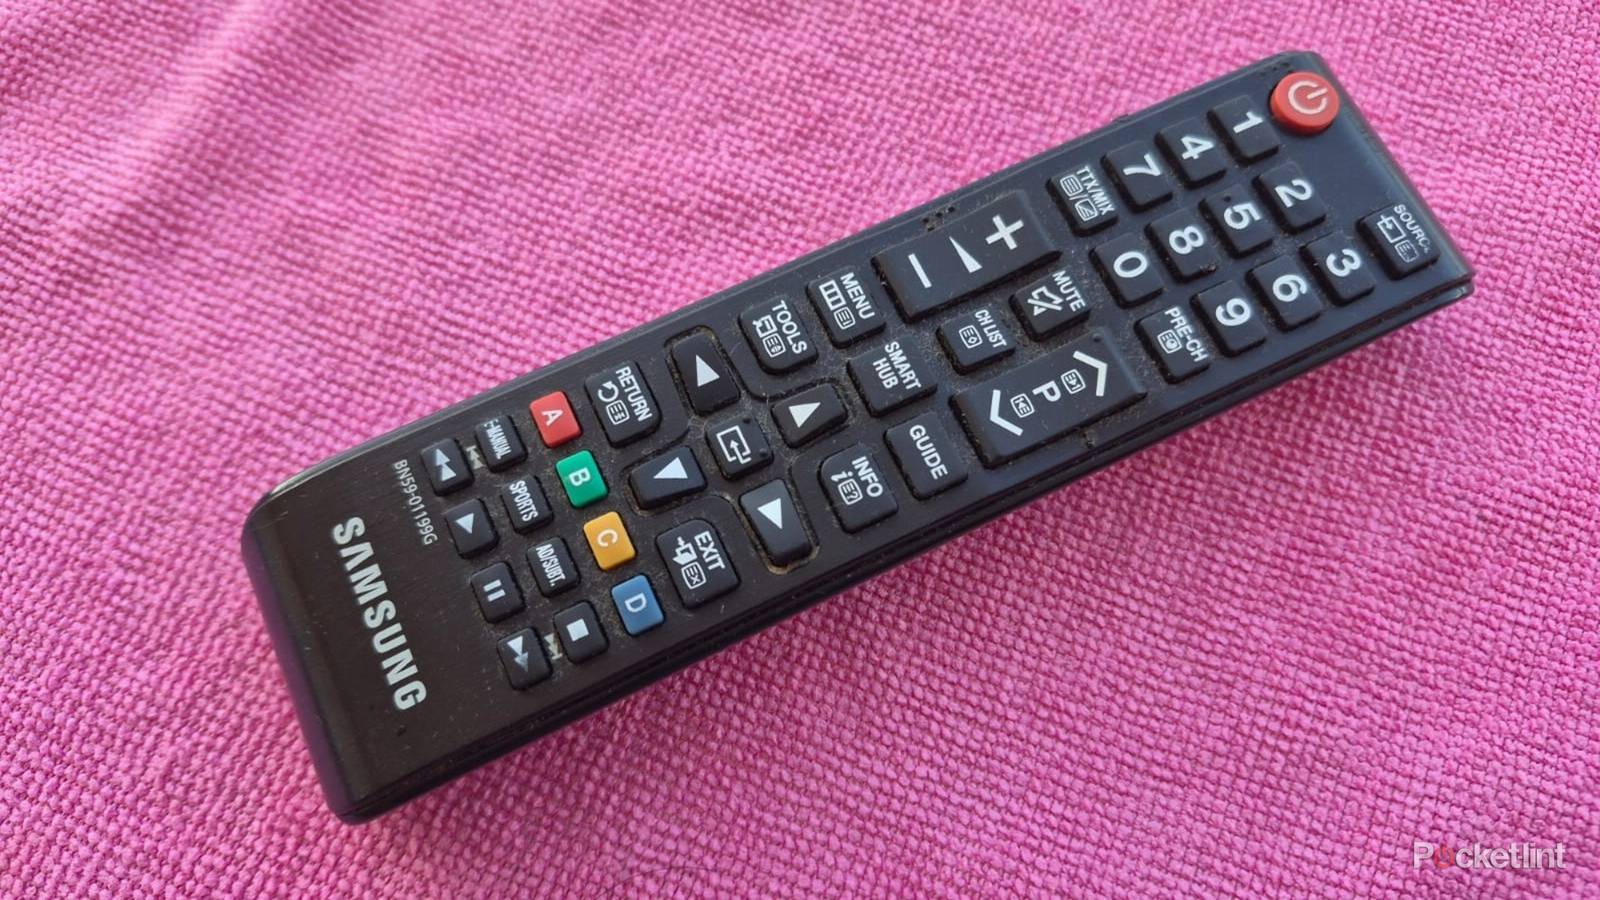
I don’t enjoy cleaning my LG TV remote, but I do it anyway. My daughter has no qualms about using my old smart TV’s remote while she’s eating, and I often find it sticky and full of grime when I want to use it. The remote eventually looks and smells bad, and the buttons become harder to press.
Even the best TV remotes rank amongst the dirtiest items in your home, and apparently contain more bacteria than toilet seats. It’s believable, as different people’s fingers handle them daily, and they’re rarely cleaned. Here’s how I clean my remote control if it’s dirty or sticky.
All the things you need
Get them ready in advance

You’ll need a few common items to get started. It’s best to have all of them ready so you can work uninterrupted. Here’s a list of things you’ll need to clean your remote control.
- Isopropyl alcohol
- Cotton swabs
- An unused toothbrush
- Soap and water
- A microfiber cloth
- A small Phillips or flat screwdriver
- An old credit card or guitar pick
Getting rid of loose dirt
The first step

I usually remove the easy-to-clean dust and debris from my remote before moving on to the more difficult grime that’s stuck on tight. The first step is to remove the remote’s batteries. Then I use a toothbrush in vertical and horizontal strokes to get between the buttons and ridges to remove the dirt caked onto the surface.
I gently tap the remote on a cloth or soft surface to dislodge any stubborn dirt after cleaning both sides of the remote with a toothbrush.
Remove sticky areas
It’s worth the effort

I tackle the sticky areas of my remote after removing the first layer of dirt. To do this, I dampen a cloth in soap and water and squeeze out all the excess liquid. I then use it to wipe my remote, using the edge of the cloth to get between the buttons and into the corners. I sometimes wipe down the remote once, then leave it for a few minutes for the dirt to absorb the soap before doing a second run.
I dip a cotton swab in Isopropyl alcohol and run it across the buttons in horizontal and vertical strokes to remove the remaining dirt.
Then I use the dry part of the cloth to remove any remaining dirt and moisture. Once I’m satisfied that the remote is dry, I move to the final cleaning phase. I dip a cotton swab in Isopropyl alcohol and run it across the buttons in horizontal and vertical strokes to remove the remaining dirt. I also use the swabs to clean the battery connectors, which are prone to getting dirt and corrosion build-up.
Deep cleaning a remote control
Get inside to clean spills
I disassemble my remote control and clean the inside if I spill coffee or soda on it. I think it’s also worth doing it around once a year, even if I haven’t spilled anything, as a general maintenance task.
Every remote control is different, and some require me to remove screws, while others have clips that I can open with a flat object, like a credit card. I don’t like taking chances when I don’t know what I’m doing. That’s why I usually check for instructional videos on YouTube before attempting it myself.
Every remote control is different, and some require me to remove screws, while others have clips that I can open with a flat object, like a credit card.
To disassemble a remote, I usually unfasten the clips or loosen the screws, then gently pull it apart. Then I separate the housing, button pad, and circuit board.
I start with the circuit board and rub it with a cotton swab dipped in Isopropyl alcohol to remove dirt, grime, or sticky spilled drinks. The job sometimes requires multiple cotton swabs because they get dirty fast.
Next up is the button pad. This is usually the dirtiest part of the remote because of all the edges and crevices for dirt to build up. For this, I use a similar technique to cleaning the exterior. First, I clean off the loose dirt with a toothbrush, making sure to get between the buttons. Then I use a damp, soapy cloth to wipe off the dirt and sticky grime. After that, I dip a cotton swab in Isopropyl alcohol and do the same to get the last dirt off the button pad.
My last step is to wipe the remote with a damp cloth dipped in sanitizer to disinfect it.
The housing is the last thing on my list. Dirt usually accumulates on the edges around the buttons. I follow the same method as before and clean the edges with a toothbrush. Then I clean it with a damp cloth and go over it again with a cotton swab dipped in Isopropyl alcohol. I ensure that every part of the remote is completely dry before putting it back together again. My last step is to wipe the remote with a damp cloth dipped in sanitizer to disinfect it. My remote is finally clean, and I can re-insert the batteries to use it.