
Summary
- There are tons of settings you can change on your Switch 2 to enhance your experience.
- The Switch 2 has a new battery health feature called Stop Charging Around 90% which helps protect the battery’s longevity.
- You can make your experience even smoother on the Switch 2 by adjusting settings like the user selection screen, color mode, and button mapping.
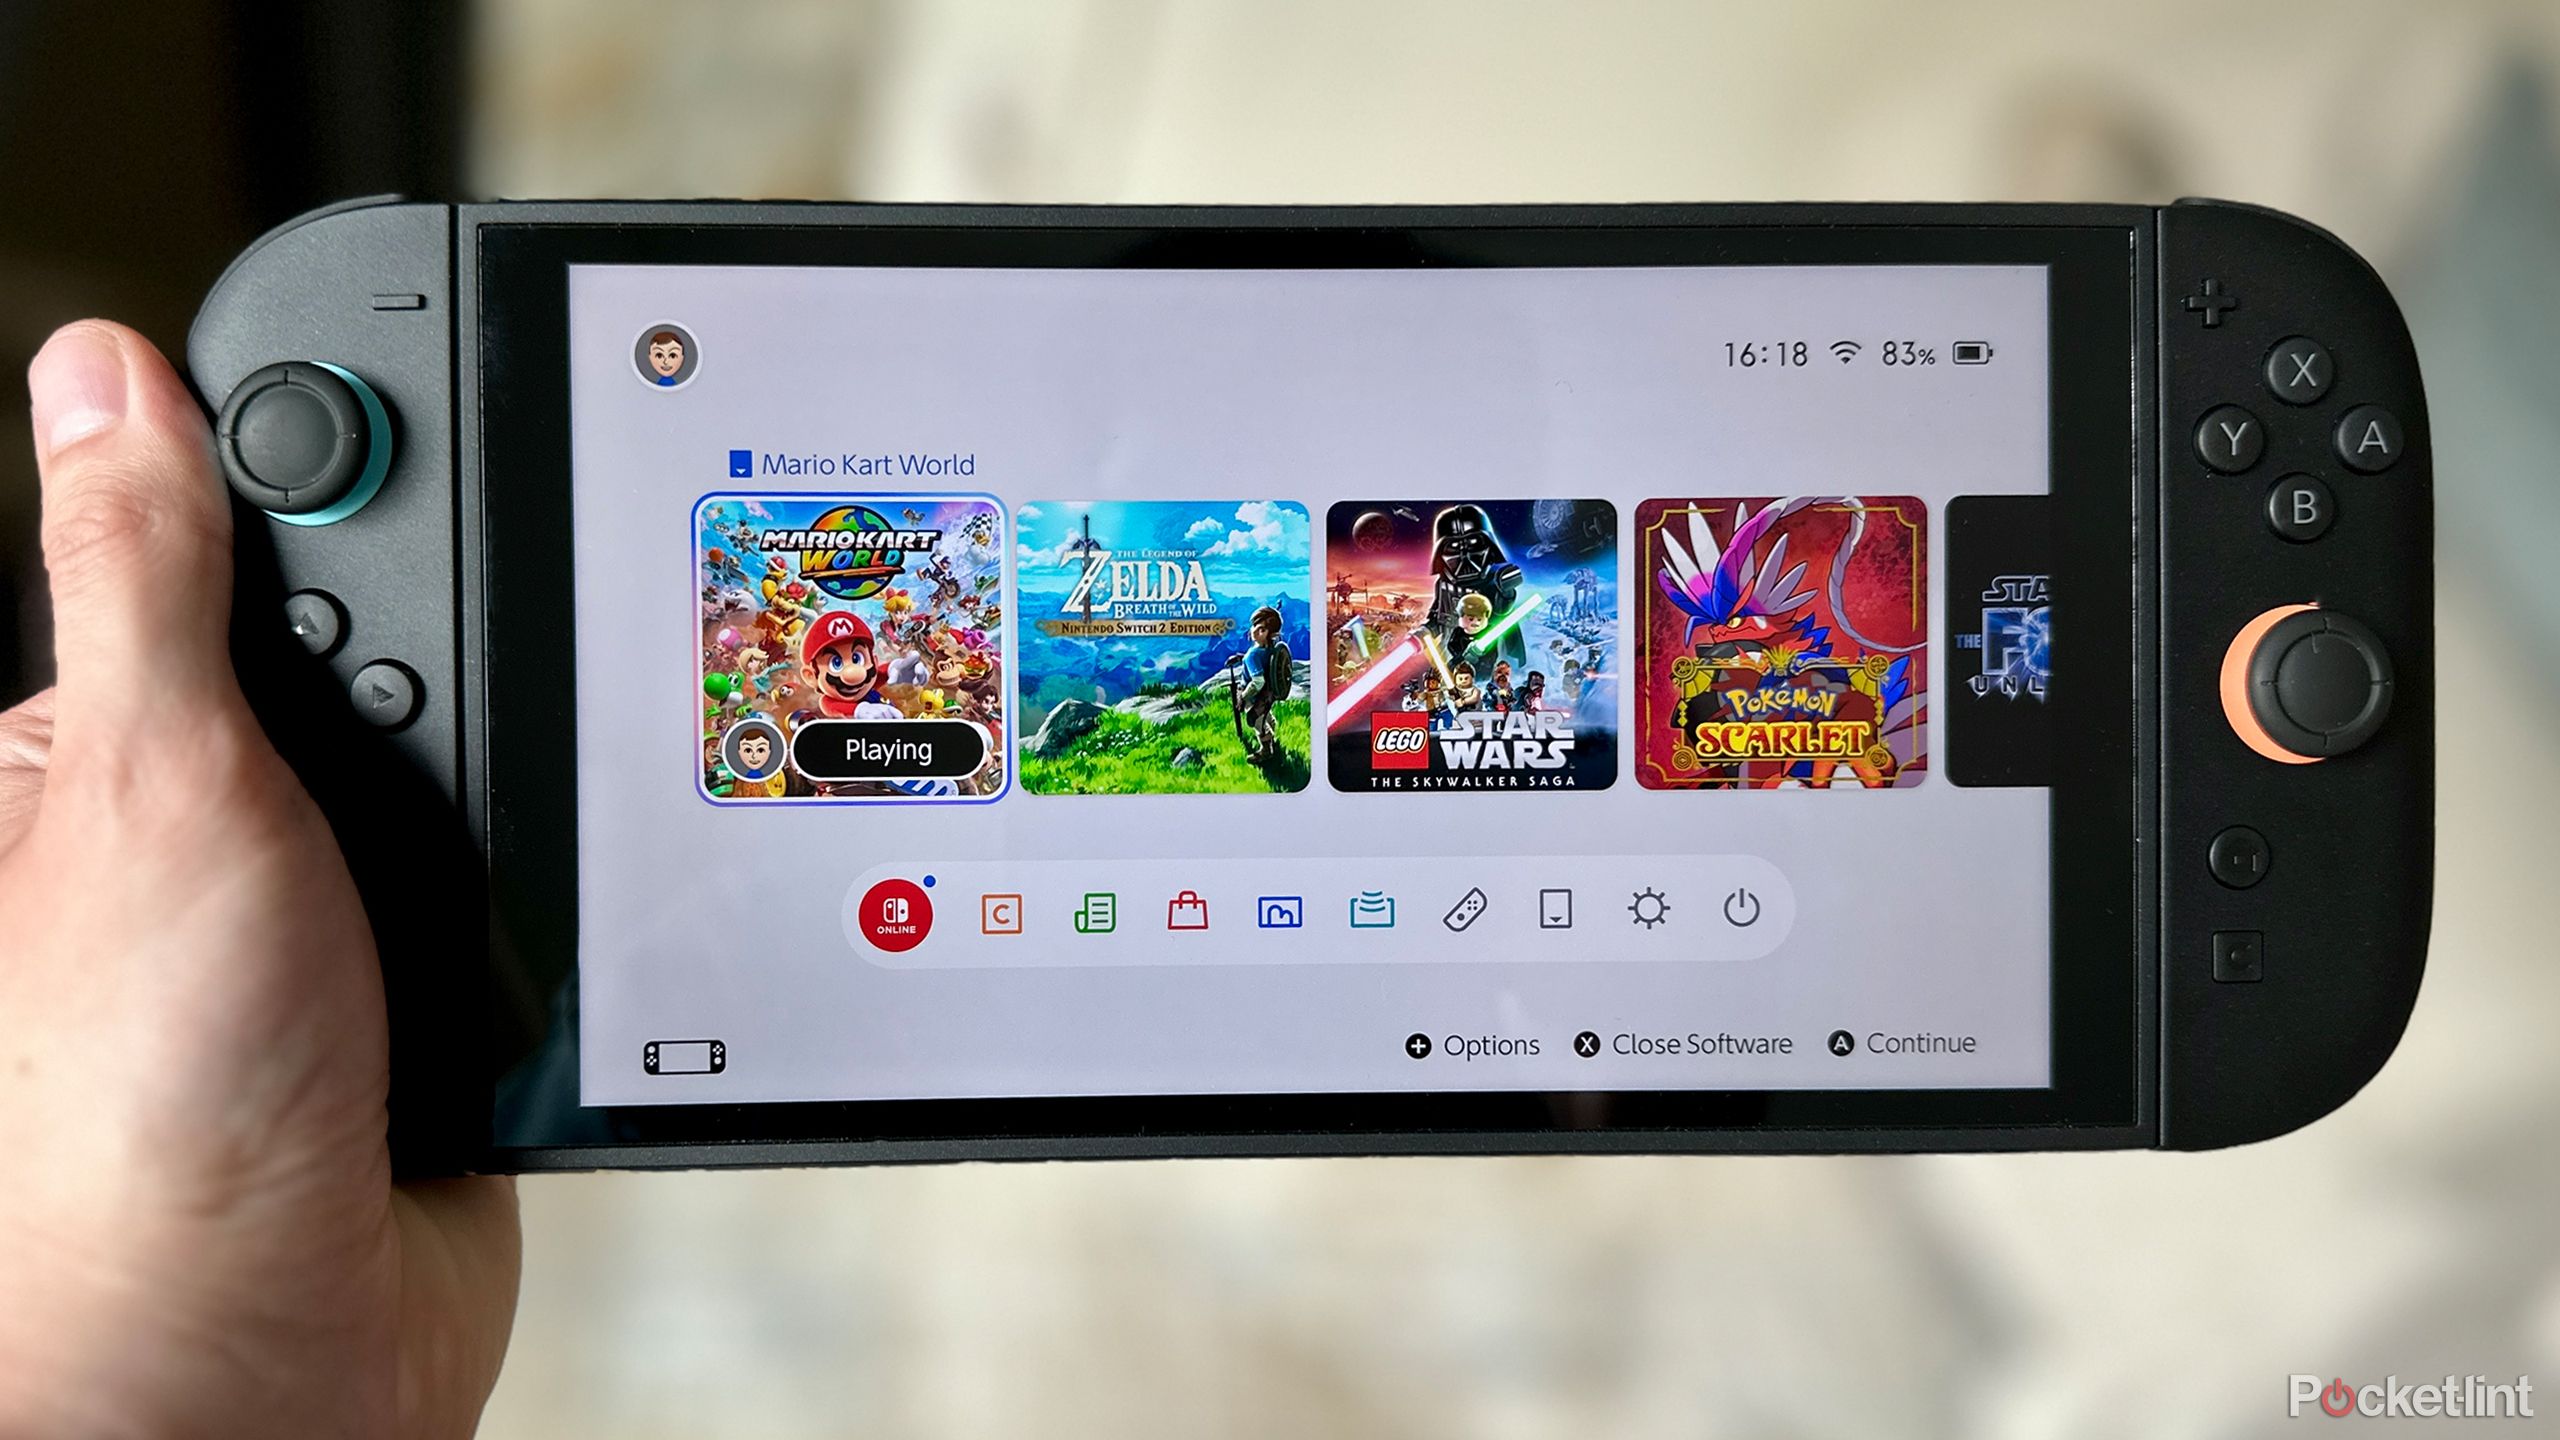
The Nintendo Switch 2 is already shattering records, having sold 3.5 million units within just four days of its launch. The long wait for the Switch 2 was undoubtedly worth it, and the console’s enhanced performance and larger 7.9-inch display make playing older games, such as Pokémon Scarlet, updated titles like The Legend of Zelda: Breath of the Wild, and newer titles like Mario Kart World much more enjoyable.
If you’ve recently picked up a Nintendo Switch 2 and haven’t explored the settings menu much, there are many handy features you can check out that aren’t enabled by default and can be adjusted to enhance your experience. Here are six settings I recommend changing on your Switch 2 to protect it and maximize your enjoyment of the console. All of these settings are easily accessible through the settings menu, so there are no complicated tricks involved, and anyone can do these easily.

- 4K Capability
-
Yes
- Brand
-
Nintendo
- Screen
-
7.9-inch 1920 x 1080 pixel resolution LCD, HDR, 120Hz refresh rate (4K/60fps 3840 x 2160 pixel resolution when docked)
- Game support
-
Switch 2, Switch 2 Edition, Switch
Nintendo’s Switch 2 features a more powerful chip, a higher resolution screen, and upgraded Joy-Cons.

Related
Nintendo Switch 2 is a rare sequel that’s better than the original
The OG Switch was a game changer, but the Switch 2 is even better.
1
Save your Switch 2’s battery
You can enable a charging limit for your Switch 2 to preserve its battery

Battery life is a major concern for many people using the Switch 2. Nintendo states that, on average, users can expect battery life ranging from two to six and a half hours, depending on the games they play. If you spend most of your time playing in handheld mode, then battery life is likely a significant concern for you. If you plan to use your Switch 2 for years to come, preserving its battery is crucial.
That’s why on the Switch 2, Nintendo has introduced a new setting called Stop Charging Around 90 percent. As the name suggests, it automatically halts charging the console at approximately 90 percent, rather than 100 percent, in an effort to optimize the battery and maintain its health. By enabling this feature, your battery life may experience a minor decrease; however, in the long run, it will retain its charge and last longer.
To enable this feature, head to System Settings > Settings > Stop Charging Around 90% and toggle it on. If you’re ever in a situation where you need all the battery you can get from your Switch 2, such as for a long flight or train trip, you can disable this at any time to charge to 100 percent again. To save even more battery life, ensure that Automatic Brightness is turned on under Screen Brightness, and lower the screen’s brightness if you don’t need it to be as bright in your current environment.
If you’ve been experiencing issues with the battery life indicator on the Switch 2, you may need to reset it. You can learn how to do this here.

Related
How to fix your Switch 2’s battery life indicator
Some Switch 2 owners are experiencing issues with the battery indicator, but Nintendo’s unusual official fix may resolve the issue.
2
Adjust the HDR settings for better picture quality
You can tune HDR’s brightness to optimize it for your display

If you’re playing your Switch 2 on an HDR (High Dynamic Range) compatible TV or monitor, then properly adjusting the HDR settings can enhance the picture quality. When I first hooked up my Switch 2 to my OLED HDR monitor, it didn’t look exactly right. However, adjusting the HDR settings fixed this issue, and my games now pop much better.
To adjust the HDR settings on your Switch 2, head to System Settings > Display > Adjust HDR. This will bring up a menu where you can adjust the HDR settings and properly tune the brightness. You will need to have your Switch 2 docked and connected to a compatible TV or monitor to complete this step. If you’ve adjusted the HDR settings and you’ve noticed that some games still look funny with HDR, and some don’t, consider changing the HDR Output settings from Always Enabled to Compatible Software Only. This will ensure that HDR is only enabled in games that support it.

Related
Don’t use a TV as a gaming monitor without checking these 4 things
Companies want you to make the switch, but there are features you still need to have.
3
Skip the user selection screen
Save a few seconds every time you launch a game

Whenever you open the Nintendo eShop or launch a game, the Switch 2 always prompts you to select a user. While this makes sense if multiple people are using the console, it feels pointless to be constantly asked to choose a user when you’re the only one using it. To skip this screen and launch games and the eShop more quickly, you can enable a handy feature called Skip Selection Screen.
To do so, go to System Settings > User and toggle on Skip Selection Screen. Now, whenever you open a game or the eShop, you won’t be asked to select a user. If you’re like me and you’re the only one who uses your Switch 2, then enabling this setting saves you a bit of time each time you open something on the console. If you ever add more users to your Switch 2 in the future, you can just toggle it off if needed.

Related
Switch 2 breaks records with 3.5 million units sold in just four days
The Switch 2 is now the fastest-selling Nintendo console of all time.
4
Protect your Switch 2 with Console Lock
Add a PIN to your Switch 2 like you would on your phone

To help keep your Switch 2 more secure, Nintendo has added a new feature on the Switch 2 called Console Lock. This new feature enables you to add a four-digit to eight-digit PIN to your Switch 2, which allows you to unlock it like you would on a smartphone. If you don’t want anyone to be able to pick up your Switch 2 and use it, enabling Console Lock is a handy way to protect it.
To set up Console Lock on your Switch 2, head to System Settings > Console Lock, toggle it on, and follow the on-screen instructions to create a PIN. Once you’ve set it up, anytime you wake up your Switch 2, you’ll be required to unlock it with the PIN, exactly like you would on a smartphone.

Related
6 ways I hope Nintendo levels up Mario Kart World
Nintendo’s kart racer is a lot of fun, but there’s room for improvement.
5
Change the color mode
Save your eyes and enable dark mode

If you’re a fan of dark mode on your other devices, you’ll want to change the color mode on your Switch 2. This feature isn’t new to the Switch 2 and is also available on the Switch 1. Changing the color mode on your Switch 2 is great for sparing your eyes from the bright white screen it’s set to by default. If you often play your Switch 2 at night, you may want to consider enabling this.
To switch the color mode on your Switch 2 to dark mode instead of white, go to System Settings > Themes. Then simply select Basic Black instead of Basic White from the menu, and your Switch 2 will now be in dark mode, preventing your eyes from straining. If you ever want to change it back, you can easily switch to white mode in the same menu at any time.

Related
How to get Switch 2 Edition games
There are lots of games receiving Switch 2 enhancements, but not all of them are free.
6
Remap the Joy-Cons to your liking
You can make the Joy-Con buttons act like an Xbox controller

If you want to remap the Joy-Con button layout to resemble that of an Xbox controller, you can do that. I’ve used an Xbox controller for gaming my entire life, so when I started using the Switch 2, my brain was conditioned to press the A button at the bottom and the Y button at the top. However, on the Switch 2 (and Switch 1), these buttons are positioned differently than on the Xbox. When I did a quick time event in Star Wars: The Force Unleashed, it took me a solid five minutes not to accidentally hit the wrong button because of this.
To remap the Joy-Con buttons to the configuration that works best for you, head to System Settings > Accessibility > Change Button Mapping. From there, you can customize the layout of the buttons on both of your Joy-Cons to your preference. I also recommend enabling the Change Button from Quick Settings option. This feature allows you to access the button mapping settings from the Quick Settings menu by holding down the Home button.
In the same Accessibility menu, there are a few other options worth exploring, such as text size, bold text, and high contrast text, if needed.

Related
Nintendo’s Switch 2 Pro Controller is the must-have accessory I didn’t know I needed
Nintendo’s high-end controller surprised me.