


I’ve used Windows 11 for years, yet I’m still surprised by how often I find new features I didn’t know about before. To be fair, Windows 11 is quite a comprehensive desktop operating system with many customization options and settings, so it’s easy to overlook some helpful tools and features hidden in its menus.
Whether you’re new to Windows 11 or have been using it for a while, these features I’ve recently started utilizing have significantly boosted my productivity and improved how I manage my PC, and they could do the same for you, too. These features are built into Windows 11 and are available for free, so you don’t need to install any additional software to start using them. My only wish is that I’d found them earlier.
Clipboard history
Keep track of everything you’ve copied to your clipboard

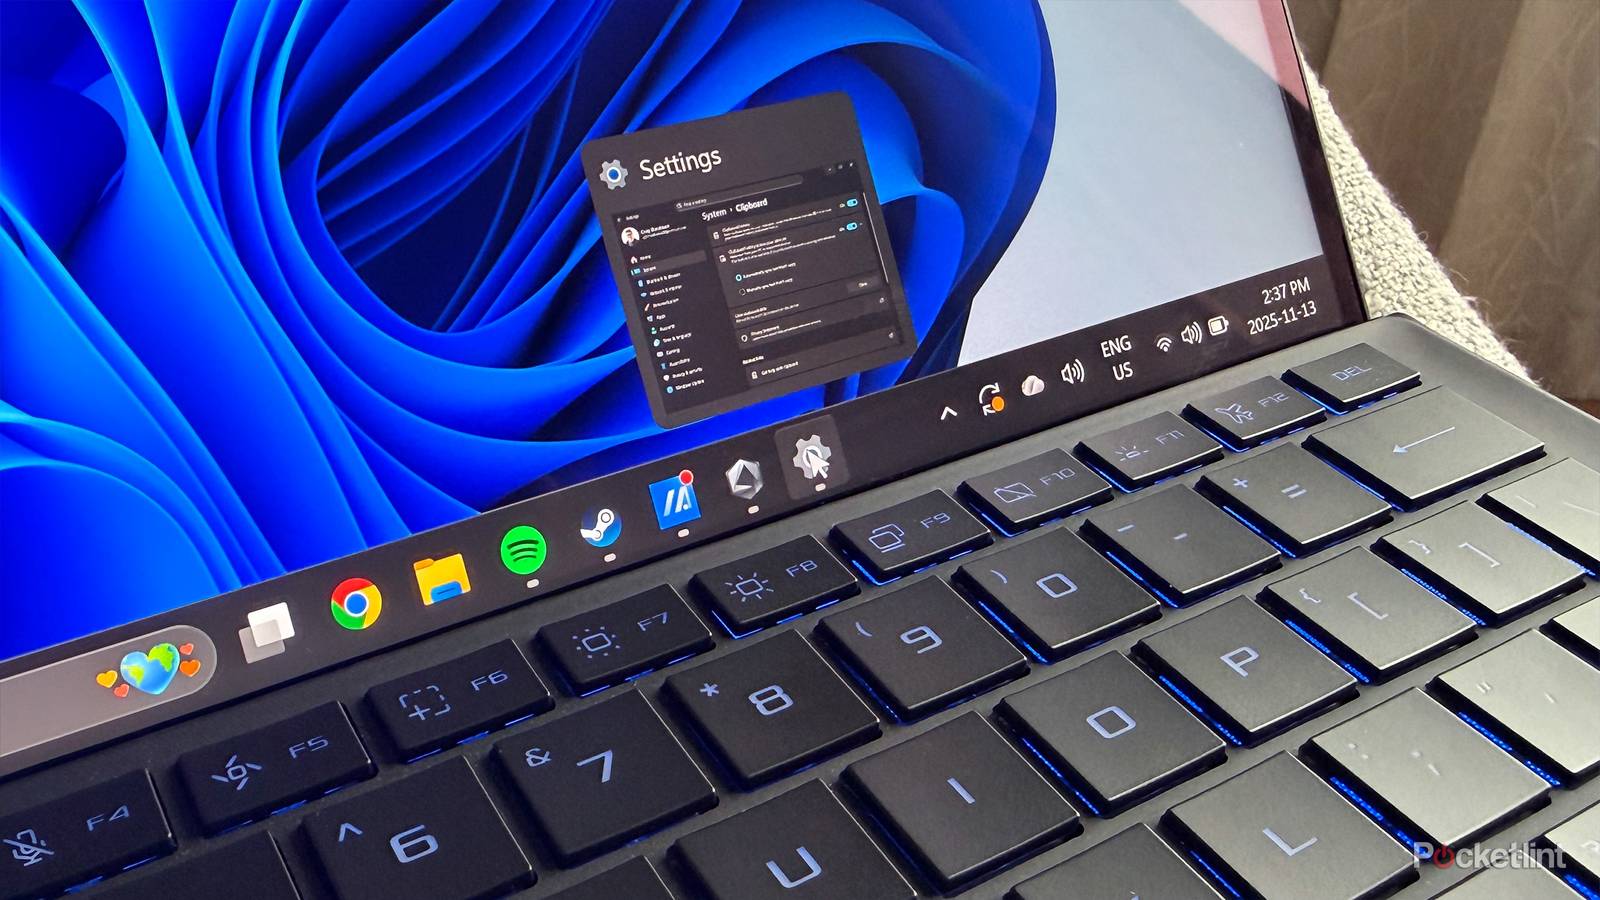
The first feature I want to highlight is called Clipboard history. If you do a lot of copying and pasting daily — whether for messaging apps, emails, spreadsheets, or image editing — this is an easy way to keep track of everything you’ve copied so you can access it later. I can’t count how many times I’ve copied an image or link to include in my notes or send to someone, only to forget to actually do it and then lose it. So, Clipboard history has been a lifesaver and a valuable productivity tool for copying multiple items at once without losing any of them.
Clipboard history isn’t enabled by default in Windows 11, so to activate it, go to Settings > Clipboard and toggle on Clipboard history. After doing that, press Win + V (win is the Windows key), and your Clipboard history will appear, allowing you to click on anything you’ve copied in the past to recopy it. To clear your Clipboard history at any time, simply click the Clear all button. If you want to save a copied item, click the pin icon on it to pin it.
Storage sense
Automatically maintain your device’s storage

Next up is Storage Sense, a built-in Windows 11 tool that automatically frees up disk space on your system drive (the C: drive) without deleting any important files. Storage Sense deletes items such as temporary system files, files in your Recycle Bin, and old Windows installation files. What I like about Storage Sense is that it automates all these tasks for you, eliminating the need to ever run Disk Cleanup manually. It’s smart, simple, and it helps keep your PC free of unnecessary files.
Depending on your PC setup, Storage Sense might already be enabled but not configured. To turn it on and adjust the settings, go to Settings > Storage and toggle on Storage Sense. When you click on Storage Sense, a menu with various options will appear, allowing you to customize when it runs and what it clears. By default, Storage Sense activates only when your system drive is low on space, but you can change this to run weekly, daily, or monthly. I set mine to run once a month because I don’t think I’m accumulating enough unnecessary files to justify daily or weekly runs.
Additionally, you can configure it to automatically delete files from your Recycle Bin. When I checked mine, I still found files from 2024, so I set it to delete files from the bin after 60 days. You can also set Storage Sense to automatically delete files from your Downloads folder as well, which is useful for clearing out setup files you’ve probably downloaded for installing apps and no longer need.
Shake to minimize
Tidy your desktop in seconds

This feature is a nifty one, and if you have a habit like mine of keeping multiple Chrome instances open at once and running multiple different programs simultaneously, this is an easy way to minimize all of them instantly to clear up your screen. The feature is called “Title bar windows shake,” and it allows you to shake your currently active window to minimize everything behind it.
This feature has been available on Windows since Windows 7, when it was first introduced as Aero Shake. I’ve found it to be a handy way to tidy up my desktop and have some fun. Unfortunately, it’s not enabled by default in Windows 11. To activate it, go to Settings > Multitasking and toggle on Title bar window shake. Then, just grab any window you want to focus on, shake it, and all the windows behind it will be minimized, saving you the trouble of minimizing each one individually. It’s both a time-saver and fun to use; what’s not to love?
You’ll need a mouse connected to your laptop for this to work

If there’s one thing I constantly do on my PC, it’s adjusting the system volume, whether I’m in a meeting, listening to music, watching a video, or playing a game. This lesser-known feature allows you to adjust the volume on your PC even faster, without needing to press a button on your keyboard or open the quick settings menu.
All you have to do is simply hover your mouse cursor over the volume icon in your system tray and scroll up or down to raise or lower your PC’s volume. That’s it. It’s simple, yet I’ve found it to be the fastest way to adjust my system volume on the fly. It’s saved my eardrums a few times when a video or music is suddenly played at an extremely loud volume. This feature should work by default without enabling any settings. However, if you encounter issues with it, or it’s not working, the problem can likely be resolved by going to Settings > Bluetooth & devices > Mouse and enabling Scroll Inactive Windows When Hovering Over Them.
Enhanced Windows Search
Find any file on your PC faster

Finally, the last feature I recommend enabling is Enhanced Windows Search. It has saved me a lot of time by helping me find files on my PC much faster. By default, the Windows Search index is set to Classic, which means Windows Search only looks for files in your Documents, Pictures, and Music folders, as well as your Desktop. So, if you store files elsewhere on your PC, like on a secondary drive, Windows Search won’t find them, which can be quite frustrating.
Luckily, Enhanced Windows Search fixes this problem because enabling it allows Windows Search to index all the files on your PC, making the search feature actually useful. To do this on your PC, go to Settings > Privacy & Security > Search > Find my Files. From there, switch the search index from Classic to Enhanced. When you enable Enhanced, it will take some time for Windows to index all the files on your PC, especially if you have thousands of files, so you need to be patient as it does this. If you’re on a laptop, I recommend plugging it in, because it can drain the battery while indexing.